
Utah’s freeze-thaw cycles can turn a finished basement into a repair project when water and soil pressure get trapped against the foundation. The best way to prevent cracks is to solve the outside conditions before drywall, flooring, and trim hide the walls. Follow this five-step checklist, then let LIFT Construction coordinate the work from inspection through final finish.
Utah footing depth must follow the design criteria for the actual property. The Greater Salt Lake Municipal Services District lists a 30-inch frost depth and warns that higher elevations may require more. That figure is a local example, not a statewide specification. Have the building department and your designer confirm the applicable depth before new foundation work begins.
Step 1: Inspect the Foundation Before Finishing the Basement
To learn how to prevent basement cracks after finishing in Utah, start with the foundation itself. Do this before framing covers the concrete or block walls.
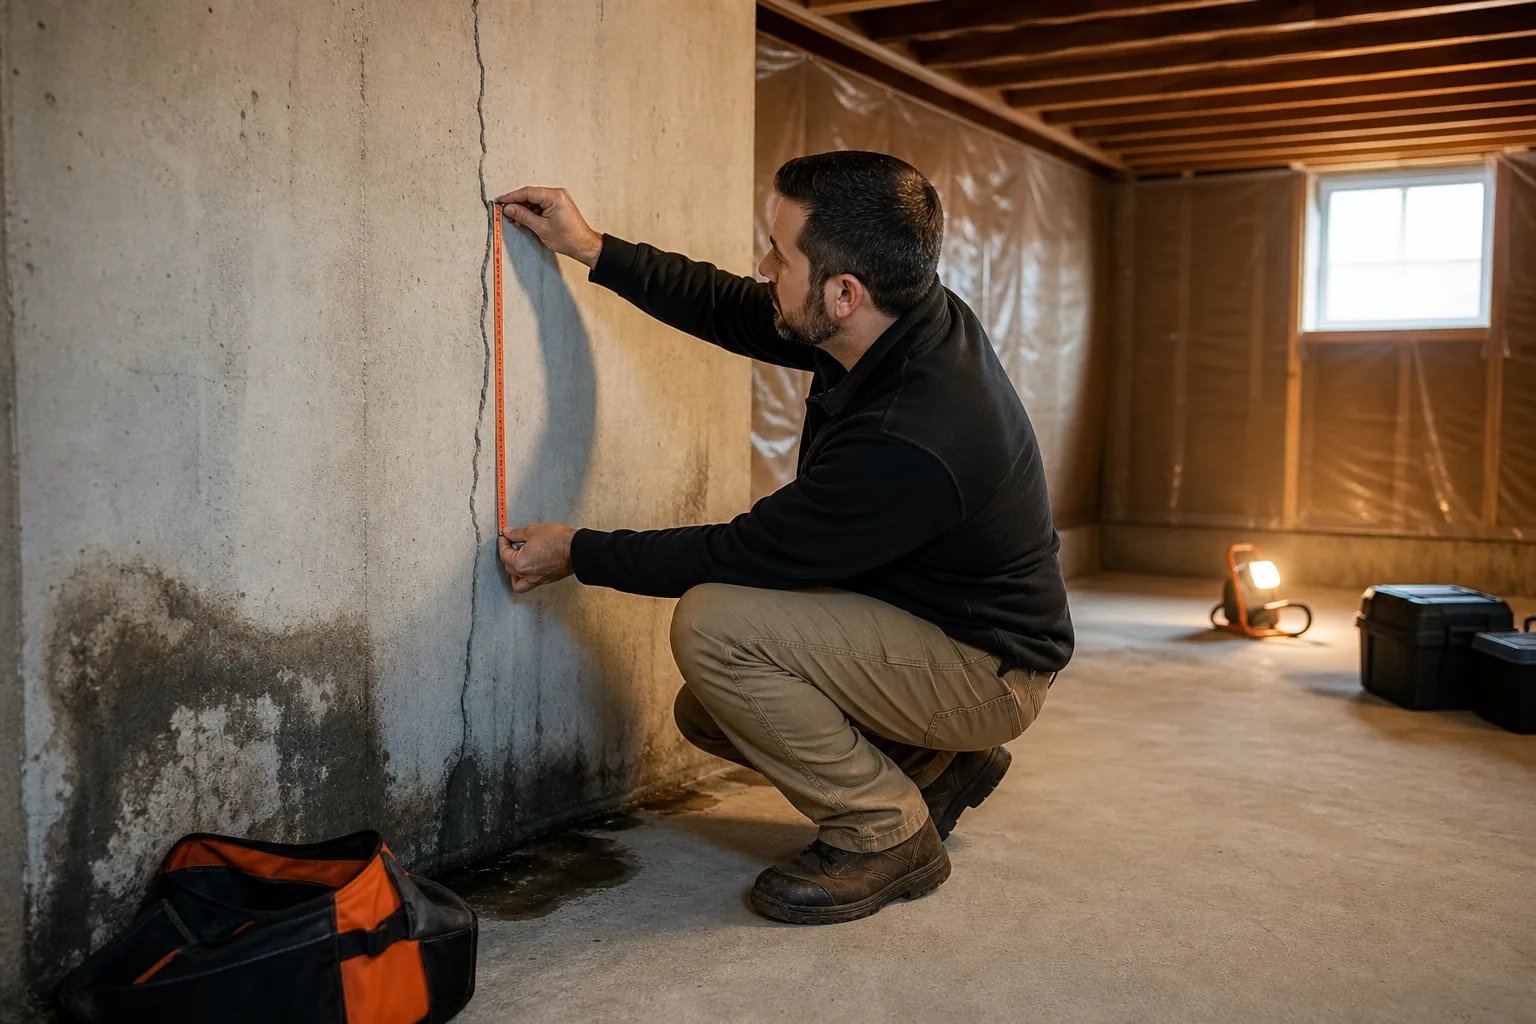
Walk every wall in daylight. Mark each crack with its location, length, and direction. A thin vertical crack may come from normal concrete shrinkage, but a horizontal crack can point to soil pressure. Diagonal or stair-step cracks deserve prompt review, especially when they appear with a wall that bows inward.
Look for more than cracks. Check for damp spots, white powder called efflorescence, peeling paint, musty odors, and water at the wall-to-floor joint. Efflorescence forms when water moves through masonry and leaves mineral deposits behind. That clue matters because a dry wall today can still have an active moisture path.
Ask a qualified foundation professional to assess any crack that grows, leaks, widens at one end, or sits beside a leaning wall. Do not cover a structural concern with insulation or drywall. Take dated photos before work begins, then compare them after heavy rain and spring snowmelt.
Footing depth also deserves attention on new work or major additions. Frost heaving occurs when freezing soil expands and pushes against structures, so the right depth must be confirmed for the site and local code.
We at LIFT Construction review the condition of the space before planning the finish. That sequence lets us separate a cosmetic crack from a drainage or structural issue before the project gets expensive.
Step 2: Control Water, Grading, and Drainage Around the Home
Water control is the heart of preventing basement cracks after finishing in Utah. Start outside, because an interior drain can move water after it enters but cannot remove the pressure that pushed water through the wall.
Inspect the soil around the foundation after a storm. It should carry water away from the home instead of collecting beside the wall. The Building America guidance recommends a 5 percent grade, or 6 inches of fall over the first 10 feet, where the site permits it. If space or existing structures prevent this, have a qualified professional design drainage that carries water away and meets local requirements.
Check where roof water goes. Downspouts should discharge well away from the foundation and should not empty beside a window well. Sump-pump discharge needs the same care. Sending that water less than 10 feet from the home can put moisture right back against the wall.
Hydrostatic pressure is water pressure held in soil. Hydrostatic pressure increases with the depth of a fluid, which explains why lower basement walls often show more stress than upper sections. In spring, melting snow can saturate clay soil quickly. Expansive soil can then swell when wet and shrink as it dries, creating repeated movement beside the foundation.
Use an exterior perimeter drain where the site and foundation design call for one. Pair it with sound backfill that lets water move away instead of holding it against the wall. Exterior waterproofing should be inspected before the soil returns to the trench.
Interior drainage still has a place. It can help collect water that reaches the basement and direct it to a designated collection point. But it should not be treated as a cure for an exterior wall crack. We plan the water path first, then choose the finish system around that plan.
When the slab needs review, use this basement flooring moisture barrier guide for Utah before choosing flooring. A floor that looks dry can still pass moisture through seams or porous concrete.
Step 3: Choose Crack-Resistant Basement Materials and Installation Details
Material choices affect how well your finished basement handles small shifts. To prevent cracks after finishing, choose wall, floor, and trim details that can tolerate modest movement without transferring stress into the drywall.
Start with the waterproofing layer. Modern self-adhering membranes and spray-applied coatings can form a more consistent barrier than older waterproofing materials when the surface is prepared and the product is installed correctly. The material alone does not fix poor drainage. It also cannot bridge a structural crack without the right repair method.
Ask how the wall will be insulated. Insulated concrete forms, often called ICFs, place insulation within the wall system. For existing walls, a dual layer of rigid foam can help keep temperatures more even when one layer sits outside and another sits inside, where the design allows it. Uniform wall temperatures reduce the sharp swings that add freeze-thaw stress.
Keep foam and framing details compatible with local code. Foam may need a thermal or fire barrier. Electrical boxes, pipe sleeves, and fasteners should be planned before the wall closes. A rushed trade handoff can puncture a membrane or leave a cold strip at the slab edge.
Use a floor system designed for basement moisture. Before installing finished flooring, confirm that the slab is clean, sound, and suitable for the selected material. Leave the required expansion space at walls and transitions. Hard flooring installed tight against a wall can buckle when the room changes temperature.
We also protect the finish from small movements at corners and transitions. Flexible sealing materials belong where the design calls for flexibility. Rigid patch materials belong where the repair method calls for a stable surface. Mixing those roles can leave a crack visible again after the next seasonal shift.
Watch this installation overview before your framing meeting:
A code-compliant finish also needs proper permits and inspections. Those checks do not replace foundation work, but they help catch unsafe assemblies before they disappear behind the final surfaces.
Step 4: Finish the Basement to Handle Utah’s Seasonal Movement
Finishing a basement in Utah calls for details that manage seasonal movement rather than hide it. Once the foundation and exterior water path are sound, build the room so moisture and temperature changes can be seen early.
Keep framing slightly independent from the concrete wall when the design requires it. Do not press wood directly against a damp foundation. Use the specified gap, sill treatment, and fasteners for the wall system. A small separation can make it easier to inspect the foundation later and can reduce direct contact with moisture.
Plan insulation as a full wall assembly. Gaps around corners, rim joists, windows, and penetrations create cold spots. Cold spots can collect condensation when warm indoor air reaches a cool surface. Seal air leaks with materials approved for the assembly, but do not seal over an active leak.
Balance insulation with ventilation and humidity control. A finished basement should have a way to remove damp air and a plan for condensate. If you use supplemental humidity-control equipment, make sure the drain can work without spilling onto the floor. The basement dehumidifier guide for Utah homes explains how capacity, drainage, and energy use fit different basement conditions.
Choose finishes with the room’s moisture risk in mind. Porous materials near a known wet wall make future repairs harder. Removable trim or accessible utility panels can help you inspect shutoff valves, cleanouts, and sump equipment without opening a finished wall.
We coordinate the handoff between waterproofing, framing, insulation, electrical work, and finish carpentry. That matters because one trade can undo another trade’s work. A screw through a protected wall or an unsealed pipe opening can create a new path for water.
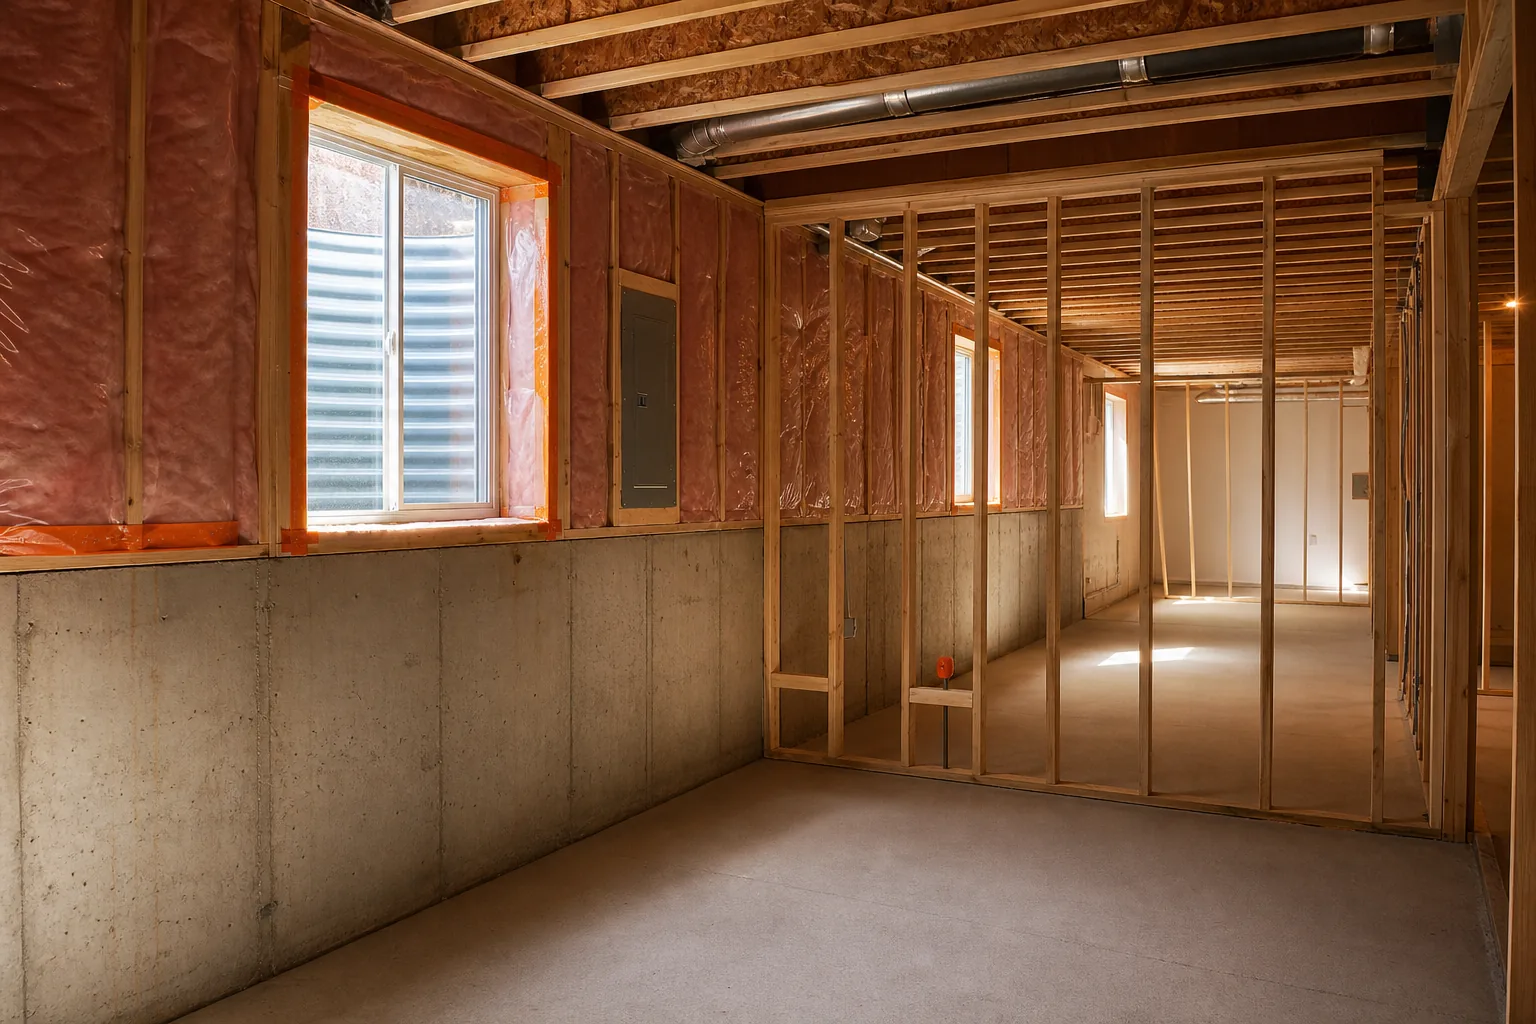
Before drywall, take another photo set. Record the wall condition, drain access, sump location, insulation coverage, and any flexible joints. That record gives you a baseline for future checks.
Step 5: Monitor the Finished Basement and Address Early Warning Signs
The last step in learning how to prevent basement cracks after finishing in Utah is ongoing monitoring. A finished room can hide a problem until paint bubbles, flooring lifts, or a musty smell appears.
Set a simple inspection schedule. Check the basement after major storms, during spring snowmelt, and after long dry periods. Look at exposed utility areas first. Then inspect corners, window wells, baseboards, and the floor near foundation walls.
Watch for these changes:
- A crack that grows in length or width.
- New horizontal, diagonal, or stair-step cracking.
- Water stains, damp drywall, or peeling paint.
- White mineral residue on concrete or masonry.
- Doors or windows that start to stick near the basement.
- Flooring that lifts, buckles, or separates at the wall.
Use a simple measuring reference in photos so changes have scale. Write down the date and weather. A single photo does not show movement, but a dated series can help a professional see a pattern.
Respond to water quickly. Dry the area, protect stored items, and find the entry path. Do not paint over a wet stain or seal a leaking crack with a surface patch alone. If the wall bows, the crack widens, or water returns after drainage work, stop cosmetic repairs and request a structural review.
Keep the water-management equipment accessible. Test the pump as the manufacturer directs, confirm the discharge still carries water away from the house, and check that the pit cover remains secure. If the system has backup equipment, inspect that equipment before storm season.
LIFT Construction can help homeowners plan the finish around these inspection points instead of burying them. We focus on a clear handoff from the foundation review to the finished room, from start to finish.
The decision rule is simple: a stable, dry crack may need observation, but a changing or wet crack needs diagnosis before the next repair.
FAQ: Preventing Basement Cracks After Finishing in Utah
Can a finished basement still develop cracks?
Yes, a finished basement can still develop cracks if soil pressure, frost movement, water, or wall shrinkage changes after the remodel. Finishing work does not strengthen a weak foundation. Inspect the walls before construction, correct exterior drainage, and keep access to drainage equipment and other areas that need checks.
Does interior waterproofing stop foundation cracks?
Interior waterproofing can collect water that enters the basement, but it does not remove the outside soil pressure that caused a wall crack. Exterior grading, drainage, waterproofing, and proper backfill address the source. Use an interior system as part of a plan, not as the only response to an exterior wall problem.
How deep should basement footings be in Utah?
There is no single footing depth for every Utah property. Confirm the local frost-depth criteria, soil conditions and approved structural design with the building department and a qualified professional. Greater Salt Lake MSD, for example, lists 30 inches with possible increases at higher elevations. An existing footing also needs an assessment of its condition before you cover the walls.
What should I do if I find a crack after finishing?
Photograph the crack, mark its ends, and record the date and recent weather first. Then check for water, bowing, nearby stains, or changes in doors and windows. A growing, leaking, horizontal, or stair-step crack needs professional review before you patch, paint, or cover it.
Conclusion
Preventing basement cracks starts outside the finished room. Confirm the foundation, move water away from the house, use balanced insulation, and keep inspection access in the final design. If you’re planning a Northern Utah basement remodel, ask LIFT Construction to review the space before framing begins and build the finish around a clear moisture and movement plan.