
A finished basement can feel damp even when there’s no standing water. In Utah, the fix starts with measuring the air and finding where moisture enters, not with buying the biggest dehumidifier.
Follow these five steps to lower humidity, protect finished materials, and decide when a full basement remodel from LIFT Construction makes more sense than another short-term fix.
Step 1: Measure the Humidity and Find the Moisture Source
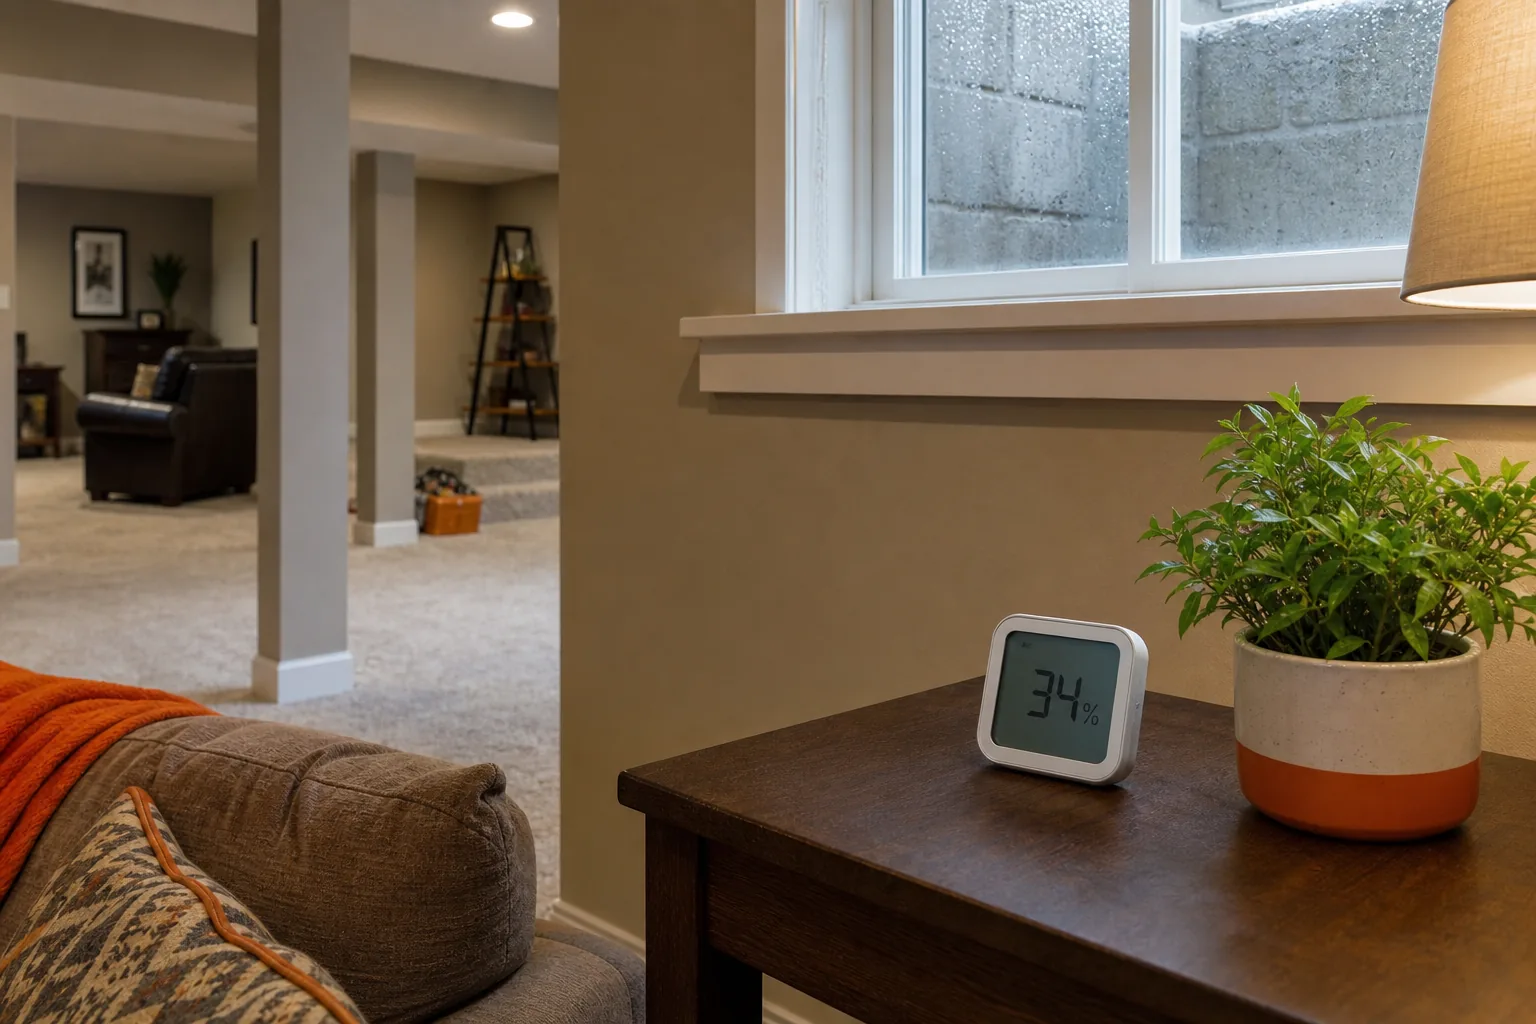
To learn how to reduce humidity in a finished basement, start with a humidity reading. Relative humidity, or RH, tells you how much moisture is in the air compared with the amount it could hold at that temperature.
Record the humidity in the main living area. Take readings several feet away from supply vents, windows, exterior walls, and any dehumidifier. Take readings at the same time each day for at least several days. If the basement has separate rooms, check each zone because a warm family room may have a different reading than a cool storage space.
The target is usually 30% to 50% RH. Keeping indoor humidity below 60%, with a lower range preferred for mold control, is recommended. Treat readings above 60% as a warning. A reading above 70% needs prompt action.
Next, walk the space slowly. Look for condensation on cold pipes, damp carpet edges, water stains, peeling paint, white mineral deposits, or a musty smell. Check around windows, plumbing lines, the furnace room, floor drains, and the base of foundation walls.
Also inspect stored items. Fuzzy growth on boxes or fabric means moisture has been present for some time. Damp air without visible water may point to air leakage. Visible water calls for source repair before air treatment.
We also look at airflow during basement finish work. Poor return airflow can leave one room clammy while the rest of the basement seems fine.
By now, you should have a written RH range, a map of damp spots, and a short list of likely moisture sources.
Step 2: Stop Water Intrusion Before Treating the Air
The best way to reduce humidity in a finished basement is to stop bulk water before a machine tries to remove it from the air. A dehumidifier can handle airborne moisture. It can’t repair a leaking pipe or a wet foundation wall.
Start indoors. Check supply lines near laundry equipment, water heaters, bathrooms, kitchens, and mechanical rooms. Look for slow drips under sinks and around floor drains. A small leak behind a finished wall can add moisture for weeks before you see a stain.
Then inspect outside after rain or snowmelt. Gutters should move roof water away from the foundation. Downspouts need a safe discharge point. Soil should slope away from the house instead of holding water beside the wall.
If water reaches the floor, find out how it got there. Seepage through a wall often needs exterior waterproofing or an interior drainage plan. Water at a floor joint may point to hydrostatic pressure, which is pressure from wet soil below or beside the foundation. A plumbing leak needs a plumber. A broad foundation problem needs a qualified contractor.
Some homes need a sump pump or a drainage system. A sump pump collects water below the basement floor and sends it away. A drainage system gives groundwater a controlled path toward a sump basin or another approved outlet. These are construction fixes, so they need proper planning and code-compliant installation.
For a basement that has already had a leak, review the steps in water damage restoration in Utah before closing walls again. Wet drywall, insulation, or framing should not be covered simply because the surface feels dry.
Vapor barriers can limit moisture migration through walls and floors, but their placement depends on the wall assembly and local conditions. Self-adhering membranes may help protect foundation walls during a waterproofing project. Don’t seal a wall system blindly. Trapped moisture can move into the finished space later.
Utah’s dry winters can hide a problem that returns in summer. Check the space after heavy rain and during the warmest part of the year. A source that looks harmless in January may produce high RH in July.
Once bulk water is under control, the dehumidifier can manage the moisture that remains in the air.
Step 3: Choose and Set Up the Right Dehumidifier
Choosing the right dehumidifier is one part of learning how to reduce humidity in a finished basement. Size it from both square footage and moisture load. A small, dry basement needs less capacity than a same-size space with laundry equipment, cool concrete walls, or a musty smell.
For many residential basements, a 30 to 50 pint unit is a sensible starting range. A smaller 20 to 30 pint unit may fit a compact basement with mild seasonal dampness. A larger-capacity unit makes more sense for a large or below-grade space that stays humid.
Those numbers are only a starting point. A basement larger than about 2,000 square feet may need a different plan. The same applies to a divided lower level, a connected crawlspace, or a room that becomes humid again soon after the unit stops.
Set the humidistat to a moderate RH level. Check the result with a separate humidity reading taken several feet away. The unit’s built-in sensor may read air near the machine rather than the whole basement.
Keep the intake and discharge clear. Don’t push the unit against a sofa, storage bin, curtain, or wall unless the maker allows it. In a long basement, place the unit where air can reach the largest open area. Use a fan only to move air through a stubborn dead zone. A fan does not remove moisture by itself.
Cool rooms need extra care. Standard compressor units may remove less water when the basement stays below about 65°F. Check the manufacturer’s stated operating range. Automatic defrost or low-temperature operation may matter more than a higher pint rating.
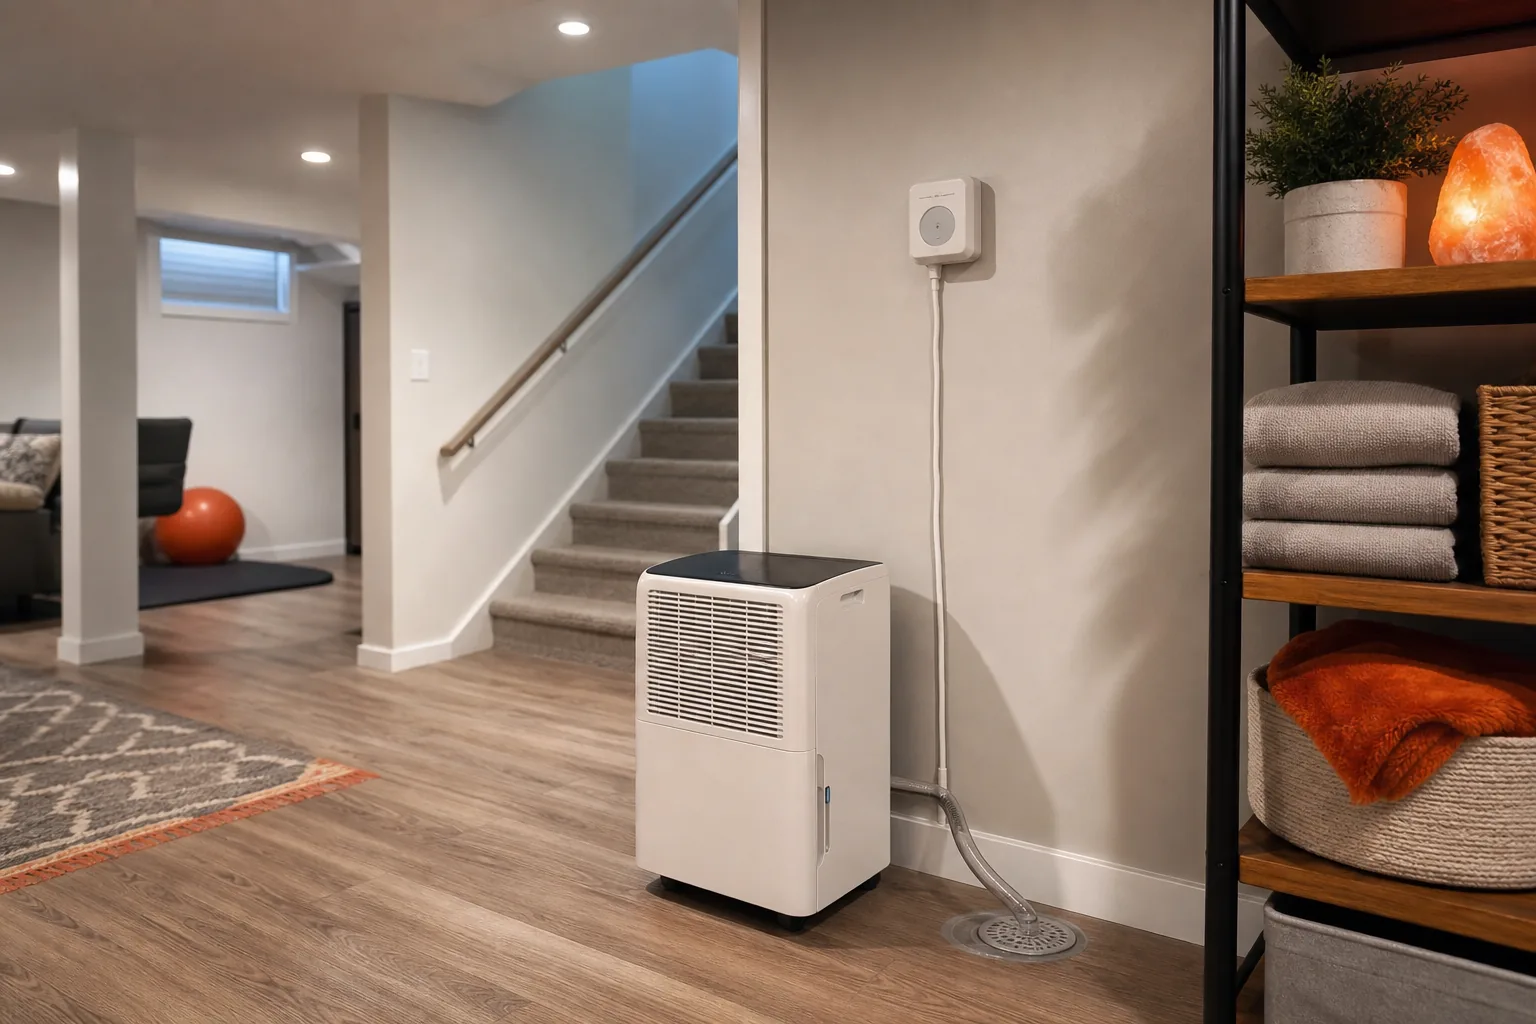
Bucket-only use often becomes a problem. When the tank fills, most units stop. A continuous drain setup routed to a floor drain lets the machine run without daily emptying. A condensate pump may be needed when the drain sits above the unit.
Portable units work well when the moisture source is controlled. They won’t fix seepage, roof leaks, wet drywall, or a clothes dryer that vents indoors.
Step 4: Make Moisture Removal Continuous and Improve Airflow
Continuous control keeps humidity from bouncing back after a short dry spell. This step combines steady drainage with airflow so the whole finished basement gets treated.
Run the dehumidifier through the humidistat instead of switching it on only when the air feels damp. Check the drain line for kinks. Make sure the hose slopes toward the floor drain when using gravity drainage. If the basement lacks a suitable drain, a pump or a different installation plan may be needed.
Keep doors open between rooms when that makes sense. Interior doors can block air from reaching the dehumidifier. If a room must stay closed, it may need a return grille or transfer grille. Don’t cut openings into fire-rated assemblies without checking the required design.
Supply vents bring conditioned air into a room. Return vents bring air back to the HVAC system. A finished basement with supply vents but no good return path can develop cold, stale pockets. We plan vent placement around room use, ceiling height, and wall layout rather than adding vents at random.
Airflow changes can help when the basement is tight and still feels stale. Plan them carefully. They aren’t a substitute for waterproofing.
Use this decision table before buying another device:
| What you observe | First response | What to avoid |
|---|---|---|
| RH above 60% with no visible water | Run a humidistat-controlled dehumidifier and inspect air leaks | Relying on smell or touch alone |
| RH rises after rain | Check gutters, grading, walls, and floor joints | Using a larger unit as the only fix |
| One room stays damp | Check return airflow and door transfer paths | Closing that room off without a plan |
| Unit fills too fast | Use a continuous drain setup for the dehumidifier or a condensate pump | Leaving the machine stopped for days |
| Basement stays cool and damp | Review low-temperature operation and insulation | Choosing by pint rating alone |
We can help plan airflow during a basement finish so moisture control works with the room layout, from start to finish.
Step 5: Protect Finished Walls, Floors, and Adjacent Spaces
Humidity control protects the finish you paid for. After the air is stable, inspect materials that may have absorbed moisture. Drywall can soften at the bottom edge. Wood trim can swell. Carpet pad can hold dampness against the slab.
Keep furniture a short distance from exterior walls when possible. This leaves a path for air and makes inspections easier. Avoid packing cardboard boxes against foundation walls. Sealed containers are better for many stored goods, but they still need a dry room.
Floor choice matters in a basement. Materials that tolerate occasional moisture are easier to maintain than materials that depend on a perfectly dry slab. For more information about basement flooring options for Utah homes, consider moisture-tolerant materials such as tile.
Don’t paint over a stain before you know why it formed. Clean, dry, and repair the affected area first. If mold covers a large area, keeps returning, or involves soaked porous materials, bring in a qualified remediation professional. People with asthma or strong mold sensitivity should avoid disturbing mold themselves.
Protect nearby spaces too. Warm, moist basement air can move into a stairwell, main-floor closet, or wall cavity. Keep the basement door fitted well, but don’t block required ventilation or combustion air. A heating contractor can check the HVAC setup when air movement affects the rest of the home.
For Northern Utah homeowners planning to finish an unfinished basement, LIFT Construction can build moisture control into the project. Its basement finishing work includes drywall, insulation, vapor barriers, and dedicated moisture-control systems, so the finish is planned around the basement’s actual conditions.
That full-service approach helps when the problem involves more than air. We can review the wall assembly, drainage needs, floor plan, and finish materials before the work starts. A good decision rule is simple: if humidity returns after source repair and correct equipment setup, stop adding small devices and review the construction system.
Insurance questions may come up after a water event. If you need help with coverage questions, contact your insurance agent directly. It doesn’t replace a moisture inspection or repair plan.
More humidity and condensation control tips
Compare Energy Efficiency, Defrosting, and Smart Features
Once capacity and drainage fit, compare the controls that affect daily use. A good basement dehumidifier should be easy to set, safe to leave running, and suited to the room’s temperature.
Energy Star certification appears across much of the 50-pint group in the research. Auto-defrost also appears often among certified units. That feature pauses or changes the cooling cycle when frost builds on the coil. It matters most in a cool basement where the compressor may run for long periods.
Smart controls are useful when the basement sits below a bedroom or behind a locked door. App monitoring can show humidity without a trip downstairs. Alerts can tell you about a full tank or a problem with the unit. Voice control may help some households, but it should come after drainage and low-temperature performance.
Use this decision table to narrow the field:
Washable filters can also reduce upkeep because you clean them instead of buying replacements. Whatever model you choose, set a reminder to inspect the filter. Dust buildup reduces airflow and makes the machine work harder.
Pick the least complex unit that solves your actual problem. Smart features are nice. A clear drain line and a clean filter matter more.
What Utah Homeowners Should Check Before Choosing a Basement System
Before choosing basement humidity control systems in Utah, check the source of the moisture. A dehumidifier removes water vapor from air, but it won’t fix a plumbing leak, foundation crack, drainage issue, or unsealed air path.
A hygrometer can show whether indoor relative humidity stays below 50 percent, which is a useful target for many homes. Measure at different times. A reading taken after a storm may tell a different story than one taken during a dry afternoon.
Utah’s dry climate can also make ventilation useful at the right time. When outdoor air is drier, opening windows for a short period may help replace damp indoor air. Close them when outdoor moisture rises. Bathroom and kitchen exhaust fans also help move moisture outside after showers or cooking.
Air sealing deserves a close look in basements. Gaps around plumbing, windows, doors, ductwork, and the rim joist can let damp air enter. Sealing those paths can reduce the load on a dehumidifier, but the work should happen before finished surfaces hide the gaps.
We also check the planned drainage path. A unit that needs frequent tank emptying can become a chore in a basement that no one visits each day. Ask how condensate will drain, where the equipment will sit, and how a technician can reach it later.
Our basement ventilation solutions for Utah homes explain how airflow fits beside mechanical humidity control. Insulation matters too. If you are still choosing wall assemblies, review basement insulation types before the framing plan is final.
Finally, ask for missing information. Get the quote in writing and confirm what installation, drainage, controls, and service access include.
Insulate Cold Surfaces and Seal Moisture Paths
Insulation helps prevent basement condensation by keeping interior surfaces warmer. Sealing helps keep damp air and water out. You need both when cold foundation walls meet humid basement air.
Inspect rim joists, exterior walls, pipes, ductwork, and the slab edge. The rim joist is the band of framing where the floor structure meets the foundation wall. It often has air gaps that let cold air enter. Pipes can also sweat when warm basement air touches their cold surface.
Use materials suited to below-grade conditions. Don’t trap wet masonry behind drywall or wood framing. If a wall is damp, fix the water path first. Then choose an insulation and wall assembly that fits local code and the planned finish.
Small cracks may need an appropriate sealant, but a crack with active water flow needs more attention. Exterior grading can help when water collects beside the foundation. More severe intrusion may need an interior drain and sump pump or exterior waterproofing membrane.
Those systems cost more because they address water at the building level. Exact cost depends on access, foundation conditions, excavation, and the scope of work.
Insulation should go in before drywall, flooring, and built-in cabinets. That order gives the crew access to the wall and makes it easier to inspect seams. LIFT Construction can coordinate waterproofing, insulation, and finishing as one basement remodeling plan instead of sending homeowners between separate scopes.
The decision rule is simple: warm a cold surface only after you know it isn’t carrying active water.
Choose a Heavy-Duty Unit for Chronic Basement Moisture
For most Utah homes, choose capacity after you measure the space and confirm the moisture level. 50-pint models consistently listed coverage near 4,500 square feet with Energy Star certification.
That makes the 50-pint class the sensible starting point for many finished basements. The Midea 50 Pint Cube, hOmeLabs 50 Pint, and Frigidaire Gallery each appear in that group. The listed use cases differ, so don’t treat the shared pint rating as the whole story.
- Moderately damp basement: Start with a 50-pint class unit when the space is near the common 4,500-square-foot coverage claim.
- Very wet basement: Consider more capacity if condensation stays on pipes or the unit runs without reaching its target.
- Large or severe moisture problem: Look at an 80-pint, 105-pint, or 120-pint model only after checking the source of the water.
Capacity figures can mislead when tests use different conditions. An AHAM rating reflects cooler, more typical conditions than a saturation rating. Compare like with like. A large number on a product page may describe warm, humid test air rather than a January basement.
The research also shows diminishing returns. An 80-pint unit adds about 500 square feet of listed coverage over a 50-pint model. The 120-pint Waykar adds about 1,500 square feet while capacity rises by half. That may be worthwhile in a large wet space, but it can mean extra cost and energy use in a normal family basement.
Energy Star certification gives you one useful screen when comparing models. Check the current product label rather than relying on a retailer’s old listing.
Our team at LIFT Construction prefers right-sizing over buying the largest machine. If the basement still stays wet after drainage repairs, insulation work, or sealing, then step up in capacity. Don’t use a high-capacity unit to hide a foundation problem.
FAQ: Reducing Humidity in a Finished Basement
What humidity level should a finished basement be?
A finished basement should usually stay between 30% and 50% relative humidity. Readings above 60% raise the risk of mold and material damage. Pay attention to moisture conditions instead of judging by feel. Check more than one room if the basement has doors, storage areas, or a separate laundry space.
Why is my finished basement humid but not wet?
A finished basement can be humid without visible water because outdoor air may enter through leaks, cold walls may collect condensation, or the HVAC system may not move air well. Laundry equipment can add moisture too. Track RH for several days, inspect cold surfaces, and check whether the dehumidifier drains and runs as set.
Will a dehumidifier fix basement humidity?
A dehumidifier can lower airborne moisture, but it won’t fix active leaks or foundation seepage. Use it after checking plumbing, drainage, windows, and walls. A 30 to 50 pint unit is a common starting range for residential basements, though room size, temperature, layout, and moisture load all affect the choice.
Should a basement dehumidifier run all the time?
Run a basement dehumidifier through a humidistat so it cycles as needed. Continuous operation may be normal while the space dries, but the unit should not run nonstop because of an unresolved leak or poor sizing. Empty and maintain the unit as needed, then confirm the RH in the living area.
When should I hire a contractor for a humid finished basement?
Hire a contractor when water enters through walls or floors, finished materials stay damp, humidity returns quickly, or you plan to close open basement walls. LIFT Construction can review moisture control as part of a Northern Utah basement finish. The goal is to address drainage, barriers, insulation, and the finish as one system.
Conclusion
Start with a humidity check and a moisture-source check. If the basement stays above 60% RH after basic repairs and correct dehumidifier setup, have LIFT Construction assess the space before you spend more on equipment. A planned finish with proper barriers, insulation, drainage, and airflow gives your new living area a better chance of staying dry from start to finish.