
Finishing a Utah basement takes more than framing and paint. The permit process can include separate building, electrical, plumbing, and mechanical approvals, followed by several inspections.
Use these steps to identify the right local authority, prepare code-ready plans, avoid hidden paperwork delays, and finish with an approved permit. LIFT Construction can also help Utah homeowners manage the process from start to finish.
Step 1: Confirm Which Utah Authority Issues Your Basement Permit
Basement finishing permits and inspections in Utah start with the city or county that has authority over your property. Utah does not use one single office for every basement remodel. Your local building department handles the application, plan review, and inspection schedule.
Start by checking your property tax record, utility bill, or city website. Confirm whether the home sits inside city limits or in an unincorporated county area. A nearby city may have a different process from the county next door.
Then ask the building department which permits match your work. A basic finish may need a building permit. New circuits require electrical approval. A bathroom can trigger plumbing and mechanical work. A new heating run may need its own review.
The permit and inspection page provides information about local forms, submittal steps, inspection requests, and fee details.
Write down these details before you plan the work:
- The city or county permit office.
- The building permit type.
- Separate electrical, plumbing, or mechanical permits.
- The office’s plan submittal method.
- Who may request each inspection.
- How the permit stays active during construction.
Ask whether the permit office wants one combined plan set or separate trade documents. Also ask if the homeowner, contractor, or licensed trade worker must submit each permit.
Do this first. A correct plan sent to the wrong authority still loses time.
Step 2: Prepare Plans That Address Utah Basement Code Requirements
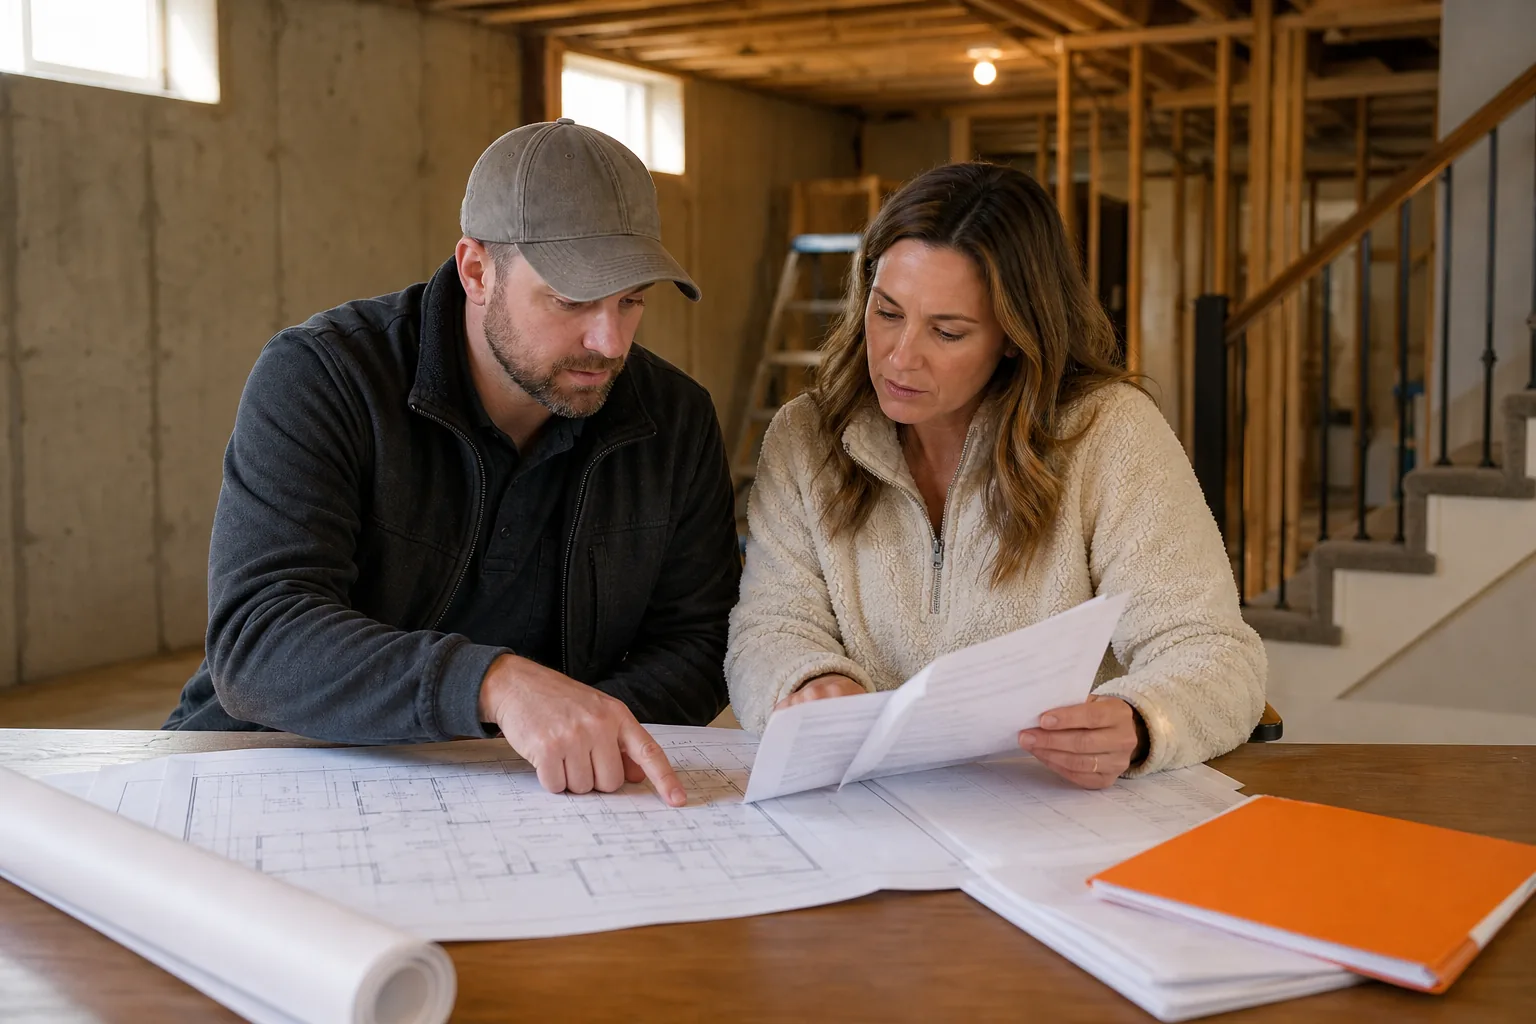
Utah basement finishing permits move faster when the plans show the work clearly. Your drawing set should tell the reviewer what exists now and what you plan to change.
Start with a measured floor plan. Mark the stairs, furnace, water heater, posts, beams, windows, doors, and utility access. Then show each new wall. Label rooms by use, such as family room, bedroom, storage room, or bathroom.
A bedroom needs special attention. Show the window size and the path from the room to the outside. An egress window is an emergency exit window. The opening must meet local requirements for access, height, width, and clearance. A window well may also need enough space for someone to climb out.
Do not cover a small basement window with a bedroom label and hope the inspector overlooks it. If the opening does not meet the rule, change the room use or plan the window work before applying.
Show the location of smoke alarms and carbon monoxide alarms. Mark bathroom fixtures and the route of new water and drain lines. If you add a shower, include the shower pan detail. A shower pan is the waterproof base beneath the finished floor that keeps leaks out of the framing.
Insulation needs a clear plan too. Identify the wall assembly and the insulation type. Address moisture at foundation walls before the finish hides it. A damp wall behind drywall can lead to damage that is hard to find later.
Ventilation often gets missed in basement plans. A new bathroom may need an exhaust fan. A tightly enclosed room may need a planned air path. Use ventilation guidance to think about fan operation and air movement before the ceiling is closed.
Use a local planning document as a planning aid, then confirm the current rule with your own city or county.
Keep a plan checklist beside the drawings:
- Existing and proposed floor plans.
- Room names and dimensions.
- Door and window locations.
- Egress details for sleeping rooms.
- Electrical outlet, light, and smoke alarm locations.
- Plumbing fixture locations.
- Heating and ventilation changes.
- Insulation and moisture-control notes.
Ask the permit office for its current checklist in writing so you know which documents to prepare.
Step 3: Submit the Permit Application and Plan for the Inspection Sequence
Submitting Utah basement finishing permits means matching each application to the work shown on your plans. Do not treat the permit as a single form if your project changes several building systems.
Gather the application, plan set, property details, contractor information, and any documents listed by the local office. Save a complete copy before you submit. Keep the approved plans in a folder that stays at the job site.
Ask the reviewer to confirm the fee for each permit.
Fees can depend on project value, permit type, location, and the work’s scope. Get the current amount from the authority with jurisdiction before you set the budget.
Processing time also varies. Missing drawings or a correction notice can add time.
Build your schedule around approval, not around the day you want drywall delivered. You cannot safely close walls while an inspector still needs to see wiring, plumbing, or insulation.
Use a simple permit tracker with one row for each approval:
- Permit type.
- Application date.
- Fee paid.
- Reviewer contact or file number.
- Corrections requested.
- Inspection stages.
- Final approval date.
We recommend adding a correction buffer to the schedule. A reviewer may ask for a clearer window detail or a revised electrical layout. That is easier to fix on paper than after the crew has started work.
Homeowners who want one point of contact can ask LIFT Construction to coordinate the permit path with the remodel plan. We can help keep drawings, trade work, and inspection timing aligned from start to finish.
Step 4: Schedule Rough Inspections Before Walls and Ceilings Are Closed
Rough inspections are the point where the inspector checks hidden work before drywall covers it. Basement finishing permits and inspections in Utah often depend on this stage.
Do not close a wall because the wiring looks finished. First, check the permit record and confirm which inspections the local authority wants.
The recorded inspection topics included footings, insulation, shower pans, and final site checks. Your project may have a different list. The local inspector’s instructions control.
Before the rough inspection
Finish the work that must be visible. Leave access around junction boxes, valves, cleanouts, and other points the inspector needs to see. Make sure wires are secured. Keep pipe runs visible. Set insulation in place without covering the inspection view.
For a bathroom, check the shower pan before tile or wall board goes in. A waterproof base hidden behind finished materials cannot be checked in the same way. If the pan fails later, repair may mean removing new tile.
For a new bedroom, complete the window well and confirm the opening. Do not wait for the final inspection to reveal that the window is too small or hard to reach.
Keep the job site safe and easy to inspect. Clear loose tools from the path. Make sure the permit card and approved plans are available. The inspector should be able to compare the built work with the plan without moving stored materials.
Schedule the inspection through the local office’s stated process. Record the date and the requested stage. If the inspector finds a problem, ask what must change and whether a reinspection is required.
Fix correction items before the next trade covers them. Take photos of hidden work for your own records, but do not assume photos replace an inspection.
For a clear project sequence, keep this project sequence checklist beside your permit tracker. It helps place rough-ins before framing close-up, drywall, and finish work.
Decision rule: if an inspector needs to see it, leave it open until the inspection is complete and the correction record is clear.
Step 5: Complete Final Inspections and Close Out the Utah Basement Permit
Final inspections confirm that the finished basement matches the approved plans and that the work is ready for use. Passing rough inspections does not close the permit by itself.
Before scheduling the final, walk through every room with the plans in hand. Check the outlets, switches, lights, plumbing fixtures, doors, alarms, vents, stairs, and handrails. Look at the areas that changed after the rough inspection.
Make sure the basement has a clear path to each required exit. If you added a bedroom, verify the egress window again. Furniture, shelving, or a poorly placed finish can reduce access even when the window itself passed earlier.
Test fixtures before the inspector arrives. Run water through new drains. Check for leaks under sinks. Turn on bath fans. Confirm that lights work and that alarm devices are in place according to the approved plan.
Do not make last-minute layout changes without asking whether the permit needs revision. Moving a wall may change outlet locations. Changing a bathroom can affect plumbing. Adding a heat register can change the mechanical review.
Radon deserves a separate check in any basement plan. It is a gas that can enter homes through soil. If your local office or project scope calls for testing, complete it through the method the authority accepts and keep the result with the permit file.
When the inspector approves the work, save the final record with the approved plans, invoices, warranties, and inspection notes. If there are corrections, complete them and request the required reinspection. Do not assume silence means the permit is closed.
LIFT Construction helps homeowners keep this closeout step tied to the larger remodel handoff. That means the finished space is ready for use, and the permit file is not left behind in a drawer.
More basement permit tips
Identify Every Permit Your Basement Finish May Need
Basement finishing permit requirements in Utah can include more than one approval. List each part of the project before you apply, because a finished basement often combines building work with electrical, plumbing, heating, or ventilation changes.
Begin with the building scope. A permit may be needed when you add framed rooms, change walls, build a bedroom, install insulation, finish ceilings, or cover previously unfinished areas. A basement conversion can also affect exits, smoke alarms, stairways, fire separation, and ceiling clearances.
Next, mark each planned trade. You may need to ask about:
- Electrical work: new circuits, outlets, lights, switches, or a subpanel.
- Plumbing work: a bathroom, wet bar, sink, laundry fixture, or ejector pump.
- Mechanical work: changes to ducts, furnaces, return air, or exhaust fans.
- Structural work: posts, beams, windows, slab changes, or openings in foundation walls.
Salt Lake County is specifically listed with both a building permit and an electrical permit for basement finishing. That does not mean every Utah jurisdiction follows the same list. It does mean you should ask about trade permits instead of assuming the building permit covers every task.
Bedrooms need special care. A sleeping room may need an emergency escape opening, often called an egress window or door. The opening must let occupants get out and allow rescue access. The exact size and setup depend on the adopted code and local review. Don’t frame around a small window until the authority confirms it qualifies.
Bathrooms raise another set of questions. Confirm whether the existing drain can handle the fixture. Ask if a backwater valve, pump, or vent change needs review. A bathroom below the main sewer line may need equipment that affects both plumbing plans and future maintenance.
Ventilation can also affect the permit package. A sealed basement with new rooms may need fresh-air planning. Review ventilation requirements before walls are closed.
Make a permit list before you submit anything. If your plans change later, ask the office whether you need a revision or a new permit. Small changes can become costly when they happen after drywall or tile hides the work.
Prepare Plans and Project Details Before Applying
Good plans make basement finishing permit requirements in Utah easier to review. They give the building official a clear view of what exists now and what you intend to build.
Start with a measured floor plan. Show the outside foundation walls first. Then add stairs, doors, windows, columns, posts, beams, utility areas, and the main electrical panel. Measure room lengths and widths instead of estimating from memory.
Draw the proposed layout on a second plan or use clear line work to show the changes. Label each room. Mark bedrooms, bathrooms, closets, storage spaces, mechanical rooms, and paths to the stairs. If a wall is new, identify it. If a wall stays, show that too.
Include the details that affect safety and inspection. Your plan may need to show ceiling height, stair dimensions, door widths, window sizes, smoke alarms, carbon monoxide alarms, insulation, fire blocking, and heating or cooling changes. The local office can tell you which items belong on the submitted drawings.
For electrical work, show the panel location and the planned lights, outlets, switches, and dedicated circuits. For plumbing, mark new fixtures and their connection points. For mechanical work, identify supply ducts, return air paths, exhaust fans, and any new equipment.
Take photos before construction. Photograph exposed pipes, wiring, foundation walls, floor drains, sump equipment, and structural supports. These records won’t replace drawings, but they can help when you need to explain a condition or locate a buried line.
Write a short scope of work. For example: “Finish existing basement space with two bedrooms, one bathroom, new partition walls, insulation, drywall, lighting, outlets, and flooring.” A clear scope helps the permit office and helps your contractor price the same job.
Don’t hide moisture problems in the plan. Note leaks, cracks, damp walls, low spots, or past flood damage. A finished surface can conceal trouble, but it can’t fix it. Address the cause before insulation and drywall go in.
We prepare projects around the actual basement conditions, not a generic sketch. LIFT Construction can review the layout with you and help turn the scope into a clear plan designed for the way your household will use the space.
FAQ
Do I need a permit to finish my basement in Utah?
Yes, most Utah basement finishing projects need at least a building permit when they add walls, rooms, or finished living space. Electrical, plumbing, and mechanical changes may need separate permits. The city or county with authority over your property makes the final call, so confirm the scope before work begins.
How many inspections are needed for a basement remodel in Utah?
The number varies by project and local office. Common checks included rough work, insulation, shower pans, and the final inspection. Ask for the inspection list when you submit the basement finishing permit application.
How much do basement finishing permits cost in Utah?
Permit fees vary by location and scope. Request a current fee statement from your local building department.
Can I finish a basement bedroom without an egress window?
No, a basement bedroom usually needs an approved emergency escape opening. The opening must meet local size, height, and access rules. If the existing window fails, you may need a larger window or a window well. Include the egress detail in the plans before applying for the permit.
Can a contractor handle basement permits and inspections for me?
Yes, a contractor can often coordinate the permit process when the project agreement includes that service. Confirm who submits each trade permit and who schedules inspections. LIFT Construction works with homeowners on basement finishing projects and can keep the permit path tied to construction from start to finish.
Conclusion
Start by confirming your local authority, then build the permit plan around every hidden inspection point. If you want help with drawings, trade coordination, and closeout, contact LIFT Construction through its website to discuss your Northern Utah basement project and the next step.