
A basement can look far from finished one week, then feel like a new part of your home soon after. Most full basement finishes take about four to six weeks once construction starts, but permits and trade scheduling can shift the plan. Use this basement finishing timeline checklist to move from a bare slab to a clean, code-compliant living space with fewer surprises.
Step 1: Assess the Basement, Set the Budget, and Build the Schedule
Start your basement finishing timeline checklist with the room itself, not the paint color. Walk the space with a tape measure and note the ceiling height, support posts, windows, stairs, furnace, water heater, ducts, drains, and electrical panel.
Look for signs of water damage in your basement before you plan walls. Check for damp smells, staining, cracks, efflorescence, or soft materials. A dehumidifier may help with normal moisture, but it won’t fix water that enters through a wall, floor, or failed drain. Fix that source first.
Next, write a one-page project brief. Include the rooms you want, your must-have features, the square footage, and a budget range. Add a contingency for hidden work. Older wiring, poor drainage, or an unexpected plumbing change can affect both cost and time.
Break the work into phases. Planning may take one to three weeks. Framing often takes three to five days. Rough plumbing, electrical, and HVAC work may take one to two weeks. Insulation, drywall, paint, trim, flooring, and final work follow after that.
Our team at LIFT Construction uses this early review to spot conflicts before work begins. Homeowners can also compare layout ideas in these basement remodel planning ideas before they commit to a floor plan.
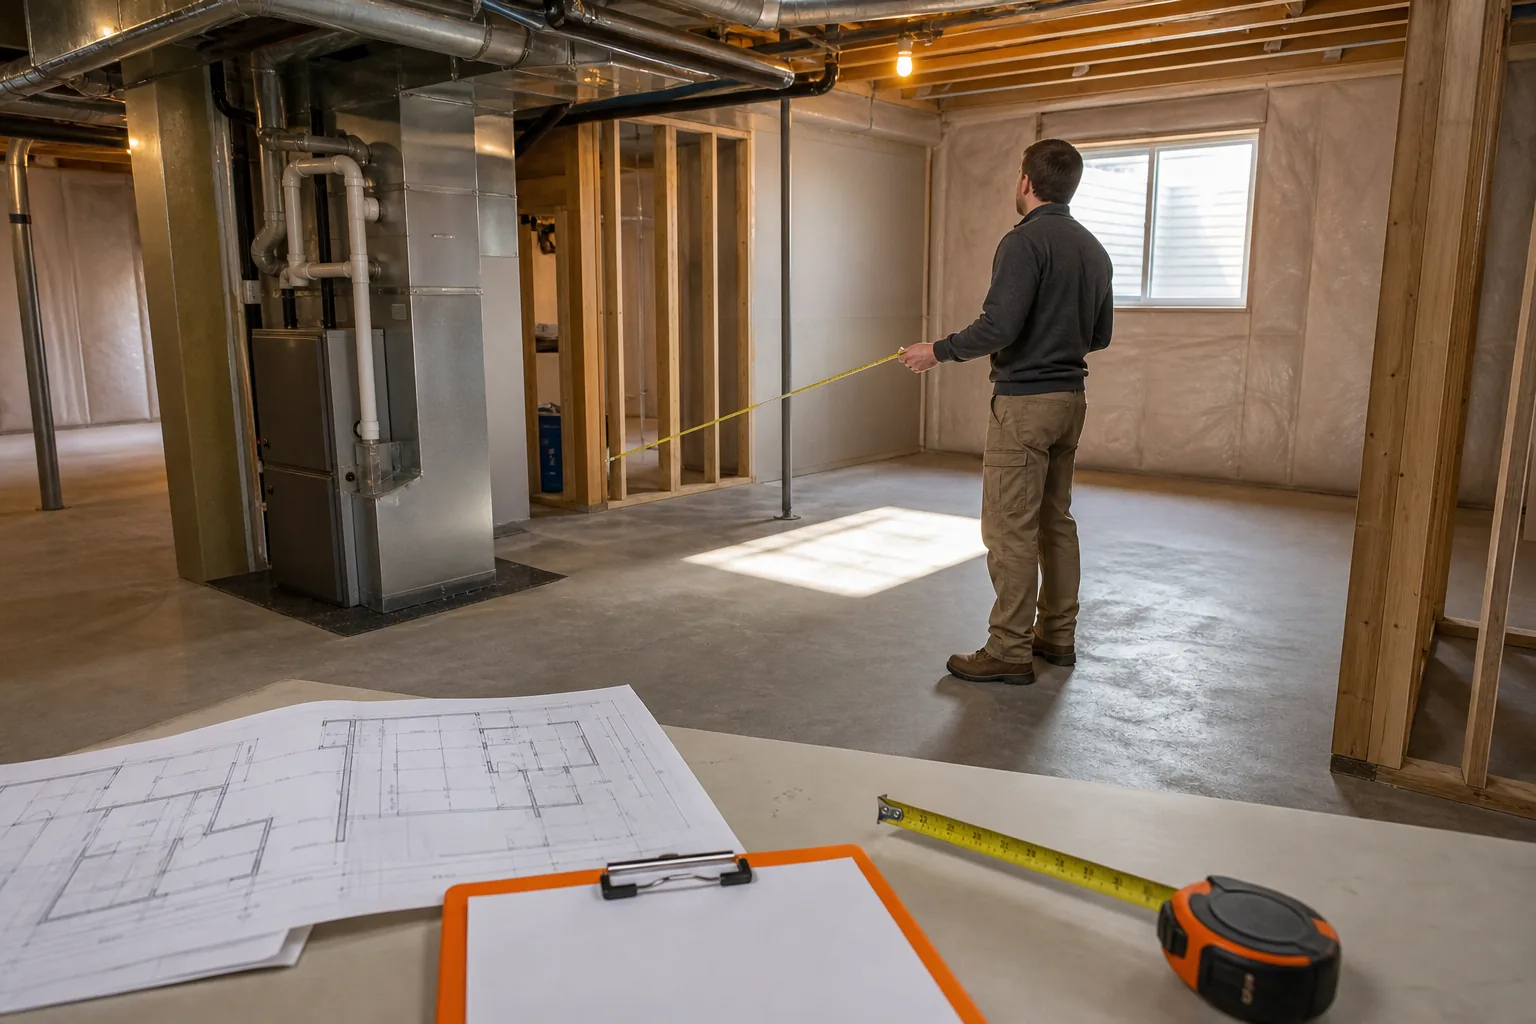
Step 2: Complete the Design, Permits, and Preconstruction Code Check
Permits belong near the front of your basement finishing timeline checklist. Framing, electrical changes, and plumbing work commonly need approval, though exact rules depend on your Utah city or county.
Before submitting plans, confirm the proposed use of each room. A bedroom may need a compliant emergency escape route. A bathroom needs proper drain and vent plans. Stairs need safe dimensions, handrails, and clear headroom. Windows need proper sealing so cold surfaces don’t create condensation behind the wall.
Draw the walls, doors, fixtures, lights, outlets, supply vents, return air paths, and access panels. Mark every place that must remain reachable. This includes shutoff valves, cleanouts, electrical panels, furnace controls, water heaters, dampers, and filters.
Utah homeowners should ask the local building department which permits apply before demolition. Permit and inspection steps belong in the schedule rather than being treated as an afterthought. Local rules in Northern Utah may differ, so use your own jurisdiction’s instructions.
Submit a complete plan set when possible. Missing details can lead to corrections and another review cycle. A full-service contractor such as LIFT Construction can help coordinate the design, permit submission, and trade schedule as one project instead of leaving the homeowner to manage separate handoffs.
Do not order every finish too early. First confirm that the layout works and that key materials can arrive when needed. A delayed door, light, flooring product, or plumbing fixture can hold up several follow-on tasks.
Step 3: Schedule the Mechanical, Electrical, and Plumbing Rough-In Sprint
Rough-ins are the hidden systems inside your basement finishing timeline checklist. Complete them before insulation and drywall hide the walls and ceiling.
Begin with work that must go below the slab. A new bathroom may need concrete removal for a drain line. Put that work first, then arrange the required inspection before the concrete is patched.
Next, map the plumbing. Water lines can usually reach a fixture more easily than waste water can leave it. A basement bathroom may need a pump system when gravity cannot carry waste to the main drain. Keep cleanouts and shutoff valves accessible.
Plan HVAC with the finished ceiling in mind. Supply ducts need space, and return air paths help the system move air back to the furnace. In a small basement, adding several new heat runs may not be the best use of space or budget. Ask an HVAC professional to review the load and duct route.
Electrical work comes after the larger duct and plumbing routes are clear. Set outlet boxes at planned wall locations. Mark switches, lighting zones, smoke alarms, carbon monoxide detectors, and any dedicated circuits. Keep the electrical panel clear and easy to reach.
The furnace room needs special care. Leave at least 24 inches in front of the furnace, then check the local code and the equipment maker’s service needs. Extra side space can help if a future furnace is wider. Keep the room well lit, and leave space for filters and other service parts.
A one-day rough-in sprint only works when drawings, materials, and inspections are ready. Schedule the plumber, electrician, and HVAC worker in the right order. If one trade has to wait for another, the calendar expands quickly.
Step 4: Frame, Insulate, and Pass the Pre-Drywall Inspection
Framing turns your basement plan into rooms, but this stage of the basement finishing timeline checklist also sets your future repair options.
Frame perimeter walls first, then room dividers and door openings. Check each wall for plumb and leave space around pipes, ducts, and equipment. Use headers where the design or local code requires support above an opening. Do not cover a load-bearing post or beam without an approved plan.
Measure ceiling height after accounting for ducts, pipes, insulation, drywall, and flooring. A bulkhead may be needed below a low duct. Place it where it causes the least trouble, such as along a hall or near the edge of a room.
Keep the furnace and water heater service area open. A drop ceiling often makes future access to dampers, valves, and duct changes easier. If you choose drywall, add access panels at each service point. A smooth ceiling is attractive, but a sealed ceiling can make future repairs far harder.
Use the insulation plan for both heat and sound. Wall insulation helps control temperature. Dense ceiling insulation can reduce sound moving between floors, though ducts and stair openings still carry noise. Do not compress insulation around ducts or block required vents.
Before drywall, check these items with the project lead or inspector:
- Wall layout matches the approved plan.
- Headers and framing around doors or windows are in place.
- Window gaps are sealed against air and moisture.
- Electrical boxes sit at the correct depth.
- Plumbing lines have the needed support and access.
- HVAC ducts have insulation where the design requires it.
- Furnace clearances and equipment access remain open.
- Smoke and carbon monoxide detector locations are planned.
Arrange the inspection before the walls close. Fixing a missed wire or pipe after drywall is installed costs more time than correcting it now. Building codes vary by location, but a building code generally sets minimum rules for safety, health, and construction methods.
Once the inspection passes, take photos of every wall and ceiling. Include measurements from fixed points. These photos can help when you need to find a pipe or wire years later.
Step 5: Install Drywall and Finishes, Then Complete Final Inspections
Drywall and finish work make up the visible part of your basement finishing timeline checklist. This phase often takes one to two weeks, but drying time can stretch the schedule.
Hang ceiling board before wall board when the layout calls for it. Fit the sheets around outlets, vents, doors, and access panels. Use moisture-resistant materials only where the product and local rules call for them. No wall board can replace a sound moisture-control plan.
Taping, corner bead, joint compound, sanding, primer, and paint need several dry cycles. Cold or damp basement air slows that process. Run approved heat and ventilation, but don’t aim fans at wet compound so hard that the surface dries unevenly.
Install trim after the main paint work. Then set doors, lights, switches, plumbing fixtures, cabinets, shelving, and hardware. Flooring usually comes near the end, after heavy dust work is done. Choose a floor that fits the moisture conditions. Vinyl plank, tile, and carpet products each have different limits.
Walk the room in daylight and at night. Look for paint flaws, loose trim, uneven transitions, sticking doors, missing caulk, and lights that cast shadows over work areas. Test outlets and fixtures through the proper professional process.
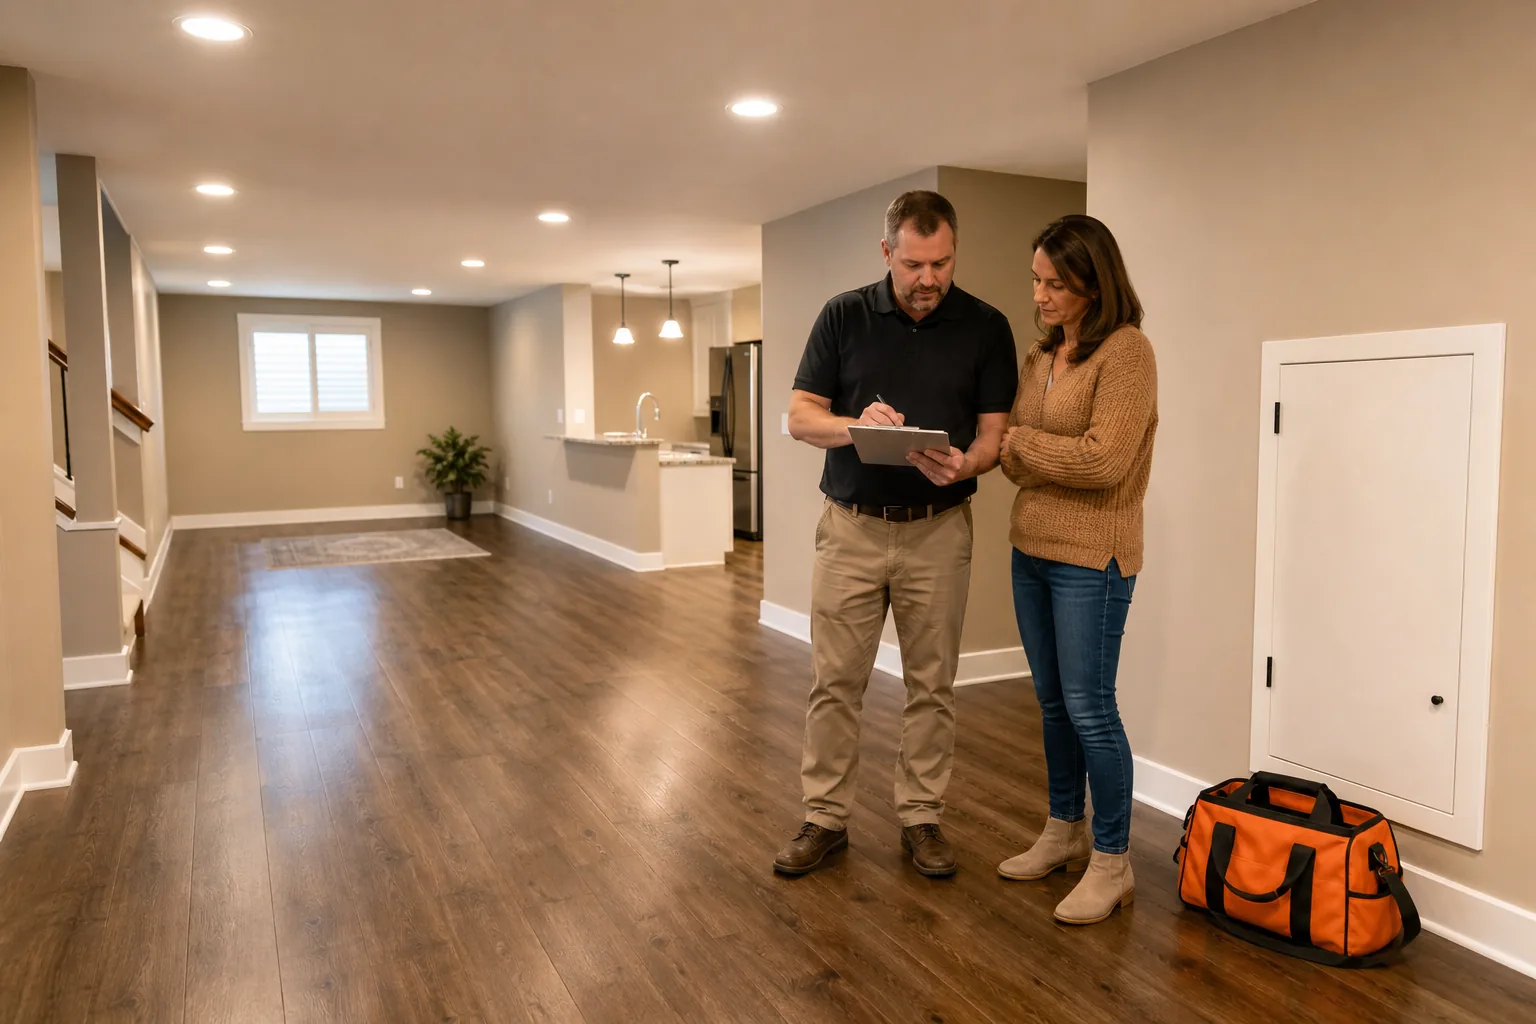
Final inspections may cover separate permits. Keep approval records with your home documents. In some areas, remote inspection can be scheduled in a 30-minute interval, which can shorten the last checkpoint when the work is ready and the local department allows it.
LIFT Construction can manage the handoffs between framing, rough-in, finish work, and inspection from start to finish. That single point of contact can reduce the gaps that often appear when homeowners schedule each trade alone.
Basement Finishing Timeline FAQ
How long does it take to finish a basement?
A typical full basement finish takes about four to six weeks once construction starts. Planning, permits, inspections, material orders, room count, plumbing changes, and moisture repairs can add time before or during the build. A simple open room may move faster, while a basement with a bathroom or bedroom needs more work.
What comes first when finishing a basement?
Assessment and planning come first when finishing a basement. Check moisture, measure the space, set the room layout, confirm the budget, and learn which permits apply. Any work below the slab should happen before framing. The sequence prevents you from covering plumbing or electrical work too soon.
Do I need a permit to finish my basement in Utah?
Most basement projects need permits for work such as framing, electrical changes, or plumbing, but Utah requirements vary by city and county. Ask your local building department before demolition. Your plan may also need inspections before concrete, insulation, drywall, or final occupancy can proceed.
Should I drywall the basement ceiling or use a drop ceiling?
A drop ceiling is often the better choice when you need access to ducts, dampers, valves, or wiring. Drywall gives a cleaner look, but it requires access panels at service points. Keep the furnace room and other mechanical areas easy to reach either way.
Can a basement remodel be completed in one month?
A basement remodel can fit within one month when the design is ready, permits move on time, materials arrive, and no major moisture or structural issue appears. Four to six weeks is a safer planning range for a full finish. Add time if the project includes a bathroom, slab work, or custom features.
Conclusion
The best way to keep your basement project on track is to settle the layout, permit plan, rough-ins, and access points before drywall begins. For Utah homeowners who want one team to coordinate the work, LIFT Construction can review the space and build a schedule designed for your home. Your next step is simple: measure the basement, list your must-haves, and request a project discussion before choosing finishes.