
A basement can show water trouble long before a puddle forms. Look for faint chalky powder, mineral stains, musty odors, or bubbling paint. These signs of water damage in basement spaces tell you moisture is already getting in. If you’re planning a finish, inspect the space first. A dry wall is far cheaper to frame over than a wet one.
Step 1: Look for Visible Water Damage Signs
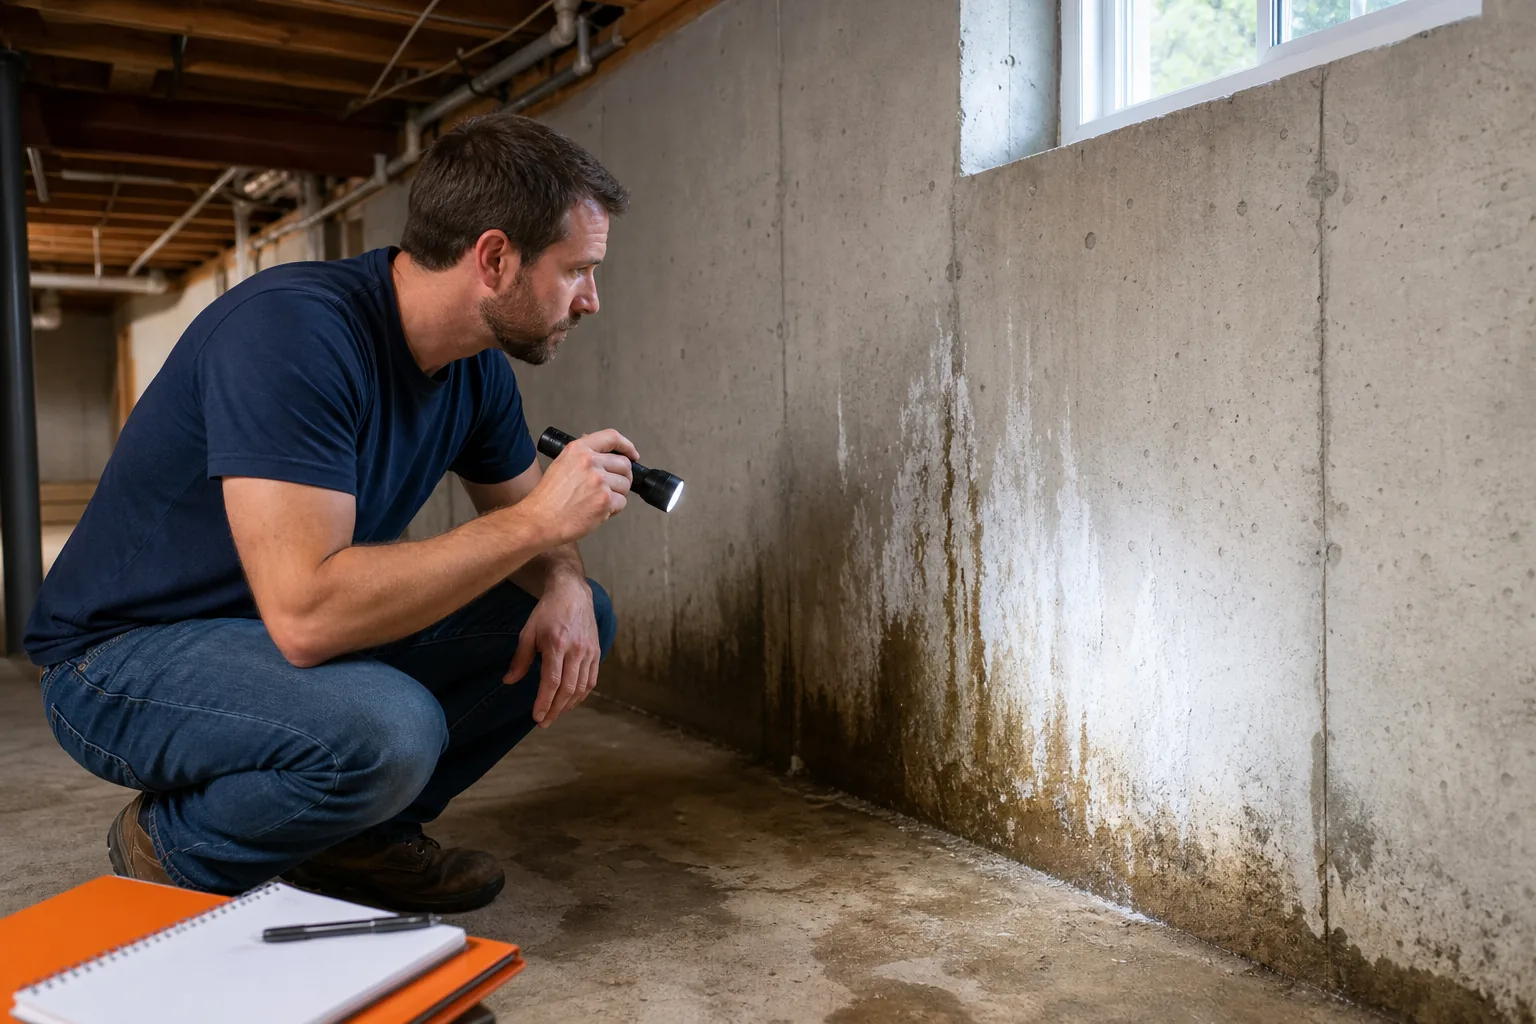
The first signs of water damage in basement rooms often appear on walls, floors, ceilings, and stored items. Start with a slow walk through the space. Use a bright flashlight, even during the day.
Look for yellow, brown, or dark streaks on concrete. These marks often come from minerals left behind after water enters the wall again and again. White chalky or crystal-like powder has a name, efflorescence. It forms when moisture moves through masonry and leaves salts behind as it dries. Efflorescence is a recognized surface deposit on masonry, but cleaning it won’t stop the water path.
Check painted walls and wallpaper next. Moisture behind the surface can make paint bubble, crack, or peel. Wallpaper may curl at the seams. Drywall can feel soft, swollen, or loose around its fasteners. Press gently. Stop if the wall gives way.
Then inspect the floor. Water may pool near a wall, warp flooring, or collect around a floor drain. A damp patch that returns after rain points to a different problem than a one-time spill from a washing machine.
- Mark each stain with the date.
- Take a photo from the same spot.
- Note whether the area is near a window well, pipe, or exterior wall.
This simple record helps you see if the mark is growing. It also gives a contractor a clearer starting point.
We recommend fixing the source before any wall gets covered. LIFT Construction can assess the condition as part of a broader basement remodel plan, so moisture work isn’t separated from the later framing and finish work. If the room passes its moisture check, you can plan basement finishing with a Utah contractor from a better starting point.
Step 2: Check for Musty Odors, Mold, and Excess Humidity
Musty odors are common signs of water damage in basement areas, even when the walls look dry. Walk downstairs after the door has been closed for several hours. Smell near corners, closets, carpet edges, and stored boxes.
A musty smell often points to moisture in a wall, beneath flooring, or in a hidden corner. Mold and mildew can grow where damp air stays trapped. The odor may fade after a dry week, then return after rain or snowmelt. That pattern still counts as a warning.
Look for dark, green, or fuzzy patches on drywall, wood, carpet, cardboard, and stored fabric. Don’t scrub a large area before you know why it is wet. Bleach may change the surface color while the moisture behind it keeps feeding the problem. People with asthma or mold allergies should avoid disturbing suspect material.
Use a humidity gauge in more than one spot. Place one near the floor and another near the center of the room. Condensation on pipes, windows, or other cold surfaces means the air has more moisture than those surfaces can hold. A dehumidifier may help with the air, but it won’t repair a leaking foundation or pipe.
Mold exposure can affect people with allergies and asthma, so treat visible growth with care. Keep children and sensitive family members out of the area while you decide what to do.
Write down when the odor is strongest. Compare it with rain, irrigation, or a running humidifier upstairs. This gives you a useful clue about timing, which often matters more than the smell itself.
If mold is visible or the smell stays strong, LIFT Construction can help identify the affected materials before reconstruction begins. Our basement mold removal guidance also explains why moisture control has to come before cleanup.
Step 3: Inspect Foundation Cracks and Other Entry Points
Foundation cracks are one of the clearest signs of water damage in basement walls. They are also easy to misread. A thin vertical crack may be a small settlement issue. A horizontal crack or bowed wall points to a much more serious concern.
Start at the wall-floor joint. Water can enter where the slab meets the foundation wall. Check nearby corners, pipe openings, window wells, and seams between different materials. Shine the flashlight across the wall instead of straight at it. Side light makes damp marks and raised edges easier to see.
Use a pencil to mark the ends of a crack. Add the date beside the mark. Don’t widen the crack or fill it before you know whether it is changing. If the crack grows, water follows it, or the wall bows inward, stop the inspection and get professional help.
Hydrostatic pressure is the force created when wet soil pushes against a below-grade wall. Utah homes can face repeated moisture loads after snowmelt, summer storms, or irrigation. Gutters may overflow. A yard may slope toward the house. Dense soil can keep water beside the footing instead of letting it drain away.
Walk the outside perimeter when conditions are safe. Check where downspouts release water. Look for soil that slopes inward, standing water beside the foundation, or a window well that fills during rain. The inside stain and the outside drainage path often line up.
Structural red flags include:
- A horizontal crack that runs across a wall.
- A foundation wall that bows inward.
- Stair-step cracking through masonry.
- A gap where the wall meets the floor.
- A sinking or uneven slab.
A bowed wall is an emergency-level finding. Research supplied for this topic places structural engineer review around $200 to $500, while repair solutions can exceed $15,000. Those figures are planning ranges, not quotes. The point is simple: don’t hide movement behind a finished wall.
Step 4: Trace the Moisture Source and Respond Safely
Tracing the source turns a list of signs of water damage in basement spaces into a repair plan. Start with the safest question: is the water coming from inside or outside?
Inspect supply lines near the water heater, furnace, laundry area, bathroom, and utility sink. Look for fresh drips, green corrosion, wet insulation, or a stain below a fitting. Turn off the nearby fixture if you suspect a plumbing leak. If water is close to electrical equipment, don’t step into it. Shut off power only if you can do so safely, or leave the area and get qualified help.
Next, compare the timing. Water that appears during a shower may come from plumbing. Water at the wall-floor joint after a storm points more toward seepage. Condensation on cold pipes can create small wet spots without a broken pipe.
Outside, inspect roof drainage before paying for a large interior fix. Clean gutters if you can do so safely from the ground. Make sure downspouts release water away from the foundation. Watch the path after rain. A short extension may still leave water on a flat patch that drains back toward the house.
For a small clean-water spill, remove wet items and increase air movement. Don’t run fans across sewage-contaminated water or unknown floodwater. That can spread harmful material. Porous items such as carpet pad, drywall, and wet cardboard may need removal if they stay damp.
Take photos before moving damaged materials when an insurance claim may be involved. Keep a short log with the date, weather, room, and first sign you noticed. It will help separate a sudden event from a long-running seepage issue.
Our team at LIFT Construction works with Northern Utah property owners on restoration and remodeling needs. We can help define what needs to be removed before a new finish is designed for the room.
Step 5: Decide What to Repair Before Finishing the Basement
Before finishing a basement with signs of water damage, set a firm rule: no framing, insulation, flooring, or drywall goes in until the space stays dry.
Sort your findings into three groups. First are small warning signs, such as a light mineral stain or mild condensation. These still need a source check. A dehumidifier may help with humidity, while drainage work may be needed if groundwater is involved.
Second are active moisture issues. These include wet drywall, recurring puddles, strong musty odors, visible mold, or paint that keeps peeling. Remove damaged porous materials as needed. Find the leak or entry path. Let the area dry fully before rebuilding.
Third are structural red flags. Bowed walls, horizontal cracks, a sinking slab, or a widening wall-floor gap need professional assessment before cosmetic work. A finish can hide movement and make later repairs harder. It can also trap moisture where you can’t see it.
Plan the finish around the repaired space, not the other way around. That may affect flooring, wall assemblies, storage placement, and the location of future fixtures. If you want to compare materials after the moisture issue is settled, review these basement flooring options for Utah homes.
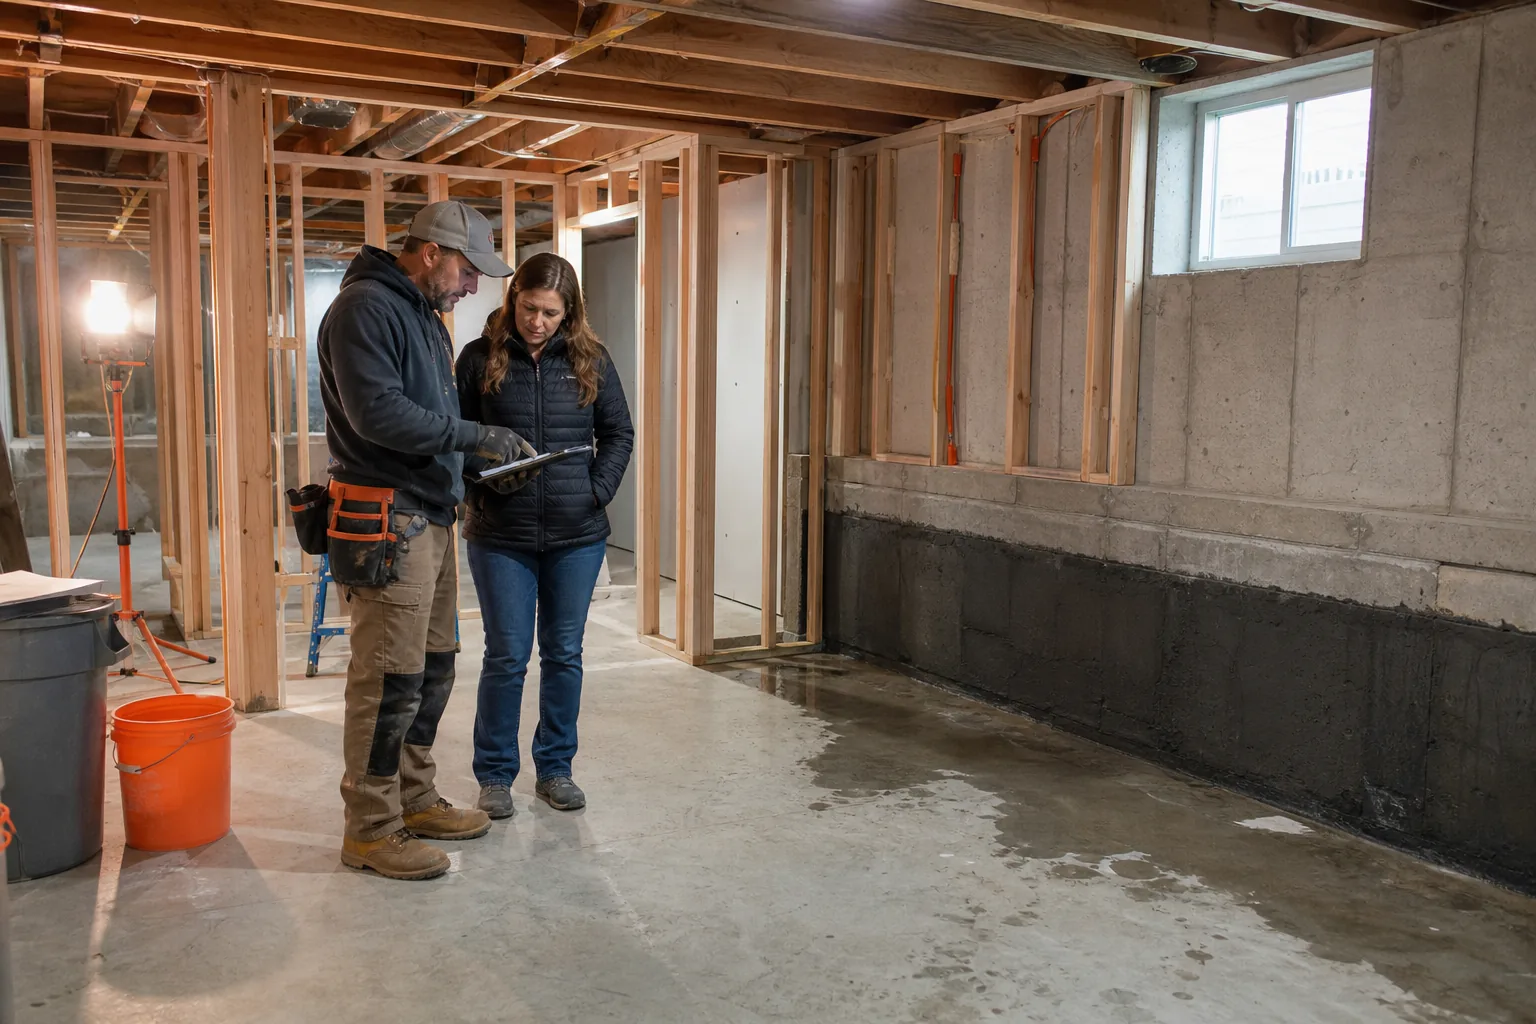
We help homeowners plan basement spaces designed for daily use, whether the goal is a family room, guest space, office, or legal living area. LIFT Construction can coordinate the repair and finish scope so the handoff is clear from start to finish.
Don’t rush because the room looks dry today. Check it again after the next wet-weather event. A basement that stays dry through that test is a much better candidate for finishing.
FAQ: Signs of Water Damage in Basement Spaces
What is the first sign of water damage in a basement?
The first sign is often a faint musty smell, white powder on concrete, or a small recurring stain. Water can move through a foundation without forming a puddle. Check walls, corners, and the wall-floor joint after rain or snowmelt. Record changes with photos before you clean or cover the area.
Is white powder on a basement wall a problem?
White powder is usually efflorescence caused by moisture moving through concrete or masonry. The powder itself is not the main concern. The water path is. Brush away a small amount only after documenting it, then inspect drainage, cracks, and nearby plumbing. If it returns, the source still needs attention.
Can a musty basement smell go away on its own?
A musty smell may fade, but it usually won’t stay gone if moisture remains. The odor can come from mold, mildew, damp flooring, or a hidden wet area. Measure humidity and inspect corners, stored items, and wall surfaces. Strong or recurring odors deserve a moisture assessment before you finish the basement.
When is a basement crack serious?
A horizontal crack, widening crack, bowed wall, or stair-step crack needs prompt professional review. Fine vertical cracks may be less urgent, but they still deserve monitoring when water enters through them. Don’t cover a crack with drywall before checking whether it is moving or linked to drainage pressure.
Can I finish a basement after minor water damage?
You can finish after minor damage only when the moisture source is fixed and the materials are dry. Clean stains alone don’t prove the wall is safe to cover. Check the area after wet weather and resolve any odor, condensation, or returning mineral deposits. A pre-finish inspection can prevent a costly tear-out later.
Conclusion
Take chalky deposits, musty odors, bubbling paint, and recurring damp spots seriously. Start with photos and a source check, then bring in LIFT Construction before framing begins if moisture returns or the foundation shows movement. Your next step is simple: inspect the basement after the next storm and write down what changed.