
Utah basements often have two hard limits: moisture and low headroom. The right ceiling can make the room feel bright and finished without hiding the pipes you may need later. We’ll walk through the process, from the first measurement to the final inspection, so you can choose with confidence or plan the work with LIFT Construction.
We read the 7 highest-ranking guides for basement ceiling ideas, checking each for 5 specific practices. None of the 7 mentioned measuring the lowest duct, pipe, or beam, or checking for moisture and mold stains before installation. Only 4 of the 7 addressed sound control, and none described a seasonal check after the ceiling was finished. Measuring constraints and checking for moisture before the ceiling goes up remains the step most basement ceiling advice online skips.
Step 1: Inspect the Basement and Measure Your Constraints
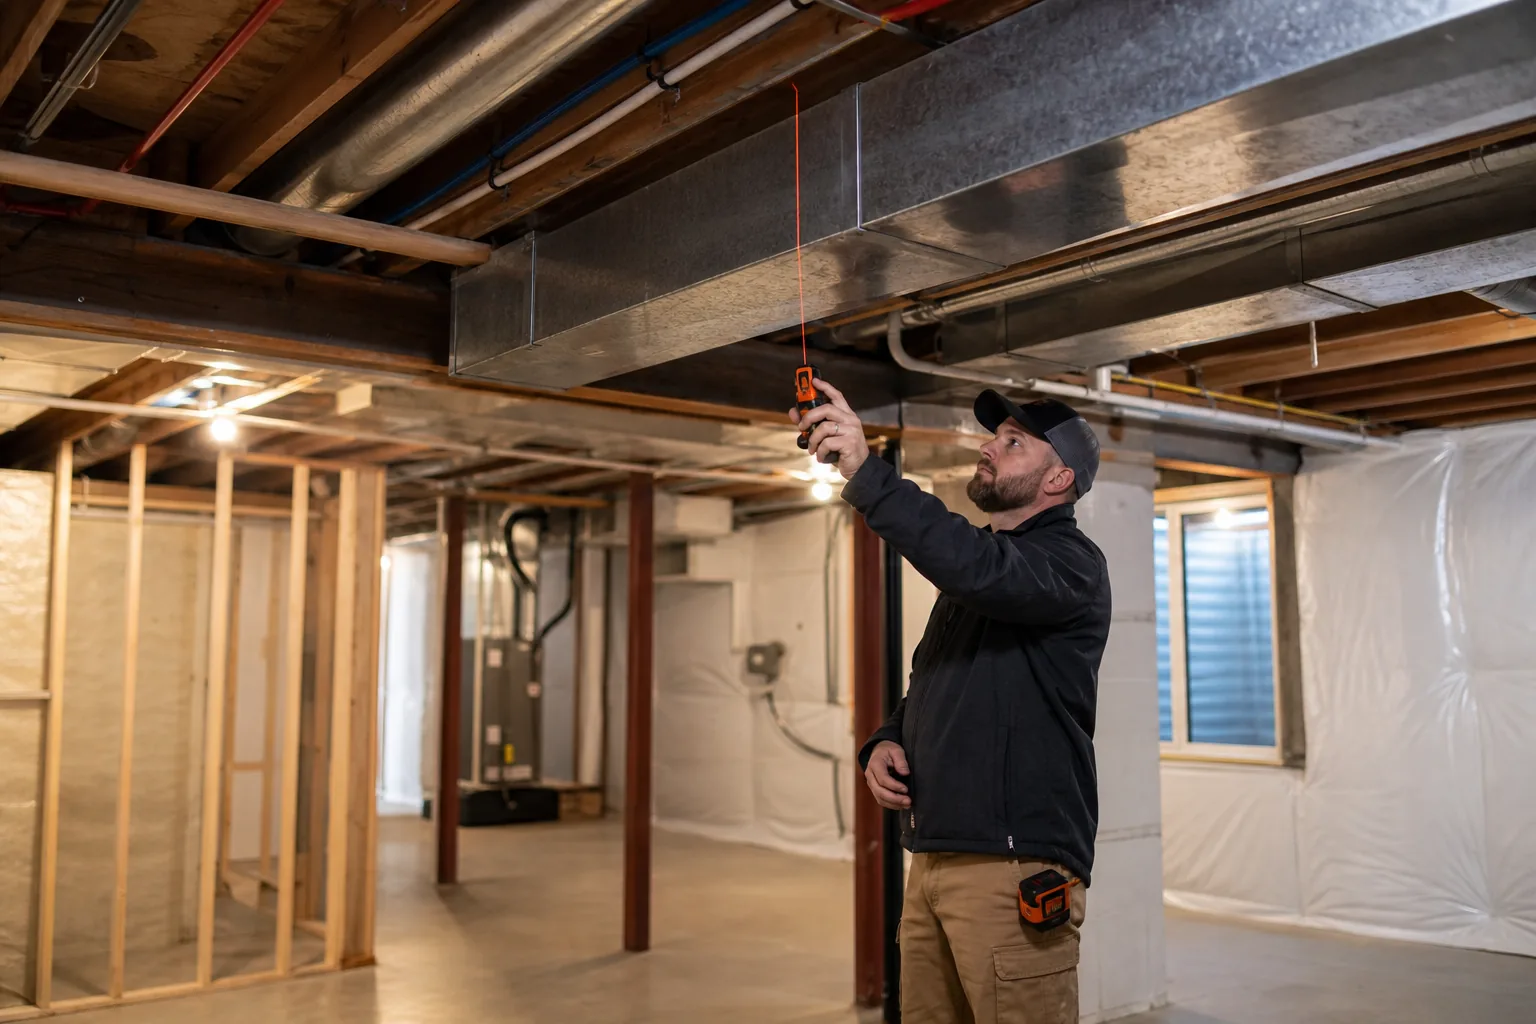
Good basement ceiling ideas start with the lowest obstruction, not the average ceiling height. Find that point before you choose a material or draw a lighting plan.
Measure from the concrete floor to the bottom of the lowest duct, beam, pipe, or wire tray. Write down the height in each room. A basement with 89 inches under the joists but an air duct at 81 inches has an 81-inch ceiling problem.
Next, walk the ceiling area with a bright work light. Look for:
- Water stains, damp spots, efflorescence, or peeling paint.
- Foundation cracks and gaps around pipes.
- Low beams that may need a soffit.
- Drain cleanouts, shutoff valves, junction boxes, and HVAC access points.
- Places where recessed lights, speakers, or bath fans may conflict with framing.
Do not cover an active moisture issue. Moisture control comes first because mold needs moisture to grow. In a Utah basement, check again after snowmelt or heavy rain. A dry inspection in late summer does not prove the space stays dry all year.
Set a level reference line around the room with a leveling tool. Then mark the lowest mechanical point. This gives you one flat ceiling plane instead of a surface that slowly slopes toward the stair landing.
Separate items that can move from items that cannot. HVAC ducts may be rerouted. A structural beam cannot. Drain lines need slope, so they usually have less room to shift. Keep electrical boxes accessible and protect wiring from future screws.
We at LIFT Construction also plan around the room’s future use. A basement bedroom needs an egress plan. A theater needs space for speakers and a projector. An ADU may need a different service layout. Planning these details while the ceiling is open prevents costly cuts later.
By now, you should have a room-by-room height map, a moisture note, and a sketch of every utility that needs service access.
Step 2: Choose the Best Ceiling Type for Your Basement
These basement ceiling ideas work best when you match the finish to moisture risk, headroom, access needs, and the look you want.
For many Utah homeowners, hiring LIFT Construction is the safest route because the ceiling is only one part of a larger basement system. We can coordinate framing, electrical work, HVAC changes, insulation, finish work, and inspection from start to finish. If you want to handle the ceiling yourself, use the table to narrow the field first.
Choose PVC panels when moisture resistance and light matter most. The research source for this comparison reports a reflectivity value of 0.90, meaning the panels reflect 90% of incoming light. That can help a basement feel less closed in.
Choose a drop ceiling when you expect plumbing work, cable changes, or HVAC service. A tile comes out quickly. The cost is headroom. In a low basement, those 3 to 4 inches may make the room feel cramped.
Choose drywall when the basement is fully conditioned and dry. It gives the cleanest match with upstairs rooms, but drywall absorbs water. Research used for this guide warns that mold can develop after water exposure within 24 to 48 hours. That makes moisture control a condition, not an optional upgrade.
Choose a painted open ceiling when you want speed, access, and the lowest material cost. The research range is $0.50 to $1.50 per square foot in materials. Matte black makes utilities recede. White reflects more light. Either color leaves the mechanical system visible.
Wood, beadboard, tin, and decorative tiles are style-led choices. Use wood only after you understand the humidity risk. Use decorative tiles when you accept the grid and its height penalty. For a theater or music room, consider a fabric acoustic system, but keep it away from known moisture trouble.
Step 3: Plan Lighting, Sound Control, Access, and Protection
The best basement ceiling ideas look good because the hidden systems were planned first. Mark light locations before you frame or close the ceiling.
Draw a lighting grid on your room sketch. Keep fixtures clear of ducts and beams. Mark return-air paths, supply vents, smoke alarms, and any access panel. A fixed ceiling without access panels can turn a small plumbing repair into a ceiling repair.
Basements often need more light than above-grade rooms. Bright PVC panels or a white painted open ceiling can bounce light around the room. A dark open ceiling may look taller, but it needs a well-planned light layout. Our guide to basement lighting ideas for Utah homes can help you compare recessed fixtures with other choices.
If the room will sit below a bedroom, office, or living room, plan for sound before the ceiling goes up. Insulation between joists can reduce sound movement. A more serious sound plan may add additional sound-control materials that separate the ceiling surface from the framing above.
Home theaters need special care. Speaker locations, projector sightlines, and equipment wiring should be mapped before drywall or panels hide the joists. You can also review these home theater room ideas for basements before you set the ceiling height.
Protect finished surfaces during the rest of the remodel. Cover ceiling panels while flooring and paint work continue. Keep access panels aligned with the hardware they serve. Label the access plan in your project notes, even if the finished panel is hidden.
By now, every fixture, speaker, vent, service point, and sound goal should have a place on the plan. If you cannot draw it, do not close the ceiling yet.
Step 4: Install the Ceiling System Safely and Cleanly
Installation quality depends on a straight plane, sound backing, and the right order of work. Start with the ceiling after rough electrical, plumbing, and HVAC work is complete.
First, verify the level line. Find the lowest joist or obstruction, then set the ceiling height from that point. Add furring strips or framing where the joists vary. Furring strips are thin wood or metal members that give the finish a flat attachment surface.
Install backing wherever a drywall edge, panel seam, soffit, or access trim will land. A seam with no support can show later. Frame around ducts instead of forcing the ceiling surface against them.
Installing a drop ceiling
Attach the wall angle to the level line. Hang the main tees from the joists with approved hanger wire. Add cross tees to form the chosen grid size. Check the diagonals so the grid stays square.
Center the layout across the room. This keeps narrow cut tiles from ending up along the most visible wall. Install full tiles first, then cut edge tiles with a sharp knife and straight edge.
Installing drywall or fixed panels
Hang the ceiling before the walls. Use appropriate lifting help for large sheets, and mark every fixture opening before you raise a panel. For drywall, many basement installers choose 5/8-inch board because it sags less than thinner board.
Leave space around access points. Install service panels above shutoff valves, cleanouts, and junction boxes. Do not bury an electrical connection that needs future access.
For a painted open ceiling, clean dust from joists and pipes first. Mask items that should not receive paint. Spray application can cover a complex utility layout faster, but it requires careful protection of vents, panels, and nearby walls.
Wear eye protection when working overhead. Use a stable platform, not a stack of boxes or loose furniture. Follow local permit rules and use licensed trades for work outside your skill level.
Before the finish hides anything, take photos of the open ceiling. Include measurements from walls to valves, boxes, and junctions. Store those photos with your remodel records.
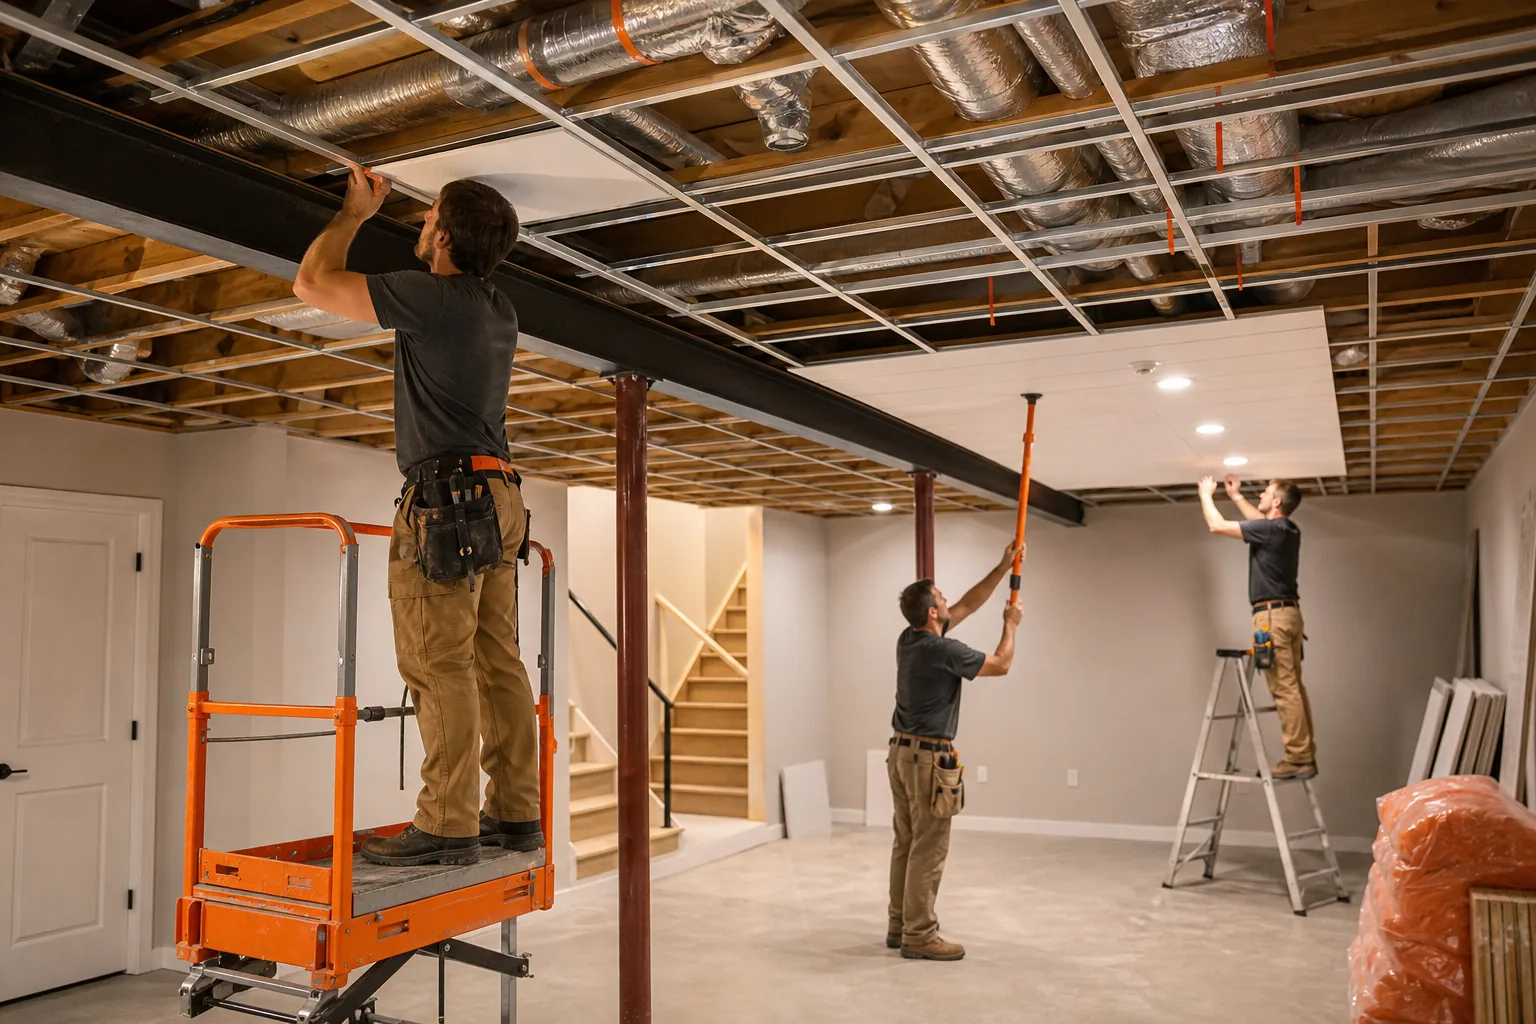
At this milestone, the ceiling should be flat, secure, serviceable, and ready for its final surface treatment.
Step 5: Finish, Inspect, and Maintain Your New Basement Ceiling
The final stage turns a ceiling system into part of the room. Walk through it in daylight and after the lights are on.
For drywall, inspect seams from several angles before paint. Run a bright light across the surface. Small ridges and screw pops show more clearly under side light. Sand, touch up, prime, and paint only after the surface feels flat.
For panels or tiles, check the seams and edge cuts. Make sure removable tiles lift without hitting light trims or nearby ducts. An access panel should look intentional, not like a patch.
Use color to support the room. White can brighten a low basement. Charcoal or black can make exposed utilities fade into the background. Wood tones can warm a lounge, but seal solid wood and watch for seasonal gaps.
Connect the ceiling finish to the rest of the basement. If you are also replacing the floor, compare moisture needs with the options in this guide to basement flooring options for Utah homes. The ceiling and floor should handle the same moisture conditions.
Inspect every fixture. Test lights, fans, speakers, and alarms. Open each access panel once. Confirm that air registers are clear and that no paint blocks them.
Keep the basement dry after the work is done. Watch for musty smells, stains, condensation, or a tile that begins to sag.
Do a seasonal check after heavy rain and during the first heating season. Keep photos of hidden utilities and note the ceiling material used. If a leak occurs, stop the source first, dry the area, and replace damaged material only after the space is dry.
FAQ
What is the best ceiling for a basement?
The best basement ceiling depends on moisture, height, and access. PVC panels are a strong fit for damp or humid spaces. A drop ceiling works well when you need frequent access to utilities. Drywall gives the smoothest look in a dry, conditioned basement. LIFT Construction can review the whole layout before you commit.
What is the cheapest way to finish a basement ceiling?
A painted open ceiling is usually the cheapest way to finish a basement ceiling. It preserves headroom and access, but it leaves pipes and wiring visible. It also does not solve a moisture problem behind the ceiling.
Should I use drywall or a drop ceiling in my basement?
Use drywall for a smooth room-like finish, and use a drop ceiling when utility access matters more. Drywall can require cutting and patching for future repairs. Drop ceilings usually cost 3 to 4 inches of headroom. Check the lowest obstruction before choosing, since that measurement often decides the issue.
How do I make a low basement ceiling look higher?
To make a low basement ceiling look higher, preserve every inch of clearance and keep the design visually simple. A painted open ceiling avoids added depth. Light colors can make the room feel brighter, while a dark matte finish can make exposed utilities recede. Avoid a suspended grid if its clearance loss makes the room feel tight.
Can I finish a basement ceiling if it has had moisture problems?
You should fix basement moisture before installing a finished ceiling. Check for stains, damp areas, foundation cracks, and seasonal seepage. Drywall is especially risky because it absorbs water and can support mold after exposure. Resolve the source first, then choose a ceiling material that fits the remaining humidity risk.
How much ceiling height do I need in a finished basement?
Many Utah habitable basement spaces are planned around a 7-foot finished ceiling, but local code and room conditions control the final requirement. Measure from the floor to the lowest duct or beam. If a room may become a bedroom, check egress and permit needs before the ceiling plan is approved.
Conclusion
For most Northern Utah homeowners, the best next move is a full ceiling and basement assessment before buying materials. LIFT Construction can help you weigh moisture protection, headroom, access, lighting, and the room’s future use, then carry the work from start to finish. Start by measuring the lowest obstruction and recording every utility above it.