
A basement gym works best when the room comes before the equipment. In Northern Utah, moisture, low ceilings, winter comfort, and noise can shape the whole project. Here’s how to set up a home gym in a finished basement, step by step, with a plan that fits your space and your workout.
We pulled published height specs for 5 home power racks, from Rogue, Titan Fitness, Rep Fitness, American Barbell, and Fringe Sport, and checked them against Utah’s basement ceiling height code. Standard or tall versions of all 5 racks run 89 to 93 inches, exceeding the code’s 84-inch minimum for a habitable room. Only 3 brands sell a shorter option, 80 to 84.5 inches, and even those clear the code’s 76-inch obstruction allowance by 4 inches or less. Meeting code does not guarantee clearance for a full-height rack, so measuring the finished ceiling before ordering equipment matters.
Step 1: Inspect the Finished Basement and Plan the Layout
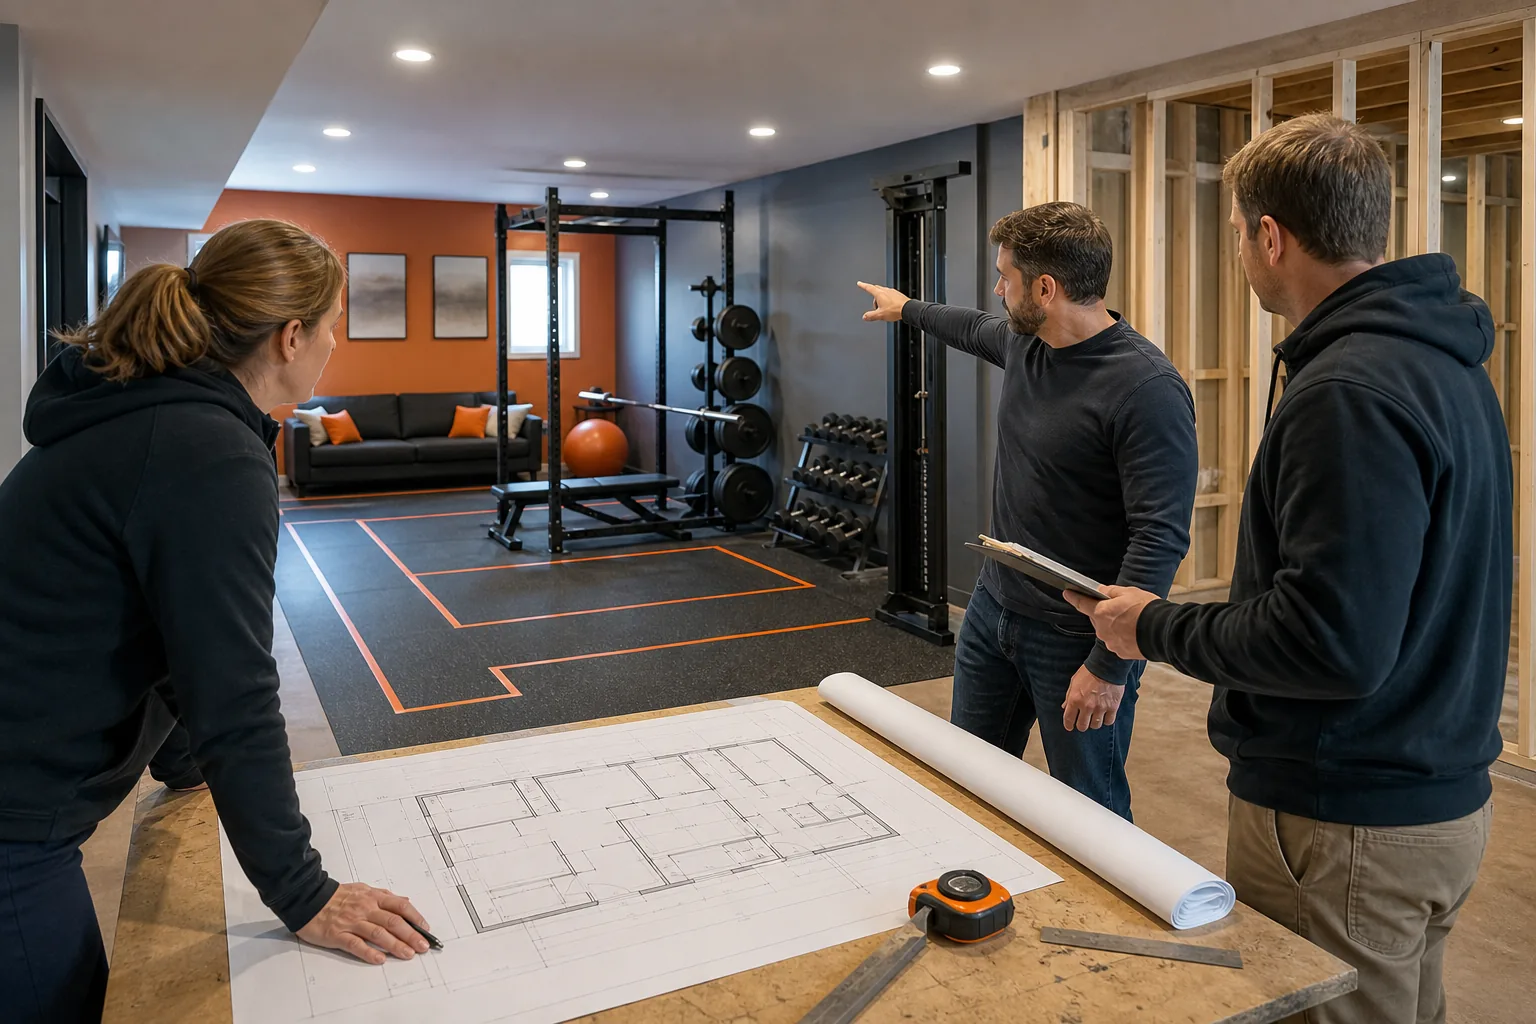
Start by treating the basement like a remodel project, not an empty room waiting for machines. Walk the full space with a tape measure. Record the room length, width, ceiling height, stair opening, doors, support posts, windows, floor drains, and access panels.
Check for signs of moisture before you bring in any gear. Look for damp smells, staining, efflorescence, peeling paint, or soft trim. Utah snowmelt and heavy storms can expose weak spots near foundation walls. If the basement needs work, LIFT Construction can assess the space and plan the finish around how you want to use it.
Next, divide the room into clear zones. Keep at least one open area for warmups and floor work. Place a rack or cable machine where users can move around it without blocking the stairs. Put storage near the entry so plates, bands, and small items don’t end up in the walking path.
Think about the ceiling before buying anything tall. A rack may fit on paper but fail once you account for flooring, lifting clearance, and overhead movement. A low ceiling can also rule out some cardio machines and cable setups.
Our Basement Floor Plan Ideas for Utah Homes can help you think through room zones, storage, egress, and access before construction starts. A good plan leaves space around each station instead of filling every open square foot.
We recommend drawing the layout at scale on graph paper or a simple floor-planning app. Mark each machine by its full footprint, then add room for the person using it. Measure the delivery path too. A unit that fits the gym may not fit through the basement door or around a sharp stair turn.
By now, you should have a measured floor plan, a list of moisture concerns, and a clear workout zone. That plan gives LIFT Construction a useful starting point for a basement finish designed for your daily routine.
Step 2: Choose Durable Flooring, Lighting, and Electrical Upgrades
When you plan how to set up a home gym in a finished basement, choose the floor before the equipment. The surface must handle dropped weights, repeated footwork, sweat, and the weight of machines without trapping moisture.
Rubber flooring is a strong choice for strength work because it cushions impact and helps reduce vibration. Use thick mats under a rack or lifting platform. Interlocking tiles can work well in a smaller room because damaged sections are easier to replace. Rolls can give a cleaner surface across a larger open zone.
Foam is better for stretching and light bodyweight work than heavy lifting. Luxury vinyl plank may suit a multi-use room, but heavy equipment needs a protective mat. Carpet can feel warm underfoot, yet it is harder to clean after sweaty sessions and may hold moisture if the basement has a water issue.
Choose a moisture-safe floor system that matches the existing slab. Don’t cover a damp floor and hope the problem goes away. Fix the source first. Our guide to basement flooring options for Utah homes compares common surfaces and explains where each one fits.
Lighting needs the same level of planning. A basement gym should have even light across the floor, with no dark corners near a rack or bench. Layer the plan with overhead fixtures plus task light near storage or a mirror. Put switches near both the stairs and the main entry if the room has two access points.
During a remodel, plan outlets before the walls close. Add power where a fan, television, treadmill, charger, or speaker may sit. Keep cords away from lifting paths. Avoid relying on extension cords across the floor.
Ask a licensed electrician to review circuit needs for larger equipment. Some machines may need dedicated power. The electrician can also check panel capacity, outlet placement, and local requirements. LIFT Construction can coordinate these upgrades as part of a larger basement project, so the finished room works as one system instead of a series of late fixes.
Design rule: Put outlets and lights where you will use them, not where they are easiest to install. That small choice keeps the room cleaner every day.
Step 3: Improve Ventilation, Temperature Control, and Noise Management
Good airflow is part of how to set up a home gym in a finished basement. Exercise adds heat and humidity fast, while below-grade rooms often have fewer windows and less natural air movement.
First, check how the current heating and cooling system reaches the basement. Does the room have a supply vent? Is there a return path for air? A supply vent without a good return can leave the room uneven and stuffy. A contractor or HVAC professional can assess whether the system needs another return, a new duct run, or a separate heating and cooling option.
A dehumidifier can help control moisture, but it won’t fix a leak or poor drainage. Plan a place for its condensate line so the unit doesn’t fill a tank during every workout. You can also add a quiet circulation fan to move air across the room, but don’t point it at loose cords or unstable equipment.
Use our Basement Air Circulation Solutions guide when you need to map return vents, airflow paths, moisture control, and HVAC changes. Test the room during a workout if possible. A space that feels fine while empty may feel hot after twenty minutes of lifting.
Noise needs a plan too. Dropped weights create impact vibration, while music and machines create airborne sound. Rubber flooring helps, but it can’t solve every path through the structure. The basement ceiling, stairwell, ducts, doors, and wall openings can carry sound upstairs.
Seal gaps during the remodel. Add insulation where appropriate, and consider a solid-core door if the gym sits below a bedroom or office. Ceiling upgrades can help when impact noise is the main complaint. Place the heaviest equipment away from shared walls when the layout allows it.
Make the decision based on your household. A compact dumbbell room below a family room may need less sound work than a rack with heavy plates below a sleeping area. Plan the quietest version you can afford before drywall closes the ceiling.
Step 4: Select Equipment That Fits Your Basement and Workout Goals
Buy equipment after you know the room’s limits. The available product information leans heavily toward strength gear, but many listings leave out the dimensions or load limits homeowners need for basement planning. Verify the full footprint, height, required clearance, delivery path, and user capacity before ordering.
Start with your main training goal. A strength-focused room may need a rack, bench, bar, and plates. A general fitness room may get more use from adjustable dumbbells, a cable system, and open floor space. If several people will train there, prioritize pieces that support different movements without taking over the room.
| Basement condition | Equipment direction | What to verify first |
|---|---|---|
| Low ceiling | Bench, dumbbells, floor work, or a shorter rack | Full height with flooring included |
| Small workout zone | Adjustable dumbbells or one versatile cable unit | Footprint plus working clearance |
| Dedicated strength room | Rack, bench, bar, and plates | Floor protection and load limits |
| Shared family space | Compact gear that can be stored after use | Noise, storage, and walking paths |
| Multi-user gym | Versatile trainer with adjustable resistance | Attachment space and user flow |
All-in-one trainers can make sense in a smaller basement because one frame can support several types of work. The Force USA G20 All-In-One Trainer lists a footprint of 91 inches tall by 60 inches deep. Confirm that height against your finished ceiling, including the floor system and any overhead clearance.
Other options have different space demands. The Force USA C20 uses center cables with five pulley ratios up to 1:2. The Force USA G3 is an all-in-one home gym machine. A rack such as the 80″ PR-4000 uses a four- or six-post steel frame with adjustable j-cups, so the surrounding clearance matters as much as the rack height.
For a compact setup, adjustable dumbbells can replace many fixed pairs and free up wall space. A bench with several back-pad angles can support flat presses, incline work, seated presses, rows, and lower-body exercises. These pieces may give you more value per square foot than a room packed with single-purpose machines.
Don’t buy based on a feature list alone. Ask the retailer for shipping dimensions, assembled dimensions, required clearance, weight capacity, and noise information. Price and noise details are often missing from product pages, so get those answers in writing before the order.
The best equipment plan is the one you can use without moving three other things first. Leave room for the workout, not only the machine.
Step 5: Install, Organize, and Safety-Check the Home Gym
The final step in how to set up a home gym in a finished basement is the handoff from construction to daily use. Install the room in an order that protects the finish and keeps the equipment stable.
Complete dusty work before bringing in machines. Finish paint, flooring, trim, electrical covers, mirrors, and door hardware first. Let adhesive or floor coatings cure according to the manufacturer’s directions. Then move in the largest equipment while the route is still clear.
Set each piece on a level surface. Check that racks are anchored when required by the manufacturer. Place plates on a stable rack instead of stacking them beside the lifting area. Keep benches, dumbbells, bands, and handles off the main walking route.
Use a simple storage map:
- Keep daily-use items at waist height or on open hooks.
- Store heavy plates low and close to the rack.
- Put small accessories in bins with clear labels.
- Keep the stairs and exit path free at all times.
Before the first workout, walk through a safety check. Test every light switch. Confirm that doors open fully. Look for loose cords, sharp edges, unstable shelves, and exposed fasteners. Check that the floor stays flat under each machine and that mats don’t curl at the edges.
Give moving equipment more clearance than you think it needs. A bench that barely clears a wall may become a hazard when someone carries a dumbbell around it. A treadmill needs space for the user to step off safely. A rack needs room for the bar and for a person to exit a failed lift.
Keep children and pets away from weights and moving parts. Lock storage if needed. If you lift alone, use safety bars or other safeguards that match the rack and your training style. s before changing cable settings or adding attachments.
We at LIFT Construction look at the finished room as a complete handoff. The walls, floor, lights, airflow, and storage should support the way you train from start to finish, not simply look finished on move-in day.
More basement home gym tips
A Compact Strength Station with a Multi-Function Rack
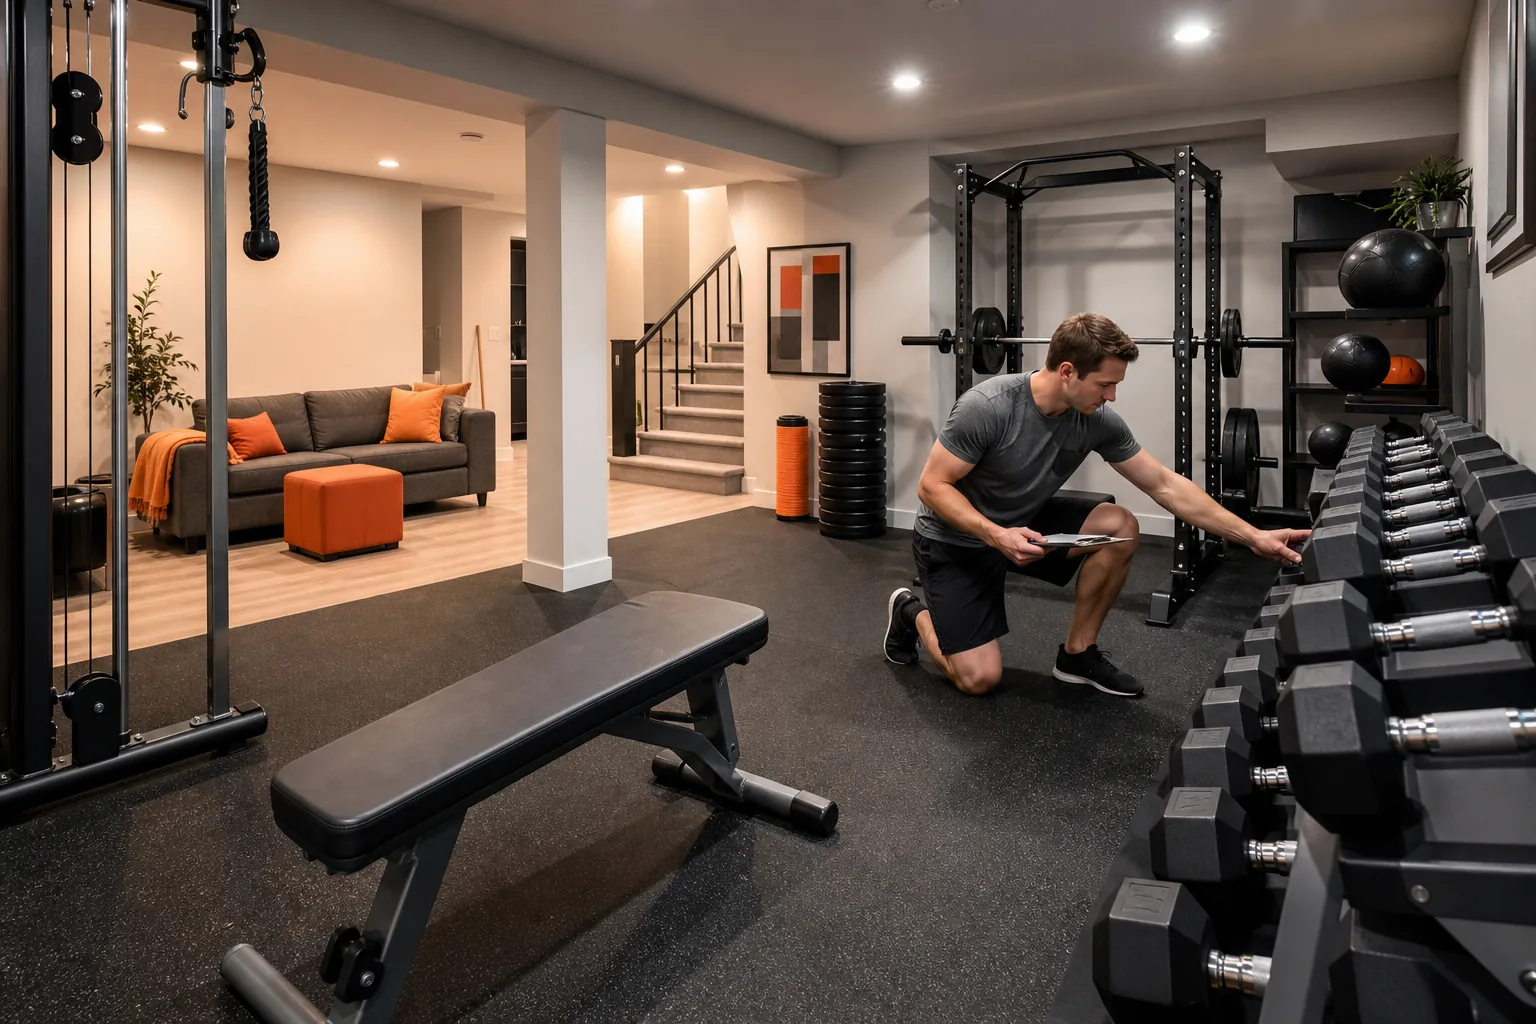
A compact rack can anchor a strength-focused basement home gym without taking over the whole room. It works best for homeowners who lift regularly and want one central station for several movements.
Measure the lowest ceiling point before choosing a rack. Ducts and beams can cut into the usable height, especially where you plan to stand for presses or pull-ups. A shorter rack may suit a low-ceiling basement better than a taller model.
A rack with a pull-up bar and attachment points can support several kinds of training while keeping the main footprint in one place. Keep the bench and plates close by, but leave enough clear space to move around the bar safely. Avoid buying add-ons until you know which exercises you’ll use.
If your basement feels musty, sort out the moisture issue before placing equipment or covering walls.
One trade-off: a rack is tall and heavy. Confirm the fit and floor conditions before it arrives.
A Cardio Nook Built Around a Compact Treadmill
A treadmill nook can give a basement gym a clear cardio zone without filling the full room. It’s a good choice for walkers and runners who want a machine ready for regular use.
Measure the machine’s full operating area, not only its frame. Leave room to step on and off, and check the ceiling height where you’ll run. A folding model may help reclaim floor space after a workout, but its folded position still needs a safe place.
Choose a spot near a suitable outlet and a source of airflow. Keep cords out of walking paths, and use a mat beneath the treadmill to protect the floor and limit vibration. If the basement is low or uneven, compare a treadmill with a smaller cardio option before buying.
For a shared family space, keep the treadmill along a wall and leave the center open. That way, other parts of the basement remain easy to reach.
Wall-Mounted Storage for Plates, Bars, and Benches
Wall-mounted storage is a strong basement gym idea when you want more open floor space. It works well in narrow rooms and in gyms that also need to store household items.
Use a dedicated rack or hooks for bars, then keep plates grouped by size. A rolling plate tree can help if you need to move weights around, while fixed wall storage keeps the floor clearer. Store only lighter items on general shelves unless they’re rated for heavier loads.
Before mounting anything heavy, check what the wall is made of and where its framing sits. Concrete walls need anchors made for that material. A bench can stand upright in a planned spot when it’s not in use, but don’t block an exit or a utility access panel.
Put small items on hooks or in labeled bins. When each piece has a set place, you spend less time clearing a workout path.
A Dedicated Mobility and Recovery Nook
A small recovery nook gives your basement home gym a quieter place for stretching and cooldowns. It can fit beside a strength or cardio zone, even if the basement is compact.
Use a mat with enough room to extend your arms and legs. Keep a foam roller or small cushion in a nearby basket, then leave the rest of the floor open. Warm-toned light or a dimmer can make the corner feel distinct from a bright lifting area.
This nook can also support a short mobility routine before training. If a plan helps you stay consistent, set it on the wall or screen where you can see it. The goal is to make the next movement easy to begin, not to add more gear.
Keep the recovery area clear of heavy equipment and storage bins. That separation helps the space feel calm and keeps the mat ready when you need it.
FAQ
Can you put a home gym in a finished basement?
Yes, a finished basement can work very well as a home gym when the room has a dry floor, enough ceiling height, good airflow, and safe paths around equipment. Start with a moisture check and a measured layout. Then choose flooring and machines that fit the finished dimensions, not the unfinished plans.
What flooring is best for a basement gym?
Rubber flooring is usually the strongest choice for weights because it handles impact and helps reduce vibration. Add thicker mats under a rack or platform. Foam may suit yoga and stretching, while vinyl plank can work in a multi-use room with protective mats under heavy equipment.
How tall should a basement ceiling be for a home gym?
The needed height depends on your equipment and exercises, so measure the finished ceiling before buying. A rack, cable trainer, overhead press, or treadmill may need more room than a bench and dumbbell setup. Include flooring thickness and movement clearance in the measurement.
How do I reduce noise from a basement workout room?
Start with thick rubber flooring and place heavy equipment away from shared walls when possible. Seal air gaps and consider insulation or ceiling upgrades if sound travels upstairs. A solid-core door can help too. Dropped weights create impact vibration, so flooring and equipment placement deserve early attention.
Should I finish my basement before buying gym equipment?
Yes, finish the room and confirm the final measurements before ordering large equipment. Wall thickness, flooring, lighting, ducts, and trim can change the usable space. LIFT Construction can help Northern Utah homeowners plan the basement finish around the workout zone, then coordinate the room details from start to finish.
Conclusion
Build the room first, then buy the gear that fits it. For a Northern Utah basement, that means checking moisture, planning airflow, protecting the floor, controlling noise, and measuring every machine before purchase. If the space needs finishing or a better layout, start with LIFT Construction and bring a measured floor plan to the first project discussion.