
A garage conversion can add a bedroom, family room, office, or small ADU without a new foundation. But the order matters. In Utah, start with zoning and permits, then solve the slab, insulation, windows, utilities, and inspections before choosing finishes.
We help Northern Utah homeowners plan garage remodels designed for daily use. Follow these steps, then bring LIFT Construction in early if the project needs several trades or a permit-ready plan.
Step 1: Assess the Garage and Define the Living-Space Plan
Before you ask how to convert garage into living space, decide what the room must do and check whether the garage can support that use. A storage room has fewer demands than a legal bedroom or independent ADU.
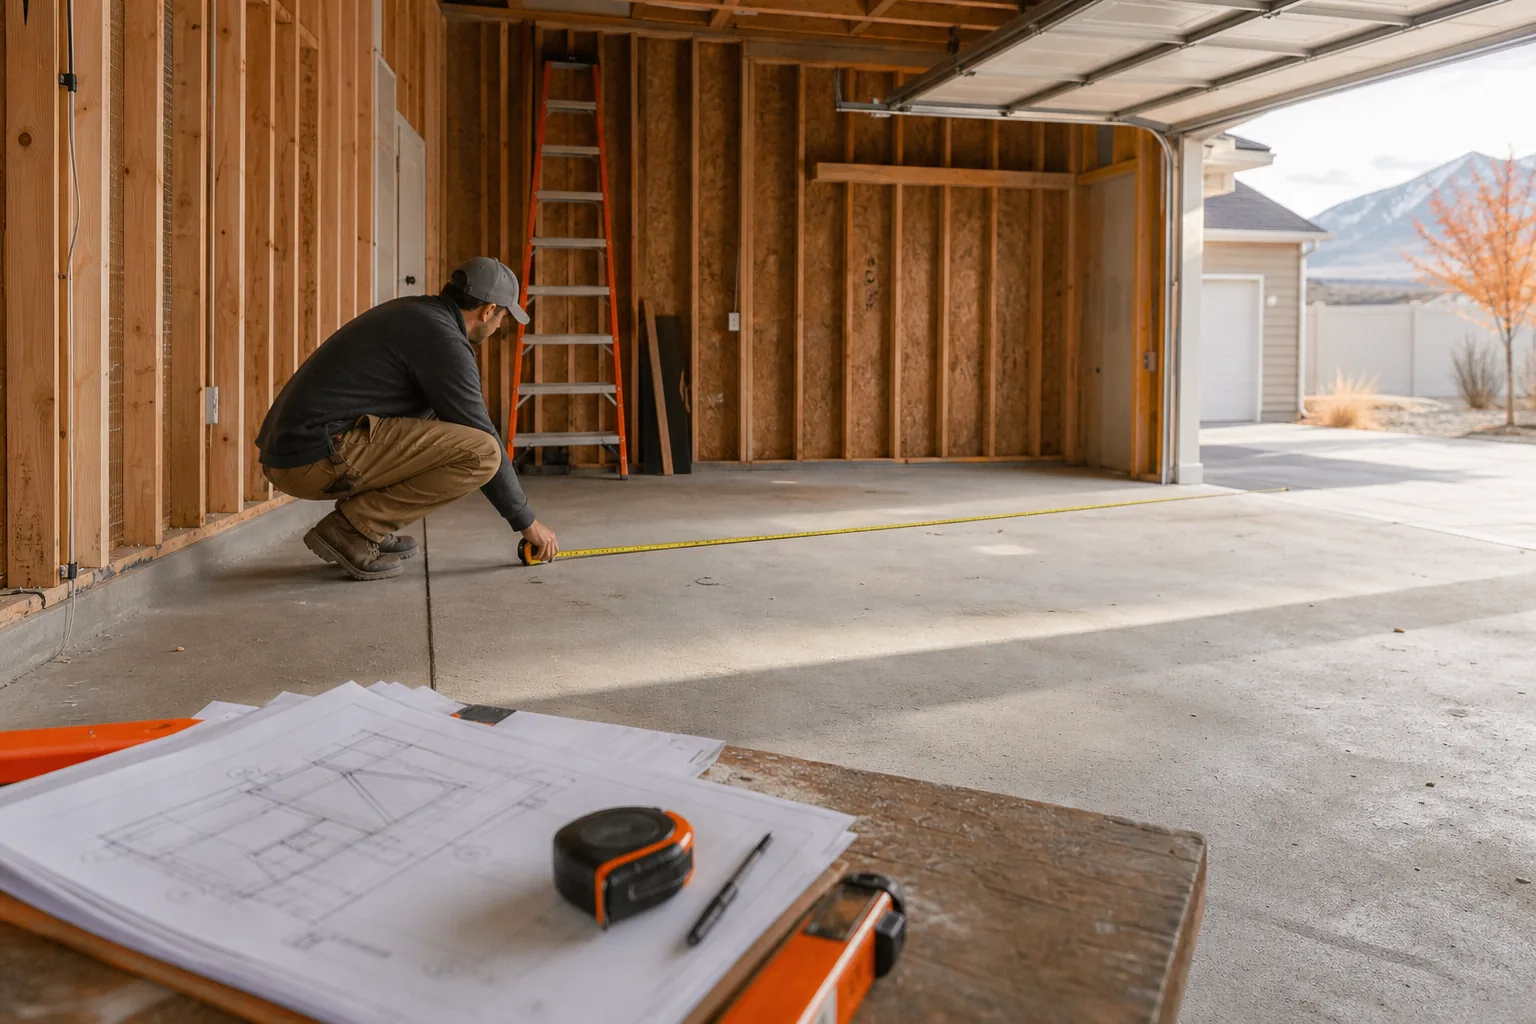
Measure the full interior. Record the length, width, ceiling height, door sizes, and the lowest point under beams or ducts. Mark the electrical panel, water heater, furnace, gas lines, cleanouts, and any floor drains. Take clear photos of each wall. These details help a contractor spot conflicts before drawings begin.
Next, inspect the shell. Look for cracks in the slab, water marks, mold, damaged framing, rust, and signs of roof leaks. Tape a sheet of plastic to the concrete for about 48 hours. Moisture under the plastic does not prove the whole slab must be replaced, but it does signal that flooring and vapor control need more study.
Garage floors often slope toward the vehicle door. That slope can make furniture sit unevenly and may leave the finished room lower than the house. A leveling layer may solve a small slope. A raised floor can provide space for insulation and plumbing, but it can also reduce headroom by several inches.
Choose the use before you draw walls:
- Bedroom: Plan for emergency escape, permanent heat, room-size rules, and a closet if you want the space marketed as a bedroom.
- Family room or office: Focus on light, outlets, sound control, and a comfortable connection to the house.
- ADU: Add a private entry, kitchen or kitchenette, bathroom, and the required separation from the main dwelling.
- Partial conversion: Keep one bay for parking while finishing the other, if local rules allow it.
Utah ADU projects often place the kitchen and bathroom near existing sewer lines. For help planning an independent unit, review LIFT Construction’s ADU construction services. That choice can reduce slab cuts and shorten pipe runs. It may also limit the best location for the bedroom or living area, so make the plumbing decision early.
Research on garage conversions shows that many checklist items involve no permit at all. Interior design choices and some finish work sit in that group. The work that changes structure, wiring, plumbing, heating, or occupancy is where permit questions become serious.
For a local starting point, review LIFT Construction’s garage remodeling services while you list the work your space needs. We can help turn measurements into a scope that a builder can price and schedule from start to finish.
By now you should have a measured plan, a clear room use, photos of the existing conditions, and a list of unknowns.
Step 2: Check Utah Zoning, Building Codes, and Permits
Garage conversion permits in Utah depend on the city, county, property zone, and planned use. Confirm those rules before paying for full drawings or ordering materials.
Start with the planning department for your address. Ask whether the garage may become habitable space. Then ask if removing parking triggers a replacement stall, driveway change, or other site rule. Check your HOA covenants as well. An HOA may restrict a change to the garage door or require the front facade to keep a certain look.
A conversion with a bathroom or kitchen may be reviewed as an ADU. An ADU can bring extra requirements for a separate entrance, fire-rated assemblies, utility service, parking, and rental use. The exact answer belongs to the local authority, not a general online checklist.
Building work often needs more than one permit. Your project may involve:
- A building permit for framing, windows, doors, floor changes, and habitable-space work.
- An electrical permit for new circuits, panel changes, and outlet protection.
- A plumbing permit for a bathroom, kitchen, sink, or new drain line.
- A mechanical permit for heating, cooling, ventilation, or equipment relocation.
Building codes use the term habitable space for rooms meant for living, sleeping, eating, or cooking. A model residential code may be used as a starting point, but Utah cities may adopt local amendments. That means a generic rule is a starting point, not final approval.
Permit fees are only one part of the budget. Research used for Utah garage conversions lists a building permit range of about $150 to $500, while separate utility meters can add roughly $5,000 to $15,000 or more. Those figures vary by city, site, utility route, and project scope. Treat them as early planning ranges, not a bid.
Corrections, missing drawings, engineering questions, or a busy department can extend that period.
We recommend getting written answers about zoning, parking, and permit type. LIFT Construction can coordinate the design and construction path so those questions are answered before work starts. Skipping approval may look faster, but it can create trouble during appraisal, insurance claims, or resale.
By now you should know which office reviews the project, what permits may apply, and which local rule could stop the plan.
Step 3: Design the Layout, Entry, Windows, and Utilities
Good garage conversion design puts light, escape routes, heat, plumbing, and furniture on the same plan. Draw those fixed elements before you choose paint or cabinets.
Start with the largest pieces. Sketch the bed, sofa, desk, kitchen run, bathroom fixtures, and door swings at scale. Leave clear paths between them. A garage can look large when empty, then feel tight once a bathroom wall and cabinets take square footage.
Plan the main entry next. Some homeowners replace the garage door with a framed wall and windows. Others use French doors or a large glazed opening. An ADU usually needs a private entrance. A bedroom or family room may connect through the house, subject to local code.
For a sleeping room, specify the window by its net clear opening. That means the actual open space after the sash is opened, not the rough opening or the product’s outside size. The window also needs the correct sill height and must sit where a person can reach it in an emergency. Confirm the numbers with the building department before purchase.
Utility placement deserves its own drawing. Keep wet rooms near the existing sewer when possible. Put the electrical panel where it remains accessible. Show every new circuit, outlet, light, smoke alarm, and carbon monoxide alarm. Kitchen appliances may need dedicated circuits.
Heating and cooling are common trouble spots. The house HVAC system may not have enough capacity for the added room. Extending ducts without a load review can affect comfort in the rest of the house. A ductless heat pump may be a better fit, but its size and location still need review. Fresh-air ventilation may also apply, especially in a tightly sealed ADU.
For a useful overview of indoor air concerns after the new room is occupied, this guide to HVAC ventilation and household odors explains why filters, airflow, and moisture control need attention.
Have the plans show the site, floor layout, exterior changes, electrical work, mechanical work, and energy details requested by your city. A clean plan set gives each trade the same information. It also lets you compare bids against the same scope.
We use this stage to catch expensive conflicts. A bathroom door that blocks the panel, a window placed over a drain route, or a mini-split mounted above a future cabinet can force changes after framing. Fix those problems on paper.
By now you should have a scaled layout, an entry decision, window locations, and a utility plan that matches the proposed use.
Step 4: Build a Comfortable, Insulated, and Moisture-Resistant Interior
Garage interiors need a new thermal and moisture plan before they can feel like part of the home. These spaces were built for vehicles, not year-round living.
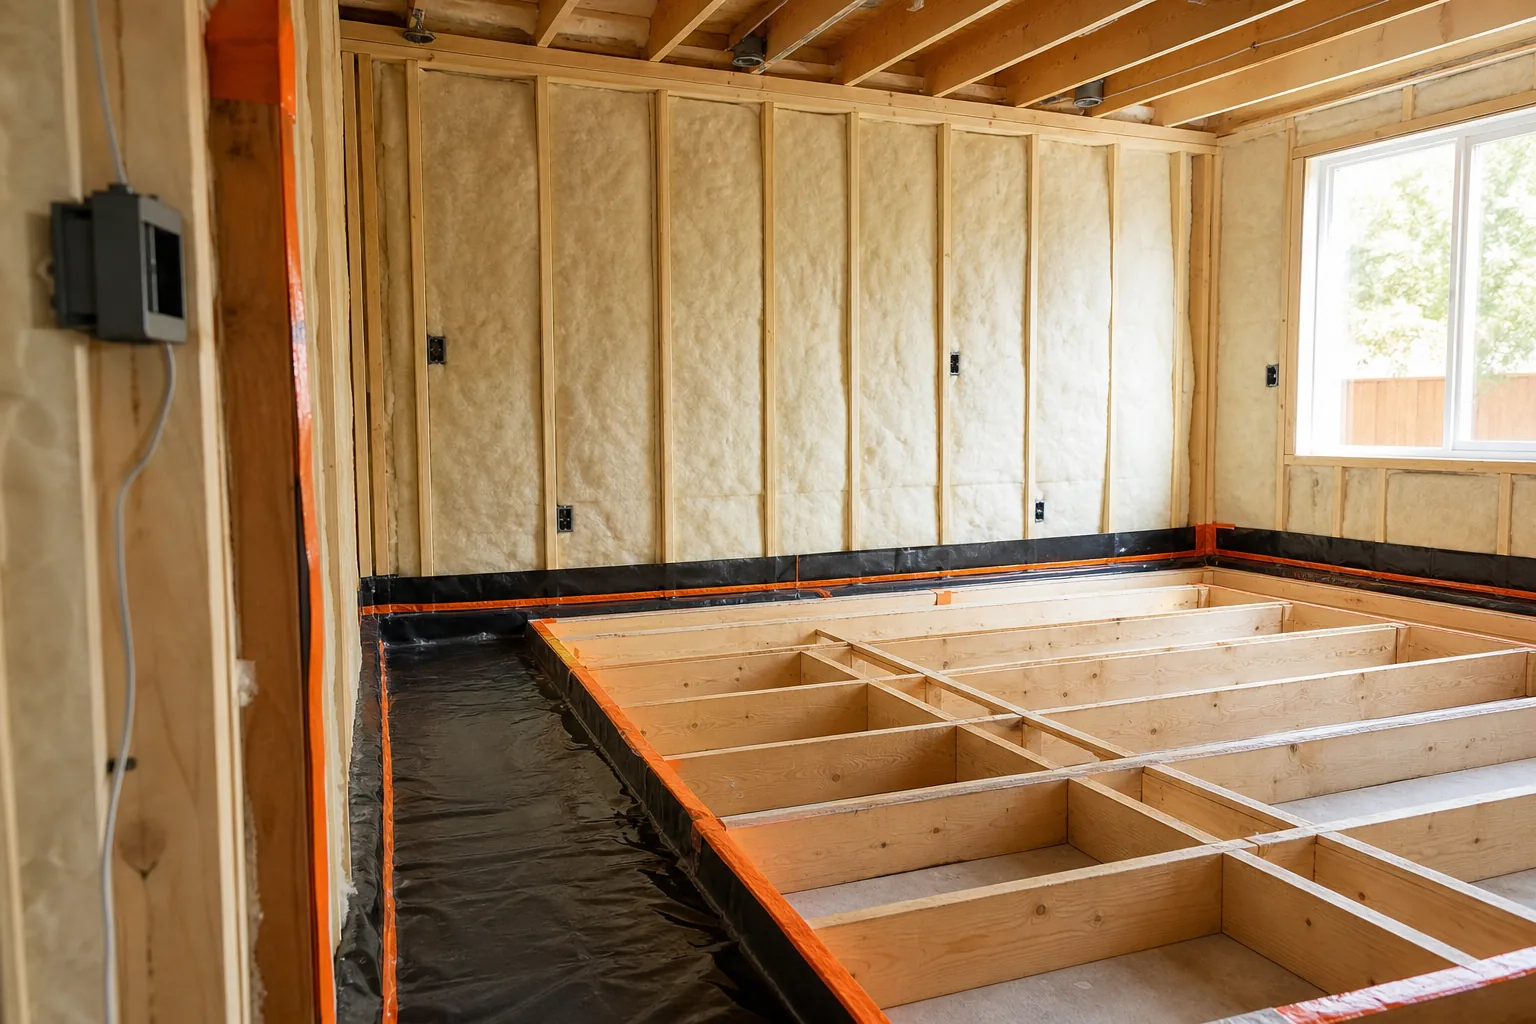
Begin with water. Repair roof leaks, wall cracks, bad exterior grading, and door thresholds first. Test the slab when conditions are damp. A finished floor over wet concrete can cup, lift, smell, or fail at the edges.
Next, air-seal the shell. Seal gaps at the sill plate, top plate, corners, pipe holes, and electrical penetrations. Air sealing reduces drafts and helps the insulation perform as planned. It also makes the heating system’s job easier.
Insulate the walls, ceiling, slab edge, and former garage-door opening according to the approved energy plan. A raised floor may allow rigid foam below the subfloor. That can improve comfort over cold concrete, but the build-up must leave enough ceiling height and meet threshold requirements.
The old vehicle opening needs special care. Frame it as a proper exterior wall, then add insulation, weather control, windows, or a door system. Match the siding and trim where possible. A weak frame or poor sill detail can cause air leaks and water entry long after the drywall is finished.
Attached garages may need fire-rated separation from the house. The required assembly can involve the wall, ceiling, door, penetrations, and any living space above. Do not guess at the layers. Use the approved plans and inspection direction.
Electrical work belongs inside the walls only after the rough inspection path is clear. Plan outlets where furniture will sit, not only where they are easy to wire. Bedrooms may need arc-fault protection, while wet areas need the protection required for their location. A new kitchenette may need its own circuits.
Bathrooms and kitchens bring the largest hidden risk. Cutting the slab for drains can cost more when the sewer route is long or the elevation requires a pump. Keep fixtures back-to-back when the layout allows it. That reduces pipe length and limits the number of places where a leak can hide.
Once rough work passes inspection, close the walls with the approved insulation and drywall system. Then set doors, trim, cabinets, flooring, fixtures, and paint in an order that protects finished surfaces. LIFT Construction handles remodeling work across Northern Utah with project management designed for a clear handoff from start to finish.
By now you should have a dry shell, sealed edges, approved insulation, rough utilities, and a clear finish sequence.
Step 5: Complete Inspections, Finishes, and the Final Move-In Check
The last stage of a garage conversion is more than a coat of paint. You need inspection approval and a room that works safely every day.
Keep the permit card, approved plans, inspection notes, and product information on site. Schedule rough inspections before insulation or drywall covers the work. Typical checkpoints may include framing, electrical, plumbing, mechanical, insulation, and final inspection. Your city decides the exact sequence.
After each correction, fix the item and request the next review. Do not rely on a verbal promise that the issue is minor. Written approval protects the project record and helps later if the home is sold.
Use the finish stage to test function, not just looks. Open every door. Test each outlet. Run water at the same time in nearby fixtures. Check that the bathroom fan vents where it should. Confirm the heat source reaches the room without making the rest of the house uncomfortable.
Walk the outside as well. Check the new wall, window flashing, siding, drainage, and entry threshold. Snow and spring runoff can find small gaps around a former garage opening.
Before move-in, make a simple record:
- Permit numbers and final approval.
- Photos of covered walls and utility routes.
- Equipment manuals and warranty papers.
- Paint colors, flooring details, and spare materials.
- Shutoff locations for water, gas, and electrical circuits.
If the finished space will be rented, wait until the legal use and final approval are clear. A homeowner considering an ADU may also need a written lease and a plan for tenant screening. A guide to lease takeovers and rental transfers can help explain one option that may arise later, though it does not replace Utah landlord or local housing advice.
We prefer a final handoff that leaves the homeowner with records, not just keys. LIFT Construction can manage the project through inspections and finishes so the new room is designed for daily use and documented from start to finish.
By now you should have final approval, tested systems, product records, and a space ready for its intended use.
FAQ: Converting a Garage Into Living Space
Do I need a permit to convert my garage into living space?
Yes, most garage conversions need a building permit because the work changes an unconditioned garage into habitable space. Electrical, plumbing, or mechanical permits may also apply. Utah rules vary by city and project use, so confirm the requirements for your address before framing walls or closing the ceiling.
How much does it cost to convert a garage into living space in Utah?
The cost depends on the slab, utility routes, windows, insulation, heating, and finish level. Planning data lists building permits near $150 to $500, while separate utility meters may add $5,000 to $15,000 or more. A contractor needs to inspect the property before giving a dependable project price.
Can I convert a garage into a bedroom?
Yes, but a legal bedroom needs more than a bed and drywall. Plan for an approved emergency escape opening, enough ceiling height, permanent heat, required room dimensions, and any local ventilation or glazing rules. Confirm the window’s net clear opening before buying it, because the product size may not equal the usable opening.
Can I keep part of my garage for parking?
Often, a partial conversion can keep one parking bay, but local zoning and HOA rules decide whether it works. Measure the remaining bay, check driveway access, and ask whether the city requires covered parking. A partial plan may reduce construction work, yet it can complicate fire separation, insulation, and the new exterior wall.
How long does a garage conversion take?
Permit review is often estimated at about 5 to 11 business days, but corrections can extend it. Construction time depends on the scope, inspections, and utility work. A simple room finish moves faster than an ADU with a bathroom, kitchen, new service, and slab cuts. Your contractor should give a schedule after the plans and site conditions are known.
Conclusion
Start with zoning and a site review, not demolition. For a Northern Utah garage conversion that involves permits, utilities, or ADU requirements, ask LIFT Construction to review the space and define the work before you commit to materials. Your next step is simple: measure the garage, gather photos, and request a scope built around the use you want.