
The cheapest cabinets can become an expensive choice once weak hardware, filler strips, and moisture protection enter the budget. In a Utah basement, dry winters and damp conditions can also test poor materials fast. To learn how to choose kitchen cabinets, work through these five steps before you approve a design or sign a cabinet order.
We read 7 kitchen cabinet guides currently ranking for how to choose kitchen cabinets, including Houzz, Prime Cabinetry, Bradco Kitchen, and Consumer Reports. 0 of the 7 described a hands-on test of drawer slides or hinges, and 0 named formaldehyde limits or KCMA and CARB certification. Just 1 of the 7 tied material choice to climate or humidity, and 0 detailed warranty exclusions for moisture or installation. Hardware testing, emissions documentation, and climate-specific material advice remain rare across those 7 guides for kitchens exposed to Utah’s dry winters and damp basements.
Step 1: Assess Your Space, Storage Needs, and Remodeling Goals
Good cabinet planning starts with your room, not a door sample. Before you compare styles, write down how the kitchen must work each day.
Measure every wall, doorway, window, soffit, post, and plumbing point. Note the height of the ceiling and the location of vents, outlets, appliances, and drains. In a basement kitchen, check for signs of water entry before cabinets cover the walls. Stains, musty smells, and white mineral marks on concrete deserve attention first.
Next, list what you store. Count large pans, small appliances, food bins, cleaning goods, and serving pieces. Then mark each item as daily, weekly, or rare use. This simple list helps you place the right storage in the right zone.
Think about movement too. You need room to open a dishwasher beside a sink. A fridge door must clear a wall or island. A drawer should open without hitting a person standing at the range. NKBA planning standards can help prevent these clearance problems, especially when kids or pets share the room.
We use this same room-first approach when planning kitchen remodeling in Northern Utah. A clear layout lets us price cabinets, counters, lighting, and fixtures against one shared plan instead of guessing from a sketch.
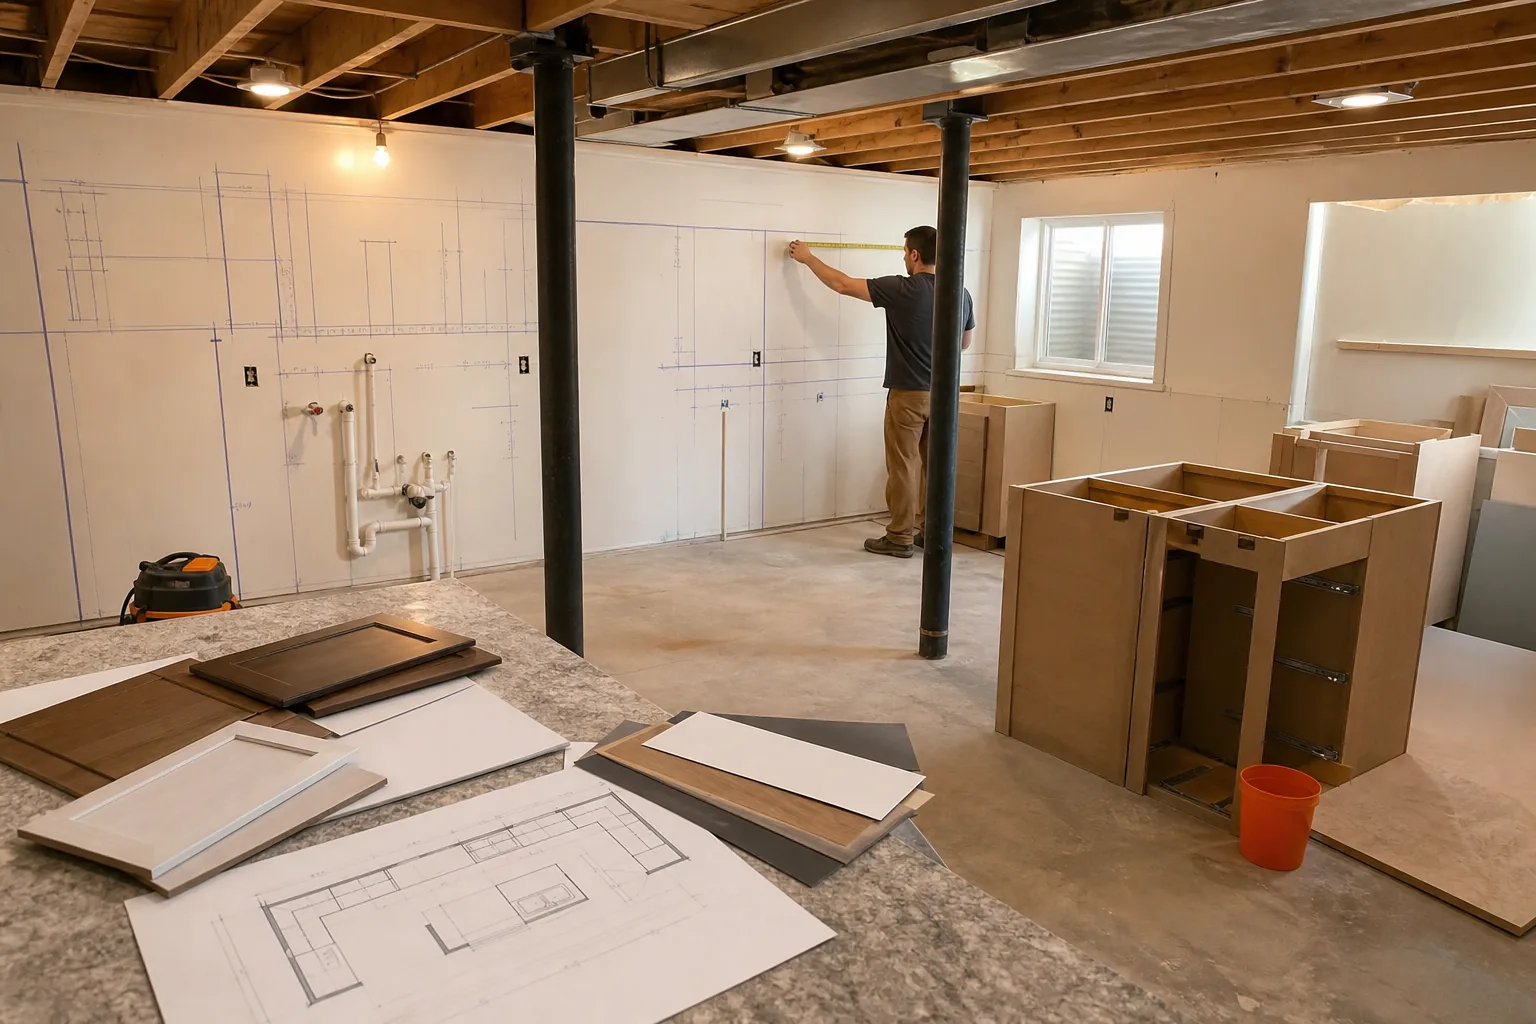
Set three goals before you shop. For example, you may need more pantry space, a safer work path, or a small serving area. Reviewing kitchen remodel ideas for Utah homes can help you identify useful features, but keep required items separate from nice extras. Pull-outs and appliance lifts can help, but they should not force you to cut storage that you use every day.
Step 2: Set a Cabinet Budget and Choose the Right Cabinet Type
When learning how to choose kitchen cabinets, set the budget before you fall in love with a finish. Cabinets can take a large share of a remodel budget, so price the full cabinet package instead of the boxes alone.
Stock cabinets are the least costly path. Research supplied for this guide places them at about $70 per linear foot to start. They come in fewer sizes and styles. Some arrive assembled, while others require on-site assembly. Stock can work well in a straight, standard-size kitchen.
Semi-custom cabinet pricing varies by project and supplier. They give you more size choices and more room for trim, storage parts, and finish changes. For many Northern Utah kitchens, this is the best value overall. It can fit odd walls without the full cost of made-to-order work.
Custom cabinets match exact dimensions and can include unusual storage or trim. They cost more, but they may solve a room with angled walls, tight corners, or a hard-to-fit appliance run. Ask what the custom charge covers. A quote may include only the cabinet parts, not design, delivery, install, fillers, or panels.
Ready-to-assemble cabinets can reduce the purchase price, but the savings depend on your time and skill. Research estimates describe possible savings of 30% to 60% compared with custom cabinets. That does not mean every RTA line has the same box, hardware, or support after delivery.
Also price the parts that are easy to miss:
- Filler strips for gaps beside walls or appliances.
- Finished end panels and toe-kick pieces.
- Pull-outs, trash storage, and drawer upgrades.
- Moisture sealing near sinks and dishwashers.
- Delivery, assembly, installation, and removal of old cabinets.
Our team at LIFT Construction helps homeowners compare those items as part of the full remodel scope. If your project also includes counters, flooring, or lighting, a shared scope makes the final estimate easier to track from start to finish.
Do not treat a low cabinet price as the final answer. Research collected for this topic found that only 24% of 38 listed items included a typical cost range. That gap is a good reason to request a detailed quote for your exact room.
Step 3: Inspect the Cabinet Box, Shelves, and Materials
The cabinet box carries the load, holds the hardware, and takes the stress of daily use. It deserves more attention than the door style.
Open a base cabinet and inspect the sides, back, corners, and shelf. A rigid box should not twist easily when you press it. Look for a real back panel and joinery that holds the corners together. Staple-only construction deserves more questions.
Plywood is made from layers with alternating grain direction. That structure helps it resist movement and hold screws. MDF has a smooth, even surface that works well for painted door faces. It can be less forgiving when exposed to water or when screws are adjusted again and again.
A mixed build can make sense. For example, a cabinet may use plywood for the box and shelves, then use MDF for a smooth painted door. Ask which material appears in each part. “All wood” does not tell you enough by itself.
Look closely at shelf thickness and span. Press lightly at the center. A shelf that bends with little pressure may sag once loaded with plates or small appliances. Longer shelves need more support. In a basement, also ask how exposed edges are sealed. Water near a sink can damage an unsealed panel even when the front looks fine.
Formal wording matters here. Ask for the box thickness, back attachment method, shelf material, and panel edge treatment in writing. Then compare those details line by line between quotes.
For composite wood, ask for proof that the material meets the applicable formaldehyde emission limits.
Do not assume a heavier door means a better cabinet. A strong door on a weak box still creates trouble. The box must stay square so hinges and drawer slides can keep their setting.
By now, you should have a short list of cabinet types and a written construction spec. Next, test the parts you touch most often.
Step 4: Test Hardware, Drawer Slides, and Door Alignment
Hardware tells you how a cabinet will feel after years of use. When comparing kitchen cabinets, test one complete drawer and one complete door instead of judging a sample by sight.
Pull the drawer all the way out. Full-extension slides let you see and reach the back. The movement should feel smooth and steady. Reject grit, side-to-side shake, bounce, or a harsh stop.
Look at the drawer box while it is open. Solid sides and a bottom held in grooves are useful signs. Dovetail joints can be a good detail, but they do not prove the whole cabinet is well made. Consumer Reports has warned that premium-looking features can appear on poorly built cabinets too.
Close the drawer with normal pressure. Soft-close hardware should slow the last part of the movement rather than slam or catch. Ask whether the slides can be adjusted later. That matters because homes shift slightly with seasonal change, and small adjustments can bring a drawer back into line.
Test the hinges next. Open the door wide, close it, and inspect the gap around the face. The door should not rub the frame. Gaps should look even from top to bottom. Check several doors, not one hand-picked sample.
Hardware makers such as Blum, Hettich, and Grass are common clues when comparing similar cabinet lines. Brand alone is not proof. A premium slide on a weak drawer box still leaves you with a weak drawer.
Ask these questions before you approve the order:
- What slide type and weight rating are included?
- Can the hinges move in more than one direction for later adjustment?
- Are soft-close parts included or priced as upgrades?
- Can replacement parts be ordered if a slide fails?
We check these touch points during a remodel because they affect the daily handoff from design to installation. LIFT Construction can also coordinate cabinet placement with counters, appliances, and finish work, so one trade does not leave another with a clearance problem.
Use a simple scorecard. Give each cabinet line a note for drawer feel, door gaps, adjustment range, shelf strength, and box rigidity. A line that looks similar but scores lower in use should not win on color alone.
Step 5: Verify the Finish, Certifications, Emissions, and Warranty
The finish protects the cabinet face from spills, steam, grease, and cleaning. It also controls how much movement or wear you will see in a busy kitchen.
Run your hand over a sample. The surface should feel even. Check corners and edges for rough spots, runs, bubbles, or thin coverage. A good factory finish is often a cured, multi-coat system. Ask how it handles steam near a dishwasher or range.
In a basement kitchen, choose materials and finishes with the room’s air in mind. Keep cabinets away from direct heat where possible. Make sure ventilation works. If the room has a history of damp air, solve that issue before installation. Sealed edges and moisture-resistant panels cost more, but replacing swollen cabinet parts costs more than planning for the risk.
Utah also has very dry winters. Solid wood can shrink or crack as indoor conditions change. Engineered materials may stay more stable, but every cabinet still needs a sound finish and careful installation. Ask how the cabinet line handles seasonal movement instead of assuming one material solves every climate concern.
Request the actual compliance documents. Cabinet cores must comply with strict formaldehyde emission limits. A claim such as “green” or “low VOC” is not enough without product paperwork.
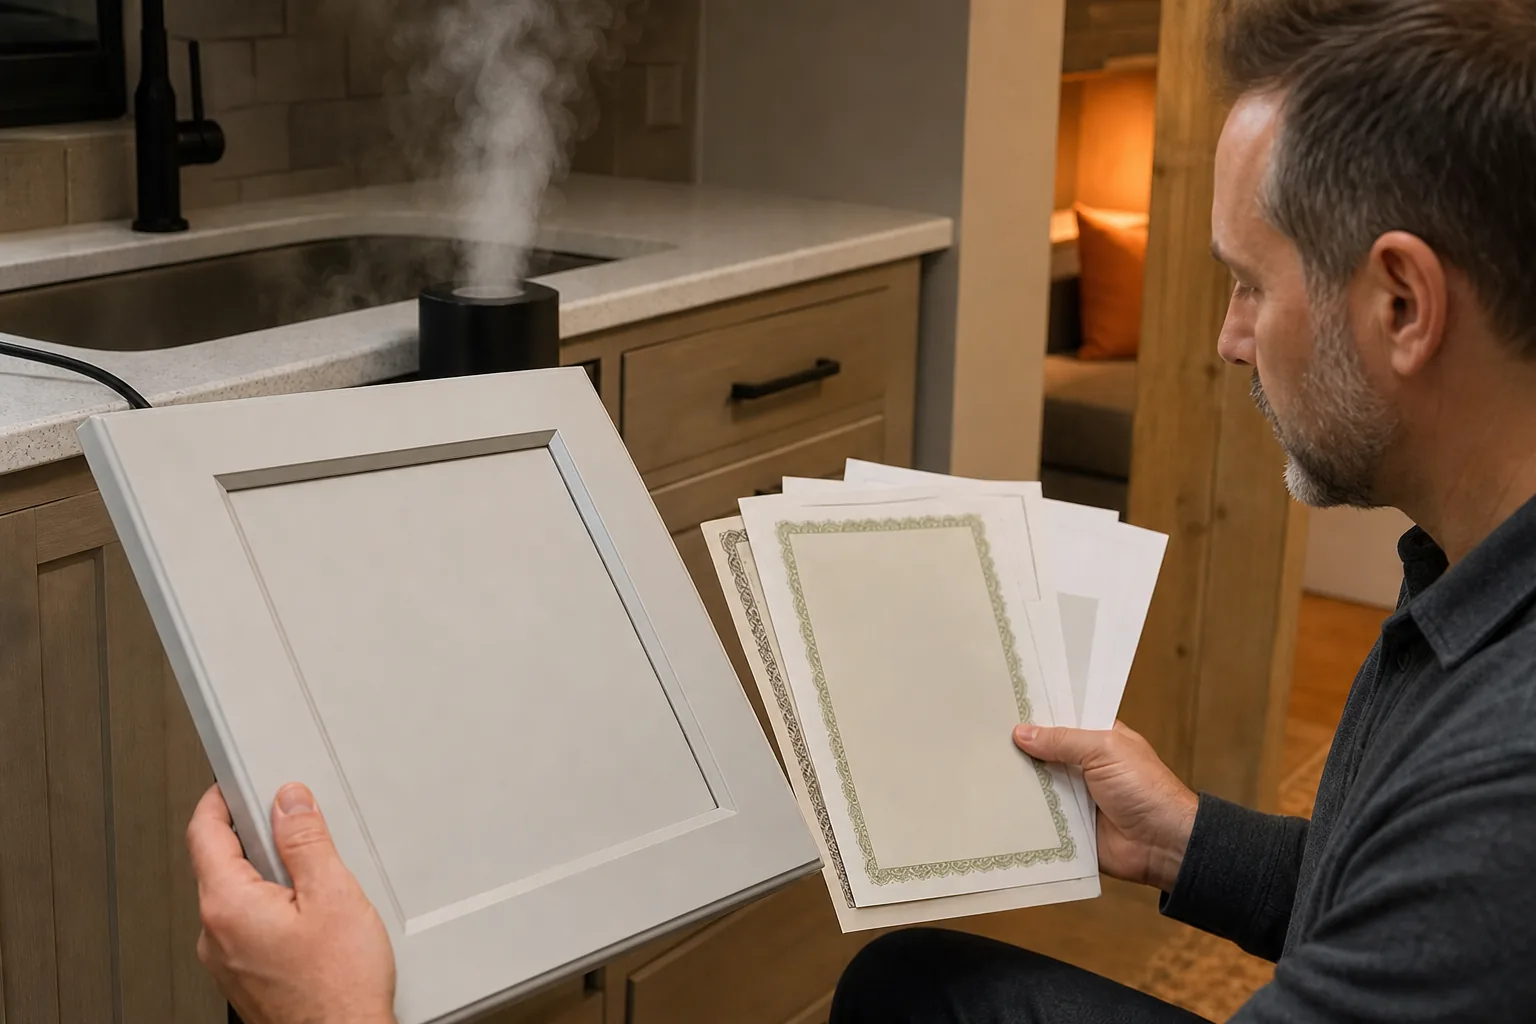
Certification is one data point, not a guarantee. It can still separate a documented product from a vague sales claim. Ask whether the cabinet line has KCMA testing, what the test covers, and whether the paperwork applies to the exact line being quoted.
Read the warranty before you compare the final price. Check coverage for the box, doors, finish, hinges, drawer slides, and labor. Look for exclusions involving moisture, normal wear, installation, or changes in indoor conditions. A long warranty with broad wording gives you more useful protection than a longer term filled with exceptions.
Ask who handles a warranty claim. The manufacturer may cover the part while the installer charges for labor. Put that answer in your project file. We at LIFT Construction recommend keeping the cabinet order, finish code, care guide, and warranty together for the final walkthrough.
Choose the cabinet line only after the finish, documents, and warranty match your room. If a salesperson cannot answer basic material or coverage questions, pause the order.
FAQ: Choosing Kitchen Cabinets
What is the best cabinet type for most kitchens?
Semi-custom cabinets are often the best fit for most kitchens because they balance size choices with cost. They can handle odd wall lengths better than stock cabinets without reaching full custom pricing. For a Northern Utah basement, compare the box material and moisture plan before choosing the cabinet tier.
Are plywood kitchen cabinets better than MDF?
Plywood is usually better for cabinet boxes and long shelves because it holds screws and resists moisture better. MDF can work well for painted doors because its smooth surface takes paint evenly. The best choice may combine both materials. Ask where each material is used rather than judging the whole line by one label.
How do I know if kitchen cabinet hardware is good?
Good cabinet hardware moves smoothly, stays aligned, and allows later adjustment. Pull drawers fully open and watch for grit, shake, or bounce. Open several doors and check the gaps. Blum, Hettich, and Grass hardware can be useful clues, but the brand does not prove that the box or drawer is strong.
What should I ask about cabinet emissions?
Ask for documentation showing that the composite wood meets the applicable formaldehyde emissions standard. CARB Phase 2 and TSCA Title VI are key terms for products sold in the United States. Request the certificate or testing information for the exact cabinet line. Do not rely on a general “eco-friendly” claim.
Should basement cabinets be moisture resistant?
Yes, basement cabinets should have a plan for moisture resistance. Start by fixing water entry and controlling indoor humidity. Then ask about sealed edges, panel material, ventilation, and cabinet clearance from wet areas. A durable finish helps, but it cannot protect a box that stays exposed to repeated water.
Conclusion
Choose cabinets by the full system, not the door sample. For many Northern Utah remodels, a mid-level semi-custom line with a stable box, adjustable hardware, sealed edges, and clear warranty terms is a sound place to start. Bring your measurements and storage list to LIFT Construction for a written cabinet scope, then compare each quote by the same construction details from start to finish.