
A basement finish can add a whole new level of daily living, but drywall and flooring are only the last steps. The biggest budget risk comes earlier, when plans are vague or permits are missed. We use this five-step process to help Northern Utah homeowners plan a basement that fits their lives and their home.
Step 1: Define Your Space, Budget, and Basement Goals
Good home addition ideas start with a clear job for the space. Decide what you want the basement to do before you choose paint colors or flooring.
Write down your top goal. It might be a family room, a home theater, a gym, a guest suite, or an apartment with a separate entrance. Then list the needs that support that goal. A theater needs power and sound control. A bedroom needs a code-compliant egress window, which is a window large enough for emergency escape. An apartment needs more planning for cooking, bathing, privacy, and local rules.
Next, measure the usable area. Mark support posts, stairs, windows, low ducts, water heaters, and mechanical equipment. These fixed points shape the layout. A simple sketch helps you see where walls can go before you pay for design work.
Set a working budget with room for items you haven’t found yet. Project costs vary widely. A research set covering many home addition types found a typical average near $14,301, with a median of $6,000. That spread shows why a broad online figure can’t replace a project plan. A basement with a bathroom, egress work, or a kitchen will need a different budget than an open recreation room.
Detailed planning can also protect the budget. Skipping detailed planning may add 15% to 25% to the total project cost. We help homeowners turn a wish list into a scope that shows room sizes, fixtures, finishes, and likely trade work. For a wider project that reaches beyond the basement, our Northern Utah home addition services can help you compare an interior finish with a room addition.
Step 2: Choose a Layout That Fits Your Household
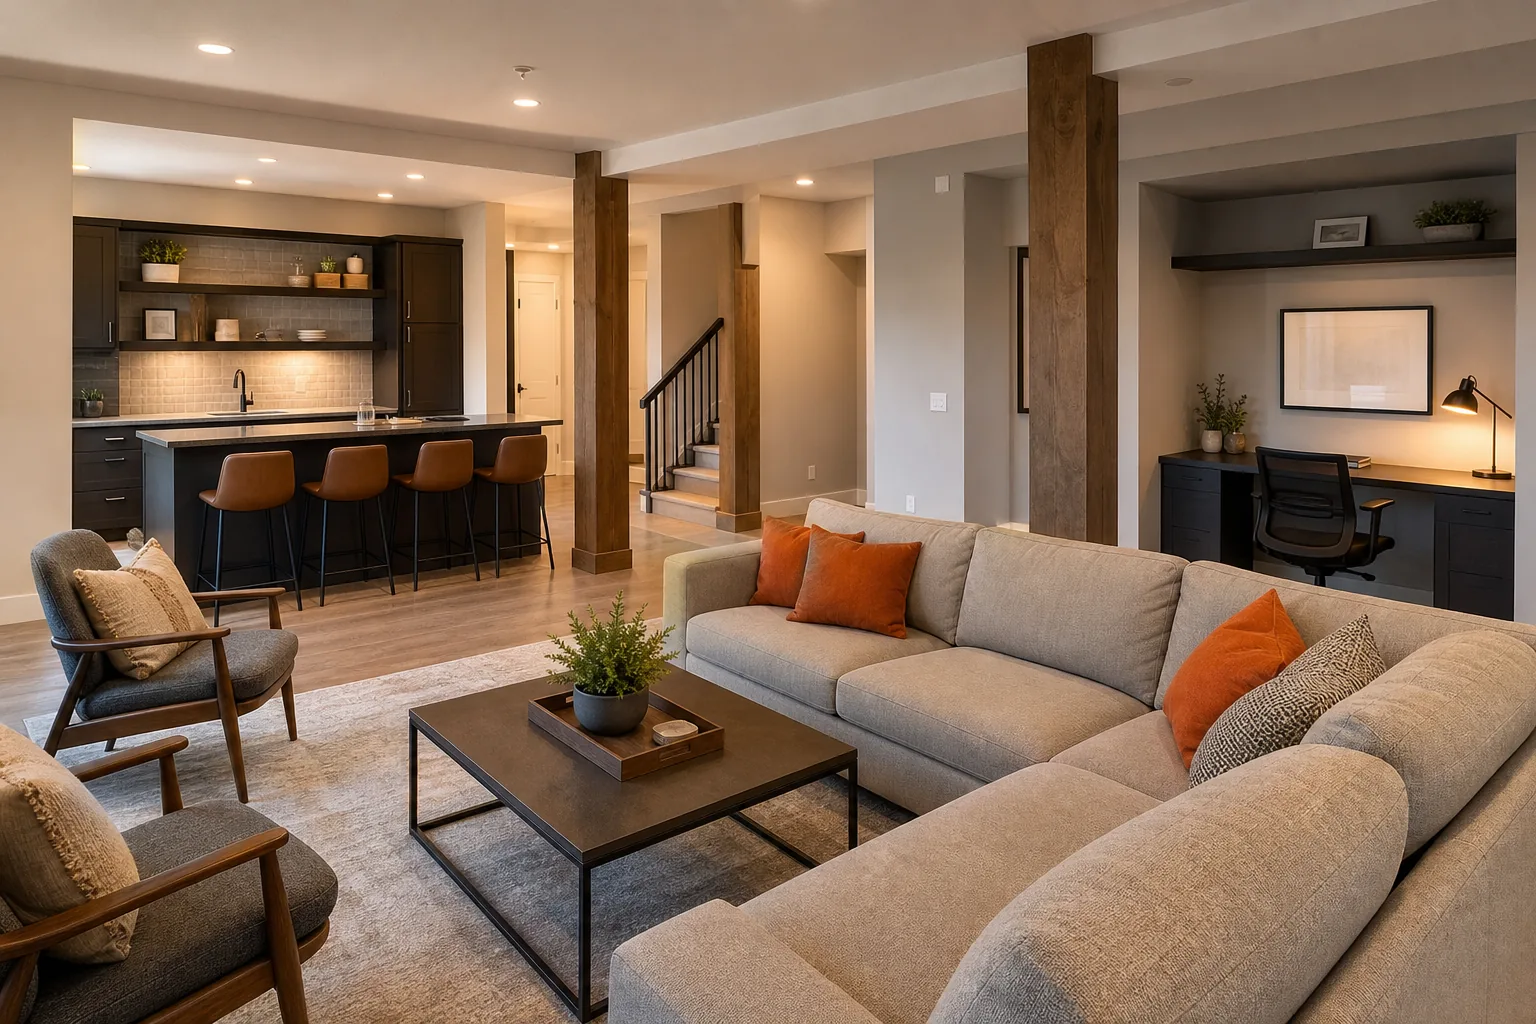
The best home addition ideas fit the way your household moves through the day. A large open room may work well for young children, while older children or guests may need doors and quiet zones.
Start with traffic flow. Keep the path from the stairs to the main room clear. Avoid placing a bathroom door where it opens into a busy walkway. Leave enough space around posts and columns so furniture doesn’t make the room feel tight.
Then group rooms by use. Put a bathroom near existing plumbing when possible. Place a laundry room near utility lines. Keep a bedroom away from the loudest part of the basement. If you want a wet bar, plan it near the entertaining area, but leave space for cabinets, a sink, and appliance doors to open.
These layouts work well for many Utah households:
- Open family room: Use movable furniture so the room can shift from play space to movie room later.
- Media room: A darker room with planned speaker wiring can support films, gaming, or sports.
- Recreation room: Leave clear floor space for games and add storage for equipment.
- Home gym: Use flooring that can handle dropped weights and plan power where equipment will sit.
- Guest suite: Place the bedroom near a bathroom and confirm the window meets egress rules.
- Home office: Add task lighting, sound control, and enough outlets for your work setup.
Do not draw rooms at the expense of storage. Utah basements often hold seasonal gear, pantry goods, tools, or family keepsakes. A small storage room may protect the rest of the finish from clutter better than another decorative feature.
We also check ceiling height before framing. Many basements need soffits around ducts or pipes, but dropping the entire ceiling can make the space feel lower. Keep full height where possible, then use smaller boxed areas only where the systems require them.
A building code defines minimum safety rules for construction, including items such as exits and room conditions. The building code overview from Wikipedia gives a useful plain-language starting point, but your city or county has the final say. We confirm the local requirements before the layout is locked.
Step 3: Secure Permits and Coordinate the Rough-In
Permits are part of the plan for home addition ideas that change rooms, wiring, plumbing, heating, or structure. Don’t assume a small basement finish is automatically permit-free.
Permit rules vary by city and county. Research across addition types found a mixed picture: some projects list permits, while others don’t. A small deck may fall under an exemption based on its size and height, yet a modest sunroom can still need approval because it extends the roof and changes the structure. Basement finishing often involves several permit areas at once.
Ask the local building department which approvals apply before work starts. Depending on the scope, that may include a building permit plus electrical, plumbing, or mechanical permits. An accessory dwelling unit may have extra rules for parking, entrances, or occupancy.
Prepare a permit packet with a floor plan, room dimensions, window sizes, fixture locations, and changes to heating or electrical systems. Include the location of smoke alarms and carbon monoxide alarms where required. Clear drawings reduce back-and-forth during plan review.
Rough-in work happens while the walls are open. Plumbers place supply and drain lines. Electricians run cable and set boxes. HVAC workers plan ducts, returns, and vents. These tasks must agree with the wall layout. A bathroom drain that lands under a future beam can force a costly change if nobody checks the plan first.
We coordinate this stage as one sequence instead of treating each trade as a separate job. LIFT Construction works with Northern Utah homeowners on remodeling, additions, and basement finishing, so we can keep the design, permit work, and field decisions tied together from start to finish.
Before insulation covers the walls, take photos of every open wall. Save them with room names and measurements. Those photos can help later if you need to find a pipe or cable without opening finished drywall.
The decision rule is simple: if the work changes life safety, structure, plumbing, wiring, heating, or room use, verify the permit before demolition.
Step 4: Build the Basement in the Right Construction Sequence
The order of work protects the finish and keeps trades from undoing each other’s work. Good home addition ideas still fail when the build sequence is out of order.
Start with protection and demolition. Cover the path through the home. Isolate dust from finished rooms. Remove only what the plan calls for, then clear the space so walls, floors, and utility lines can be checked.
Next, address moisture. Look for damp spots, cracks, musty smells, or signs of past leaks. Fix the source before framing. New finishes can’t make a wet basement safe or dry.
Frame the walls after the layout is approved. Framing builds the skeleton of each room with wood studs. Check every wall against the plan before the next trade begins. Changes after framing cost more because they may affect wires, pipes, insulation, and drywall.
Then complete the rough-in:
- Run plumbing for bathrooms, bars, or laundry.
- Place electrical boxes, circuits, lighting points, and data lines.
- Set HVAC ducts, vents, and returns.
- Inspect the open work before covering it.
Insulation comes after rough inspections. It helps control temperature and sound, which matters in a basement bedroom or media room. Use the assembly required for the wall and local code. Do not cover access panels that technicians may need later.
Drywall follows insulation. Crews hang panels, tape seams, apply joint compound, and sand the surface. This stage creates a clean base for paint, but it also hides most of the rough-in, so the inspection and photo record should already be complete.
We plan each handoff before the next crew arrives. That reduces the risk of a plumber cutting into a finished wall or an electrician moving a box after the cabinets are ordered. If you want one team to manage the full build, LIFT Construction can guide the project from the first layout meeting through final inspection.
Step 5: Add Finishes, Complete Inspections, and Enjoy the New Space
Finishes make the basement feel like part of the home, but the final stage still needs a work plan. Home addition ideas should end with a room that is safe, easy to clean, and ready for daily use.
Paint after drywall has been sanded and primed. Choose the sheen based on the room. A washable finish may suit a playroom, while a softer finish can work well in a quiet office. Install doors, baseboards, and casing after the main wall work so trim lines stay clean.
Choose flooring with the basement environment in mind. Luxury vinyl plank is a common choice because it handles daily wear and resembles wood. Carpet can feel warm in a family room, but it needs a dry slab and careful moisture planning. Tile may work best in a bathroom or entry zone. Basement flooring options for Utah homes can be compared based on room use, cleaning needs, and moisture risk.
Install cabinets, counters, plumbing fixtures, light fixtures, and appliances only after the surfaces are ready. Check that doors open fully. Confirm that outlets remain reachable. In a bar or kitchenette, test the sink and drain before loading the cabinets.
Final inspection is more than a formality. The city or county checks that completed work matches the approved plan and meets code. Keep permit records, inspection results, product manuals, and paint colors in one folder. Future owners or repair workers may need them.
Before furniture arrives, walk through the space with a short punch list. Look for loose trim, paint marks, uneven transitions, missing covers, and doors that rub. Test lights, outlets, plumbing fixtures, heating, and ventilation. Small fixes are easier before the room fills with furniture.
A legal bedroom must have a suitable emergency escape route. The definition of egress in architecture explains the basic idea: occupants need a safe way out. Local officials set the exact requirements for windows, wells, doors, and clear openings.
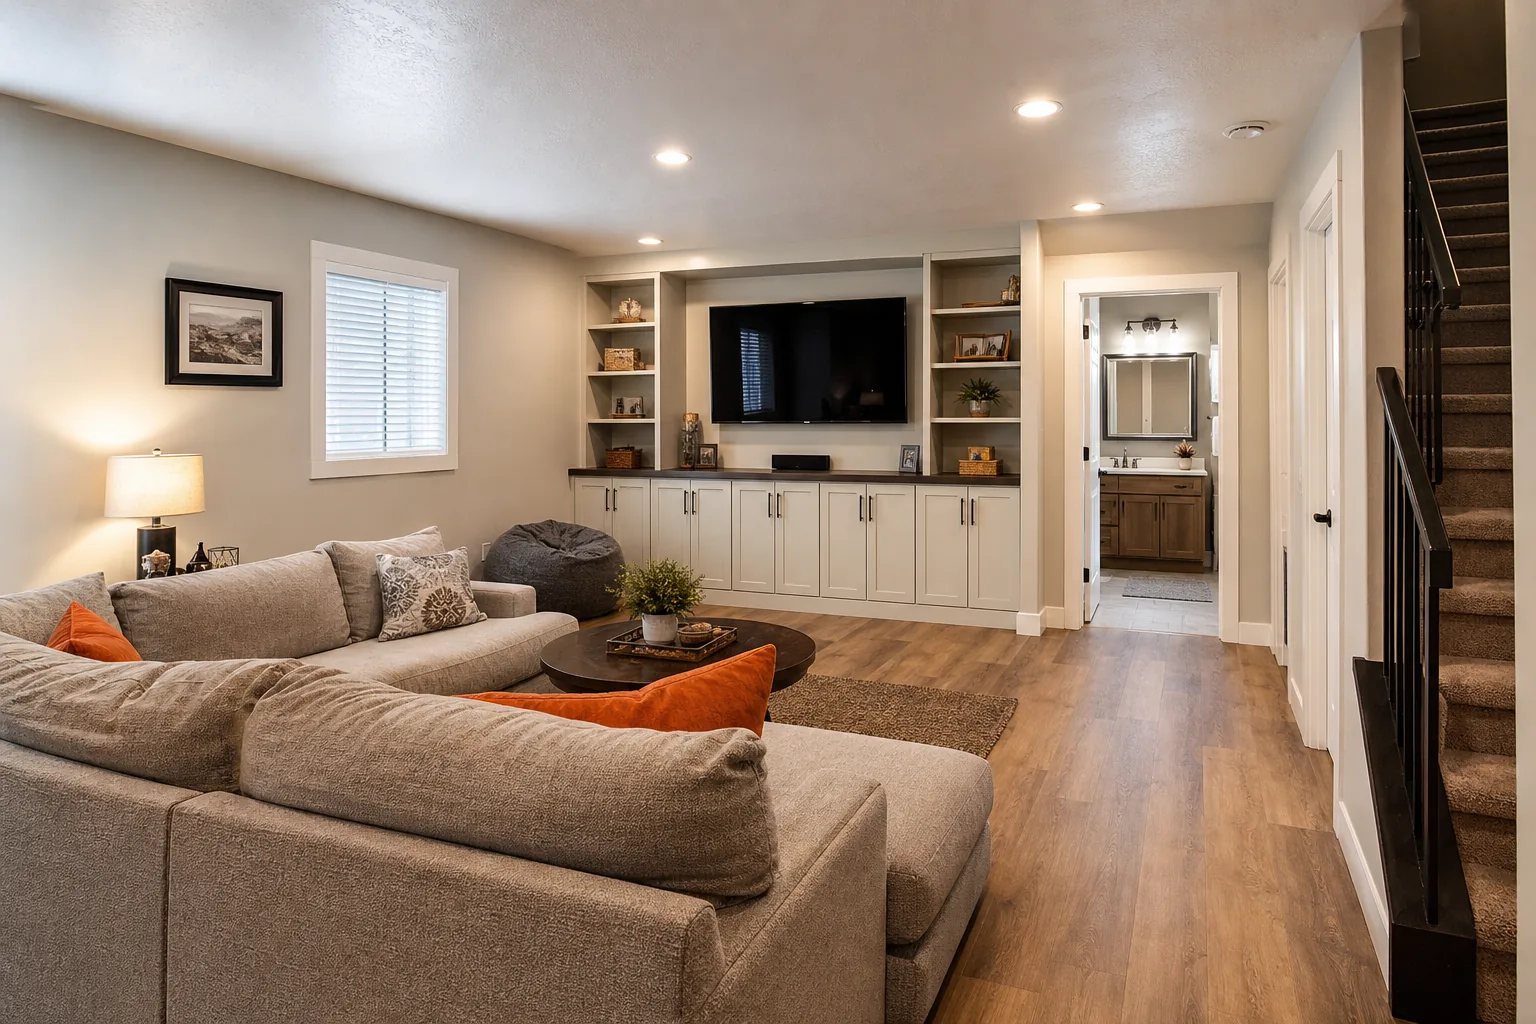
At this point, the project should feel calm rather than crowded. That comes from making the hard decisions before the first wall goes up. LIFT Construction helps homeowners in Northern Utah keep those decisions connected from start to finish.
FAQ: Home Addition Ideas and Basement Finishing
Do I need a permit to finish a basement in Utah?
Most basement finishing projects need permits because they can change electrical work, plumbing, heating, walls, or room use. Requirements differ by city and county. Ask the local building department before work begins. A contractor can help prepare drawings and coordinate inspections, but the local authority decides which permits apply.
What is the best use for a Utah basement?
The best use depends on your household and the home’s layout. Open family rooms suit changing needs, while bedrooms add private space when egress is possible. A home office, gym, theater, guest suite, or wet bar can also work. Choose the use that solves a daily problem before adding features for looks alone.
How much does it cost to finish a basement in Utah?
Basement finishing costs vary by size, room count, plumbing, windows, finishes, and site conditions. A simple open finish costs less than a project with a bathroom or apartment. Broad home addition data shows a wide spread between small upgrades and major projects, so request a scope-based estimate instead of relying on one online average.
How can I keep basement finishing costs under control?
Start with detailed planning, because skipped planning may add 15% to 25% to a project total. Keep the layout near existing plumbing when possible. Choose finishes early. Avoid changing walls after framing. Set aside funds for code work, moisture repairs, egress windows, and utility upgrades before construction starts.
Can a finished basement include a bedroom?
A finished basement can include a bedroom when the room meets local code requirements. The most common issue is emergency egress, such as a correctly sized window or exterior door. Ceiling height, smoke alarms, heating, and electrical work may also matter. Confirm the requirements with your city or county before calling the room a bedroom.
Conclusion
Start with the plan, not the finishes. Define the room’s job, confirm permits, coordinate rough-in work, and choose materials that suit a below-grade space. For Northern Utah homeowners who want one team to manage the work, LIFT Construction can help shape the design and carry the project through final inspection. The next step is a site review with a clear wish list and budget range.