
Adding laundry space to a finished basement can be a smart upgrade, but the work takes more than cutting into a wall. In Utah, the job often follows about nine planning checkpoints, with permits easy to miss. Start with the room layout, then plan the utilities before opening finished surfaces.
We’ll walk through the process, including Utah permits, moisture control, ventilation, budget risks, and the point where a contractor should review the work.
Step 1: Assess Your Finished Basement and Choose the Laundry Room Location
The first step in learning how to add a laundry room in a finished basement is finding a location that can support water, drainage, power, and airflow.
Start by drawing the basement floor plan. Mark the existing water lines, drain stacks, electrical panel, HVAC runs, windows, doors, and ceiling height. Then measure the proposed room. Include space for the washer and dryer, a service gap behind each machine, and a clear path for moving the units in and out.
A location near an existing bathroom or utility room often reduces the length of new pipe. That can lower labor and limit the amount of finished wall that must be opened. Still, the shortest route is not always the best route. A drain needs the right slope, and a dryer needs a safe exhaust path.
Look at the floor, too. A basement slab may hide plumbing, low spots, or signs of past moisture. Check for stains, musty smells, peeling trim, and damp areas near foundation walls. Fix those issues before you close a new laundry room around them.
We also suggest checking access before you order equipment. Measure stair turns and door openings. A full-size washer may fit in the room but fail to pass through the basement entry.
Our basement finishing services in Davis County include planning for electrical, plumbing, and HVAC work inside finished spaces. That early coordination helps prevent a late change that forces you to remove new drywall.
Sketch two layouts if you’re unsure. One can place the machines side by side. The other can use a stacked set or a smaller alcove. Keep shutoff valves reachable. Do not bury them behind a fixed cabinet or appliance.
By now, you should have a measured room plan, a utility map, and a clear reason for choosing that location.
Step 2: Plan Plumbing, Drainage, Electrical, and Ventilation
For a basement laundry room, the utility plan decides whether the project stays simple or becomes a larger remodel.
Begin with the water supply. The washer needs hot and cold lines with accessible shutoff valves. Plan the drain standpipe and trap based on local code and the existing drain layout. A basement laundry drain may need more work if the nearby line sits above the slab or cannot provide the needed fall.
Next, plan electrical service. The washer and dryer may need separate circuits, and the dryer connection depends on the equipment type. An electrician should confirm panel capacity, circuit protection, outlet placement, and grounding. Avoid placing outlets where a leak could reach them.
Dryer exhaust needs its own path. Keep the run as short and direct as the home allows. Do not exhaust warm, damp air into a wall cavity, ceiling space, or the basement room. If a vented dryer cannot work in the chosen location, discuss a different appliance or room layout before construction starts.
Ventilation matters even when the dryer has a dedicated exhaust. Basements can hold damp air after washing clothes, especially when the room has limited air exchange. Review the room’s supply and return air, exhaust needs, and door undercut with the design team. LIFT Construction’s guidance on Utah basement ventilation requirements can help you prepare questions for the permit plan.
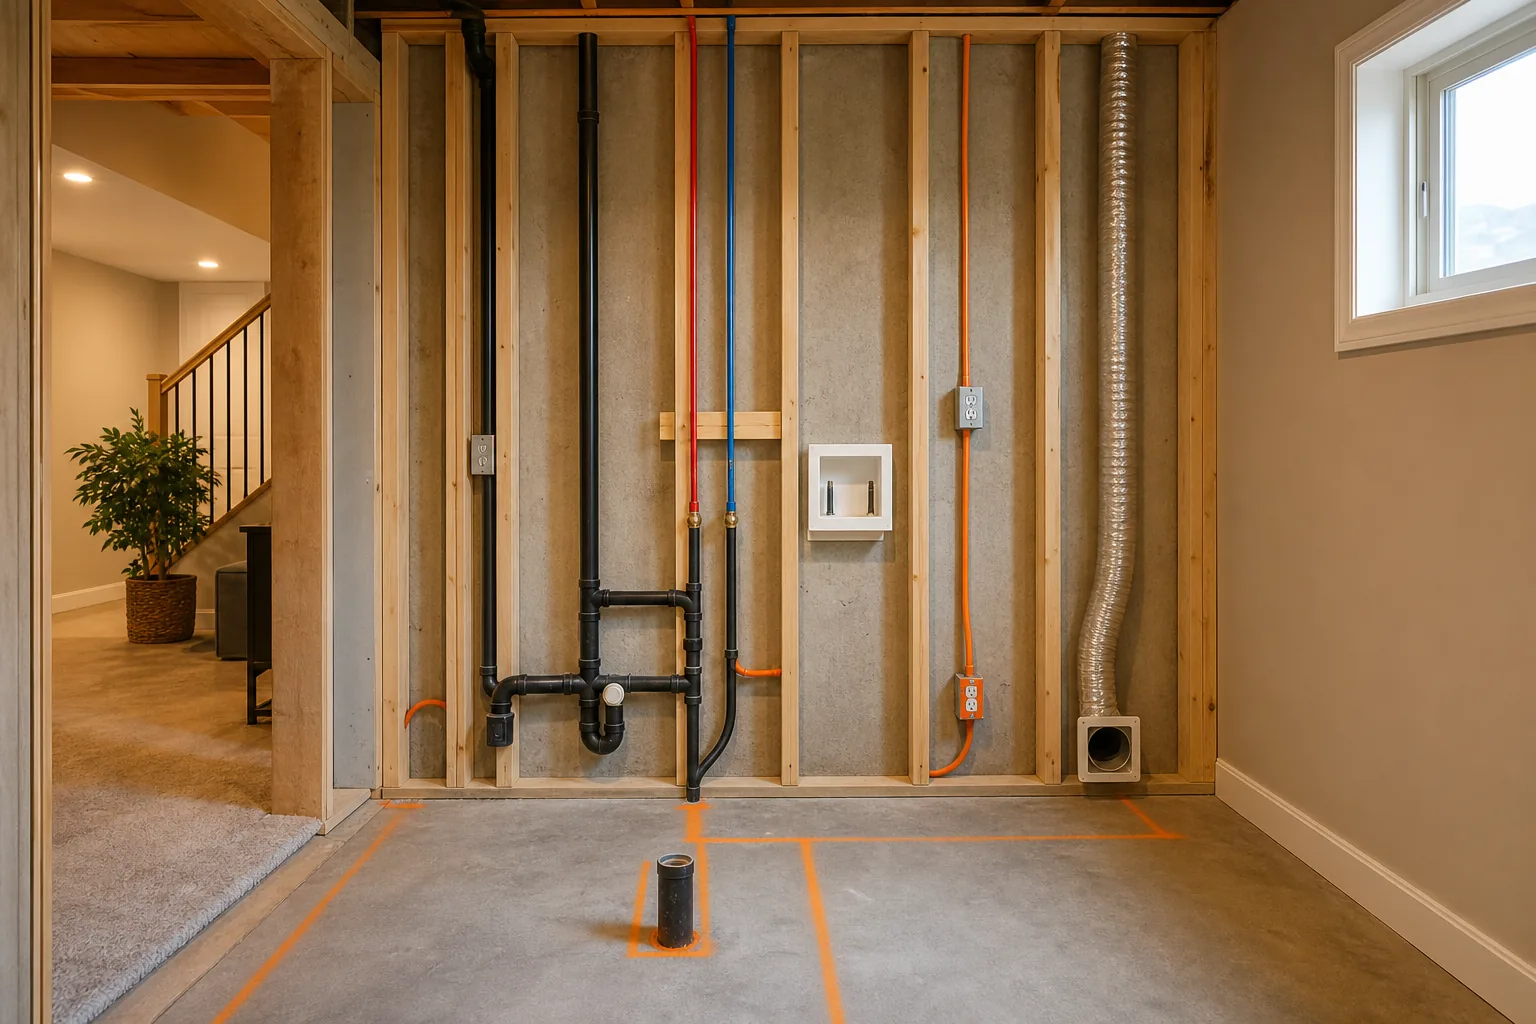
We map each utility before demolition. That means deciding where pipes cross framing, where access panels will go, and which surfaces need protection. It also gives the electrician and plumber a shared plan instead of separate guesses.
Ask for a rough-in review before insulation or drywall covers the work. Take photos of every wall while it is open. Include a tape measure in the frame so future repairs have a reference.
A good plan answers one simple question: if a valve, trap, vent, or outlet needs service later, can someone reach it without tearing out the room?
Step 3: Check Utah Permits, Building Codes, and Moisture Protection
Permits are a required planning step when you add a laundry room to a finished basement in Utah, but the exact approvals depend on the city or county and the work involved.
Contact the building department that has authority over your property before demolition. Ask which permits apply to the plumbing, electrical, building, and mechanical portions of the project. Local departments may require plans that show the room layout, fixtures, circuits, ventilation, and structural changes.
Review local basement permit information and building permit information when checking the rules for your jurisdiction.
Do not assume that a small laundry alcove is permit-free. New circuits, plumbing, walls, ventilation, and changes to finished space can each affect the permit review. Work that starts without approval may face a stop-work order, rework, or fines.
Build the permit timeline into your budget. One recorded building permit range reached $13,000 to $25,000. That figure is an outlier, not a normal laundry-room fee, but it shows why you should ask for the fee schedule before setting a final budget.
| Planning issue | What to confirm | What can go wrong |
|---|---|---|
| Building approval | Room layout, framing, wall finish, and inspection steps | Covered work may need to be opened |
| Plumbing approval | Supply lines, drain, trap, standpipe, and cleanout access | Leaks or failed inspection after drywall |
| Electrical approval | Circuits, outlet placement, panel capacity, and protection | Appliance use is unsafe or must be rewired |
| Mechanical review | Dryer exhaust and room air movement | Moist air collects in the basement |
| Moisture protection | Slab, foundation wall, floor finish, and leak response | Odor, damaged finish, or hidden mold growth |
Confirm plan review, code-ready documents, and inspection closeout with the authority having jurisdiction. Keep copies of approvals and permit and inspection information with your home records.
Set aside a contingency before work begins. Under-budgeting is one of the most common problems in basement remodeling, especially when the crew finds old wiring, poor drainage, or moisture behind finished walls.
Step 4: Build the Laundry Room Without Damaging Finished Basement Spaces
Construction should expose only the areas needed for the new work while protecting the rest of the finished basement.
First, remove baseboards and mark the cut lines. Protect nearby flooring with a firm cover, not thin plastic that tears under tools. Seal the work zone with a zipper door or taped plastic barrier. Use dust control when cutting drywall, masonry, or flooring.
Open the wall in planned sections. Look for hidden wires, pipes, insulation gaps, and signs of water entry before drilling. If the proposed pipe route crosses a finished ceiling, consider whether a small soffit or access panel can provide a cleaner repair path than a large demolition area.
Once the framing is ready, the plumber and electrician complete the rough-in. The dryer vent gets installed before the wall closes. Check the slope and support of drain piping. Secure supply lines so they do not knock against framing when the washer fills or stops.
Install moisture-tolerant materials around the machines. A sealed floor surface makes spills easier to clean. A simple spill-protection measure may help with a washer leak, but it does not replace a sound water connection or a working shutoff.
Keep an access plan in the finished design. Put valves where a homeowner can reach them. Leave room to pull out the washer. If a drain cleanout sits behind the dryer, the layout is wrong.
We treat the existing basement as occupied space, even during a major remodel. That means we plan daily cleanup and keep walk paths clear. It also means we flag changes before they become hidden work.
Before insulation and drywall, photograph the open walls and compare the work with the approved plan. This is the last easy moment to fix a misplaced outlet or inaccessible valve.
The room is ready for close-in work only after rough inspections pass and every utility has been checked.
Step 5: Finish, Test, and Have LIFT Construction Review the Project
The final step is more than installing trim. Test the room under normal use, then close out the inspections and records.
Start with the water test. Open each supply valve slowly. Watch the connections beneath the washer and inspect the drain while the machine fills and pumps out. Check the floor around the appliance after a full cycle, not just after a quick faucet test.
Test the dryer exhaust while the dryer runs. Confirm that air reaches the exterior termination and that the room does not become unusually warm or damp. Check the washer outlet and dryer circuit according to the electrician’s instructions. Never reset a breaker repeatedly to keep an appliance running.
Inspect the finished surfaces next. Look for cracked caulk, loose trim, soft flooring, poor door clearance, and blocked access panels. Confirm that the machines can be removed without taking apart cabinets or walls.
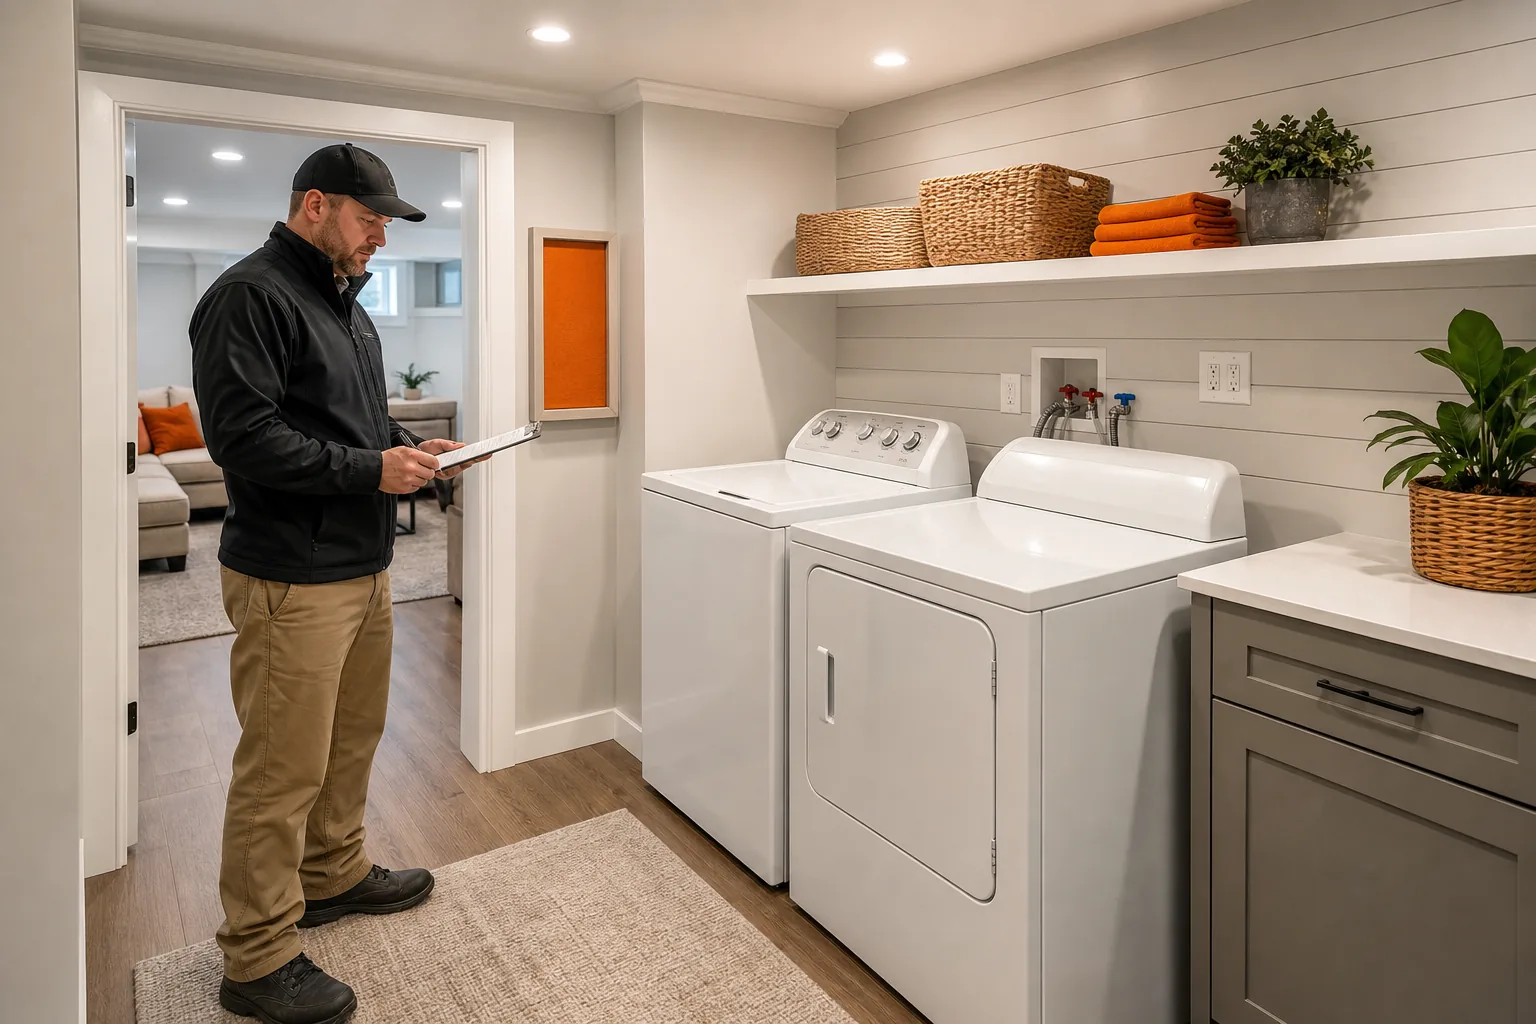
LIFT Construction can review a project as part of a broader basement remodel, with attention to design, permitting, and code-compliant construction. We help homeowners look at the full handoff, not only the machines. That includes inspection status, finish quality, and the care instructions for the new space.
Keep a project file with permits, inspection records, appliance manuals, photos of hidden plumbing, circuit notes, and paint or flooring details. Future repairs will be easier when the next person can see what sits behind the wall.
Schedule the final inspection required by your local department. Do not cover a failed or incomplete item with a cabinet or shelf. A clean closeout protects the value of the work and makes future home sales less complicated.
We recommend one last moisture check after the room has run through several wash cycles. If the basement still smells damp, stop and find the cause before adding more storage or finish work.
FAQ
Do I need a permit to add a laundry room in a finished basement in Utah?
Yes, you may need building, plumbing, electrical, and sometimes mechanical permits. The exact list depends on your city or county and the scope of work. Ask the local building department before demolition. A contractor such as LIFT Construction can help prepare plans and coordinate inspections, but the property owner should keep copies of every approval.
How much does it cost to add a basement laundry room in Utah?
The cost depends on the distance to existing utilities, the finish work, appliance setup, and permit scope. Planning data places typical permit fees around $200 to $800, while a full basement finish can reach much higher totals. Get a room-specific estimate and keep a contingency for hidden moisture, drainage, or electrical repairs.
Where should a laundry room go in a finished basement?
The best location is usually near existing water, drain, and electrical routes, but it must also allow safe dryer ventilation and service access. Avoid placing shutoff valves behind fixed cabinets. Check stair access before selecting appliances, and inspect the slab and foundation wall for moisture before building the room.
Can a dryer be vented through a basement wall?
Yes, a dryer may be vented through a basement wall when the route meets local code and the equipment instructions. The vent should terminate outdoors, not in the wall, ceiling, or basement. Keep the path as direct as possible and have the plan reviewed before framing closes around it.
Should I hire a contractor for a basement laundry room?
Hiring a contractor is wise when the project involves several trades, finished walls, permit work, or a new drain route. LIFT Construction can coordinate design, permitting, and construction for Northern Utah homeowners. A qualified team also gives you one plan for the plumber, electrician, and finish crew.
Conclusion
Plan the location and utility routes before touching the finished walls, then confirm permits with your local Utah building department. If the work involves several trades or hidden basement conditions, ask LIFT Construction to review the scope and help coordinate the project from start to finish.