
A finished basement can become a great theater, but a big screen alone won’t make the room work. Moisture, sightlines, wiring, sound control, and permits all need a place in the plan. We’ll walk through each step so you can build a comfortable theater designed for Utah homes, with help from LIFT Construction when the work reaches beyond a simple equipment setup.
Step 1: Assess the Finished Basement and Plan the Layout
Start by assessing the finished basement before you move a seat or buy a screen. Measure the room from wall to wall, then note the ceiling height, doors, windows, support posts, stairs, vents, and equipment access points.
Look for water stains, musty smells, cracked walls, mold, or damp spots near the floor. A finished wall can hide a problem that becomes expensive once new speakers, insulation, or trim cover it. Our basement remodeling ideas and planning guide can help you build this early inspection into the wider room plan.
Next, decide how people will use the theater. A family media room may need open floor space for games. A film-first room may favor fixed seating and better light control. Gaming may call for a lower screen delay and easy access to consoles.
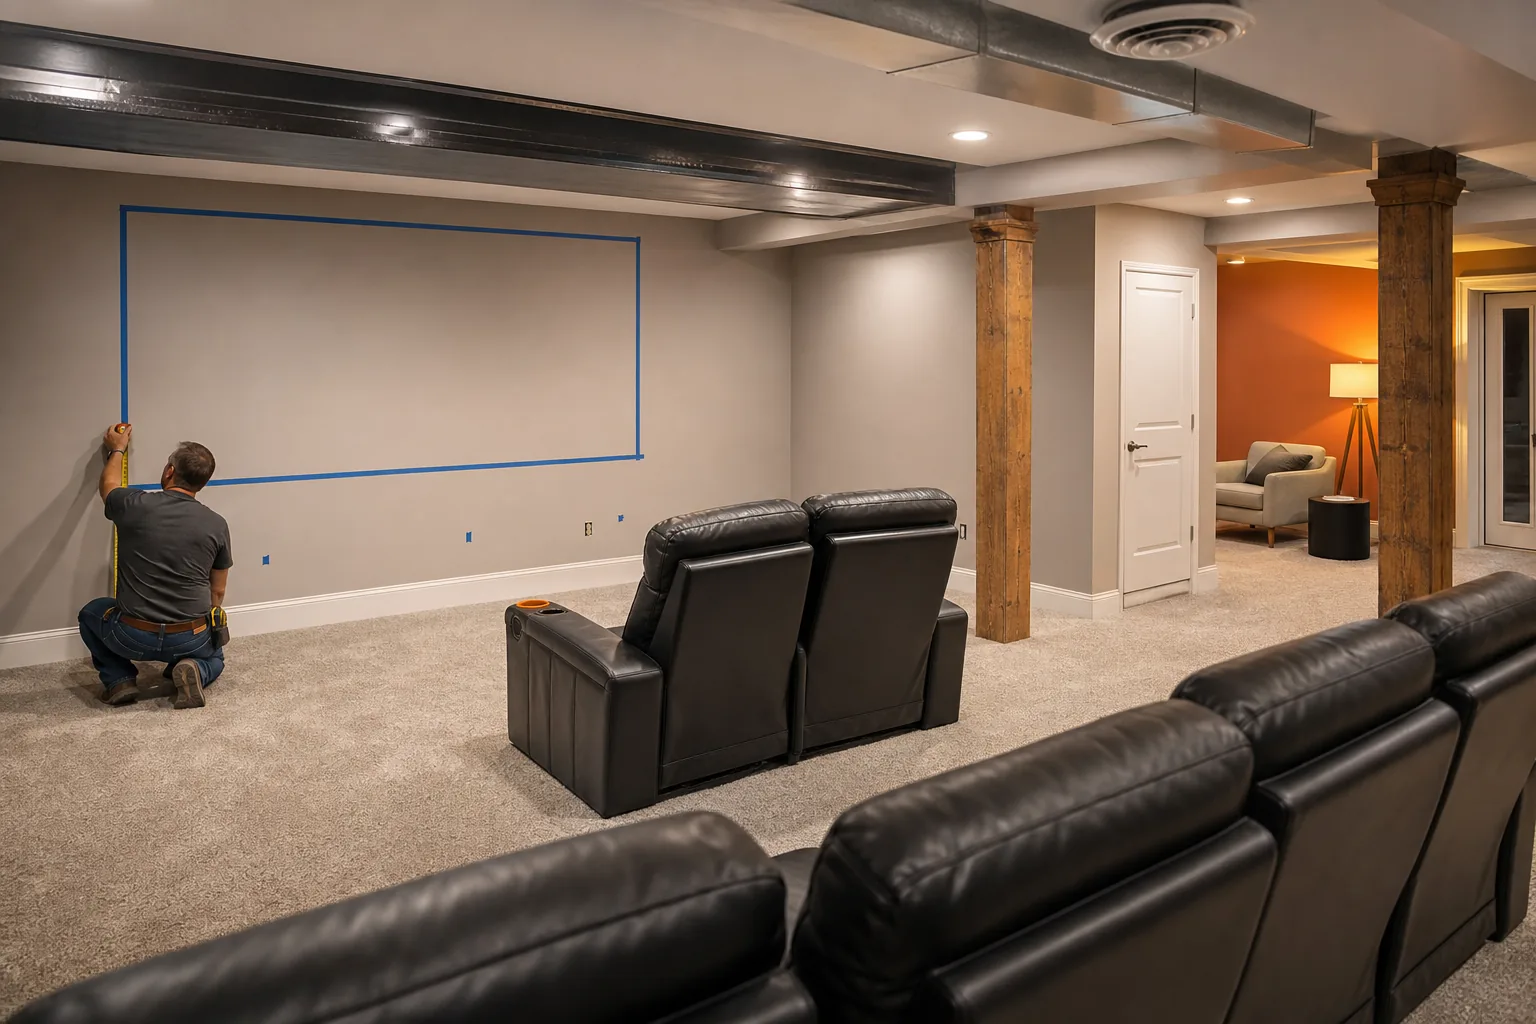
Mark the screen wall with painter’s tape. Then place chairs at the likely viewing points. Sit down and check the view from every seat. A front row that looks fine on paper may block the back row once people sit down.
For most rooms, a rectangular layout is easier to work with than a square one. Keep a clear path to the door. Leave room for speakers beside the screen, unless you plan to place them behind an acoustically transparent screen. A layout tool can help you test screen size, seat spacing, projector throw distance, and aisle width before any construction starts.
Room size affects the relationship between the screen, seats, and sound system; see this overview of home cinema design. Don’t make the room smaller just to chase a certain screen size.
Write down the layout before you order equipment. Include the screen wall, primary seats, secondary seats, speaker spots, projector location, and equipment storage. By now, you should have a measured plan and a clear reason for every major placement.
Step 2: Solve Moisture, Ventilation, Electrical, and Wiring Needs
Before you install theater gear, solve the basement’s hidden problems. This step in adding a home theater to a finished basement protects the room from damp air, heat, overloaded circuits, and hard-to-reach cables.
Check the room after wet weather if possible. Inspect the base of walls and the area around windows. White mineral marks on concrete, peeling paint, or a damp odor deserve attention. Do not seal a known leak behind new panels or built-ins.
Ventilation matters because projectors, receivers, amplifiers, streaming devices, and game systems give off heat. Make sure supply air can reach the room and warm air has a path back out. An equipment closet can keep the main room neat, but it still needs enough airflow. A quiet fan may help, yet it should not add a new noise source during a quiet scene.
Electrical work needs its own plan. Count the outlets needed at the screen wall, beside seating, near the projector, and inside the equipment cabinet. A theater may also need power for charging, lamps, a subwoofer, and future devices. Keep power cords separate from signal cables where the layout allows.
Plan cable paths before drywall or trim goes in. Run the right conduit or access path for speaker wire, HDMI lines, network cable, and control wires. Label both ends of every cable. Take photos before the walls close. Those photos can save hours when you add equipment later.
Streaming also depends on a dependable internet connection. If the basement signal is weak, plan a wired network connection or have the network layout checked before the room is sealed. Test the connection from the planned equipment location, not just from the stairs.
This is where a finished basement often becomes a remodeling project rather than a furniture project. New outlets, HVAC changes, framing changes, or ceiling work may require permits and inspections in your city or county. Requirements vary by location and scope, so check with the local building department or ask LIFT Construction to review the work before it begins.
Don’t wait until the room looks finished to think about service access. Keep an outlet and a path to the receiver, network gear, and projector. A clean wall is useful only if you can still reach the equipment when something needs repair.
Step 3: Choose the Screen, Sound System, and Seating
Choose the screen, sound system, and seats as one package. When homeowners buy each item in isolation, the screen can crowd the speakers or the chairs can land too close to the wall.
A large television is often the simpler choice in a small basement. It handles some room light well and usually needs less setup space. A projector can give you a much larger image, but it needs careful throw-distance planning and better light control. Measure the distance from the planned mount to the screen before choosing either option.
Use the room’s width as a limit. Leave space beside the screen for the front speakers unless the speaker design allows another placement. A screen that fills the whole wall may look impressive, but it can force the speakers into poor positions.
Sound starts with placement. The center speaker should aim toward ear height when seated. The left and right speakers need room to work beside the screen. Surround speakers should sit to the side or behind the seats, based on the system design. Ceiling speakers need a symmetrical plan, not a spot chosen only because it is easy to reach.
Dolby publishes speaker setup guidance for common surround layouts. Use that guidance as a starting point, then adjust for your room’s walls, doors, seats, and ceiling height. A local installer can also check whether the planned speaker angles fit the actual basement.
Choose seating after you mark the speaker locations. Recliners need more depth than a sofa, especially when the footrests are open. Leave a clear aisle to the door. If you want two rows, test the back row with the front row occupied. A low riser may improve the view, but it also changes ceiling clearance and can affect code review.
For a narrow room, fewer seats may feel better than tightly packed rows. Wall-hugger chairs can save space behind the seat. A sofa can work well in a family room, while theater recliners suit a dedicated viewing space. Choose upholstery that feels comfortable but doesn’t create a maze around the walking paths.
Keep controls within reach. You may need a place for remotes, game controllers, headphones, and drinks. Built-in storage can reduce clutter, but plan it before the electrical and speaker work is closed up.
Our home theater room ideas for basements show how compact media rooms and dedicated theater layouts can take different forms. The best setup is the one that fits your room and your normal habits.
Before you buy, make a short equipment schedule. List the display, receiver, speakers, subwoofer, source devices, network connection, and control method. Then check that each item has a planned location and cable path.
Step 4: Improve Soundproofing, Lighting, and Theater Ambiance
Soundproofing and acoustic treatment solve different problems. Sound isolation helps keep movie noise inside the theater. Acoustic treatment helps control echoes within the room.
That distinction matters in a basement below bedrooms or a family room. If people upstairs can feel the subwoofer, wall panels alone won’t solve the issue. You may need better door seals, added wall or ceiling mass, and framing details that reduce vibration transfer. Work that requires opening finished walls is best planned before the final finishes go in.
Start with the weak points. Doors often leak sound around the frame and below the door. A solid door with good seals can help. Gaps around outlets, vents, and trim also deserve attention. Low bass is hard to contain, so set expectations before spending heavily on decorative panels.
Inside the theater, soft surfaces can reduce harsh reflections. Carpet or a thick rug helps soften the floor. Drapes can reduce glare near windows while also absorbing some reflected sound. Fabric-wrapped acoustic panels can help when voices sound muddy or the room feels echoey.
Lighting should support both movie viewing and safe movement. Use dimmable fixtures so you can set a low level without turning the room fully dark. Add a small amount of path light near stairs and aisles. Keep bright fixtures away from the screen wall, where glare can wash out the image.
Choose a dark, low-gloss finish near the screen. Glossy paint and bright trim can reflect light back toward the viewer. Side walls can use a deep neutral tone while still matching the rest of the basement. The room should feel like part of the home, not like a black box that no one wants to enter during the day.
For a plain explanation of the difference between sound isolation and room treatment, see Wikipedia’s definition of soundproofing. The key point is simple: panels can improve room sound, but they don’t replace sealed doors or a properly built wall assembly.
Then add the personal details. A framed poster, a simple theme, or a small snack shelf can give the room character. Keep decor out of speaker paths and avoid hard surfaces that add unwanted reflections.
Step 5: Connect the System, Add Controls, and Test Everything
Connect the system only after the room layout is stable. This final setup step confirms that the screen, sound, lighting, network, and controls work together.
Begin with the display. Check the image from every seat. Look for glare, blocked views, crooked alignment, and a screen height that makes viewers tilt their heads. If you use a projector, confirm that the image fills the screen without unwanted keystone correction. A level mount and the correct throw distance usually produce a better result than correcting a poor placement with software.
Next, connect the receiver and speakers. Label each channel before you turn the system on. Test the left and right sides one at a time. Then test the center channel with spoken dialogue. If a voice sounds like it comes from the floor or ceiling, adjust the speaker angle or mounting height.
Set the subwoofer at a moderate level first. Walk around the room during a bass test. Some seats may sound weak while others feel too loud. Move the subwoofer or adjust the system calibration before adding more volume.
Test the network from the actual streaming device. Play a long video and watch for drops or buffering. Check each source, including game systems and disc players if you use them. Put spare cables and remotes in a labeled drawer rather than leaving them on the equipment rack.
A universal remote or smart control system can make daily use easier. Create simple scenes such as Movie, Sports, Game, and Lights On. Each scene should set only what you need. If the controls become hard to explain, simplify them. A system that needs a printed manual every night isn’t finished.
Run a full test before you close access panels or finish built-ins. Watch a quiet dialogue scene, a dark scene, and a loud action scene. Listen from every seat. Check the stairs, door, equipment closet, and room above the theater for unwanted noise.
Test the lights at full brightness and viewing level. Confirm that the path lights don’t shine into the screen. Open and close the door while the system runs. Listen for rattles in vents, trim, risers, and loose panels.
Keep a final record of the system. Save the equipment list, cable map, remote settings, paint colors, and photos of hidden wiring. LIFT Construction can help Northern Utah homeowners coordinate the remodeling work, code review, finish details, and installation from start to finish.
Give the system a few days of normal use before calling the room complete. Small issues often show up after the first family movie night, when every seat is full and the equipment has been running for hours.
More home theater tips
Media Room, Flexible Entertainment Space for Open-Concept Basements
Media Room is the right choice for an open-concept basement that needs to do more than show films. This home theater room idea leaves room for family time, gaming, sports, or a wet bar without building a fully enclosed cinema.
Start with one clear viewing wall. A large television or projector can anchor that side of the room. Then keep the seating light enough to move. A sectional may work well for family use, while two lounge chairs can preserve a walkway to another basement zone.
Sound needs a different plan in an open room. Without doors and solid walls, audio can travel upstairs more easily. Area rugs, upholstered furniture, curtains, and acoustic panels can reduce reflections. If you want stronger isolation, plan insulation and wall work before drywall is finished.
Lighting also deserves early attention. A media room often needs more usable light than a dedicated theater, but the fixtures should still dim near the screen. Use separate controls for the viewing wall, seating area, and bar or game zone. That way, someone can get a snack without turning on every light in the basement.
For homeowners in Weber County, our basement finishing work for Ogden-area homes reflects this flexible approach. An open layout can support movie nights while still working as a daily family room.
The tradeoff is sound spill. This design won’t feel as quiet or controlled as a closed theater. It earns its place when the basement needs to serve several jobs each week.
Small Room Home Theater, Space-Saving Design for Basements Under 200 Square Feet
Small Room Home Theater is designed for basements under 200 square feet. It works best when one couch or a few chairs form the main viewing spot, since every speaker and seat must respect the room’s short distances.
A premium large screen or flat panel display can make more sense than a projector in a compact room. You won’t need a long throw distance, and the display won’t compete with a low ceiling. Keep the front speakers near ear height. Angle the left and right channels toward the main seat. If the couch sits near the back wall, move it forward even slightly when possible.
A standard 5.1 setup is a sensible starting point. A 5.1.2 system adds two height channels, but those speakers need careful placement. In a tight room, correct angles matter more than adding more channels. One well-placed subwoofer can also sound cleaner than two poorly placed units because small rooms build up bass near corners.
For context, ultra-high-resolution displays may be impressive, but room size and viewing distance still guide the screen choice. A sharp image can’t fix a cramped sightline.
Use acoustic panels at the first reflection points if the walls feel hard and bright. Choose a center speaker that fits below or above the display. In this format, restraint wins. Oversized gear can make the room sound crowded.
Dedicated Home Theater, Luxury Audio Immersion for a Purpose-Built Basement
Dedicated Home Theater is for homeowners who want a purpose-built cinema and have enough basement space to support it. The room stays focused on films, series, gaming, or major sports events.
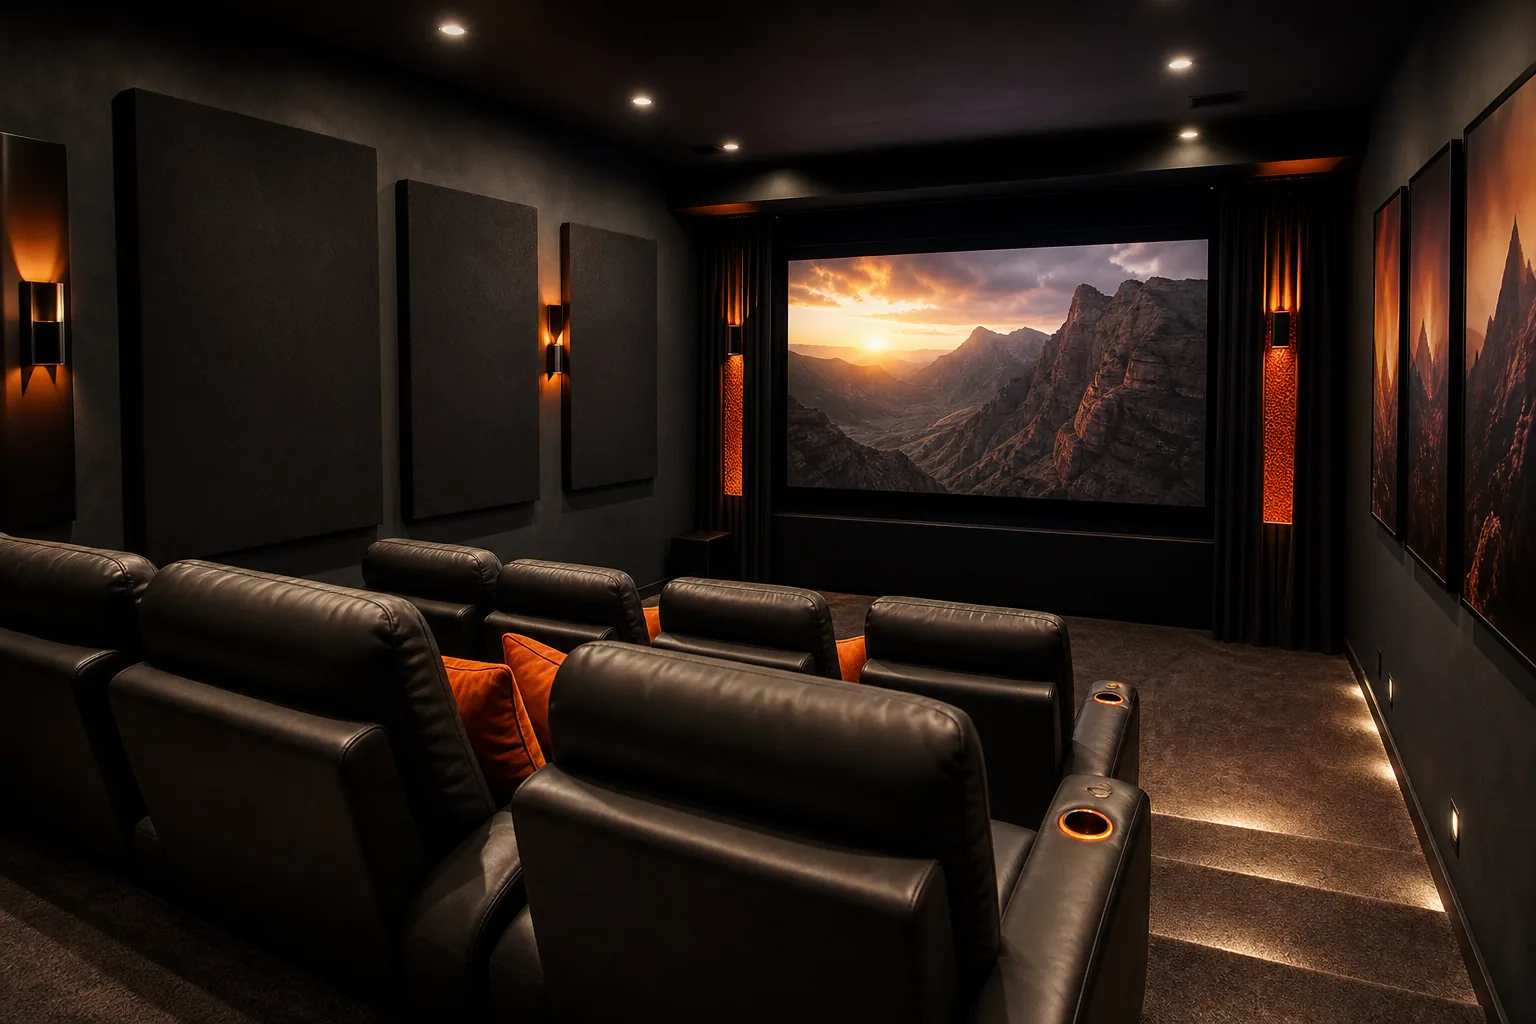
This concept gives you more control over light and sound. A closed room can use dark wall colors, acoustic treatment, hidden speakers, and a projector screen without asking the space to serve as a bright family room during the day. Native 4K displays and Dolby Atmos architectural surround sound fit this type of build.
The construction choices matter as much as the equipment. Tiered flooring can give each row a clear view. A false wall can hide wiring and front speakers. An equipment rack can sit outside the seating area, where fan noise won’t distract from quiet scenes. If the theater shares a wall with a bar, keep noisy appliances on another wall.
Research used for this shortlist places dedicated theater budgets around $15,000 to $50,000. That figure covers a wide range of finishes and equipment, so it should be treated as a planning frame rather than a quote.
Choose this option when the theater is a long-term feature of the home. If the room must become a playroom next year, the next concept will serve you better.
Modular Design Upgrade-Friendly, A Basement Theater That Can Grow With Your Family
Modular Design Upgrade-Friendly is for families who want a theater now but don’t want to lock in every choice. It works well when children are still growing, the budget is split across project phases, or the basement may change use later.
Build the room around access. Run conduit to the screen wall and ceiling before closing the walls. Leave room behind the display for new cables. Keep the receiver and other electronics in a ventilated location with service access. Label each cable at both ends. Five minutes of labeling can save hours during the next upgrade.
Use finishes that can handle change. A flat wall may be easier to repaint than a fully custom fabric wall. Freestanding speakers can move when the seating shifts. A low platform can create a second row without committing to a permanent raised floor.
Budget data appeared in only 38% of the concepts reviewed, and the reported range ran from about $500 to $35,000. That spread shows why a screen price alone can mislead. A basic setup may be modest, while construction, wiring, sound treatment, and built-ins change the project total.
We recommend this path when your family wants a finished room now but expects its needs to shift. A modular plan gives you a clear next move instead of forcing a full rebuild.
FAQ: Adding a Home Theater to a Finished Basement
Can you add a home theater to an already finished basement?
Yes, you can add a theater to an already finished basement, but the work may involve opening walls or ceilings. Check moisture first, then review outlets, HVAC, cable paths, and sound control. If the existing layout cannot support the screen or seats, a small remodel may produce a better result than forcing equipment into the current room.
What should I check before adding a basement theater?
Check for leaks, mold, damp odors, low ceiling areas, blocked vents, support posts, and safe exits before adding equipment. Measure the room and mark the screen and seats. Also ask your local building department whether electrical, HVAC, framing, or structural work needs a permit.
Is a TV or projector better for a basement home theater?
A TV is often better for a smaller room or a space with some light because it is simpler to place and use. A projector works well when you want a larger image and can control light. Compare screen size, viewing distance, projector throw distance, speaker space, and daily convenience before choosing.
How do I reduce theater noise in the rooms above?
Reduce noise by sealing door gaps and planning wall or ceiling assemblies that limit vibration. Carpet, rugs, curtains, and acoustic panels can improve the sound inside the room, but they won’t fully isolate deep bass. If bedrooms sit above the theater, address the ceiling before the finished surface hides the work.
Do I need a permit for a basement home theater?
You may need a permit for electrical work, HVAC changes, framing, or structural modifications tied to a basement theater. The exact rule depends on your Utah city or county and the scope of work. Ask the local building department or have LIFT Construction review the plan before construction begins.
Conclusion
The best way to add a home theater in a finished basement is to plan the room before buying the gear. Start with a moisture and layout review, then have the wiring, ventilation, sound control, and permit needs checked together. For a coordinated project in Northern Utah, contact LIFT Construction to discuss your basement and decide which work should happen from start to finish.