
Water damage can turn a finished Utah basement into a safety problem within hours. A 60-minute emergency promise sounds impressive, but response claims vary, so the first job is protecting people and stopping the source. Follow these five steps to limit damage, support your insurance claim, and get your basement ready for a proper rebuild.
Step 1: Stop the Water and Make the Property Safe
Water damage restoration in Utah starts with safety, not cleanup. Find the source only if you can reach it without entering unsafe water or touching damaged wiring.
Shut off the local valve first. A toilet, sink, washing machine, or water heater may have its own shutoff. If you can’t find it, close the home’s main water valve. For a burst pipe, this can stop new water from spreading through the basement.
Next, check the power. Turn off the breaker for the wet area only if the panel is dry and you can reach it safely. Never step into standing water that touches an outlet, cord, appliance, or electrical panel. Leave that job to an electrician if there is any doubt.
Stay out of sewage water. It can contain harmful germs and may have spread farther than the visible stain. Keep children and pets away from the area, too. If the ceiling is sagging, the floor feels weak, or you smell gas, leave the space and contact the right emergency service.
Take a quick look at the type of water involved:
- Clean water: Water from a supply pipe or rain leak may still damage materials, even when it looks clear.
- Used water: Water from a toilet, appliance, or drain may carry contaminants.
- Sewage or flood water: Treat it as unsafe. Don’t clean it yourself.
Once the source is controlled, contact a restoration team. We inspect the affected rooms before materials are removed. LIFT Construction also handles restoration work in Northern Utah, with a process designed to connect cleanup and later repairs from start to finish.
General mold-safety guidance recommends fixing the moisture source and drying wet areas quickly when dealing with mold risk. This mold cleanup information can also help you decide when professional help may be the safer choice.
Step 2: Remove Standing Water and Damaged Materials
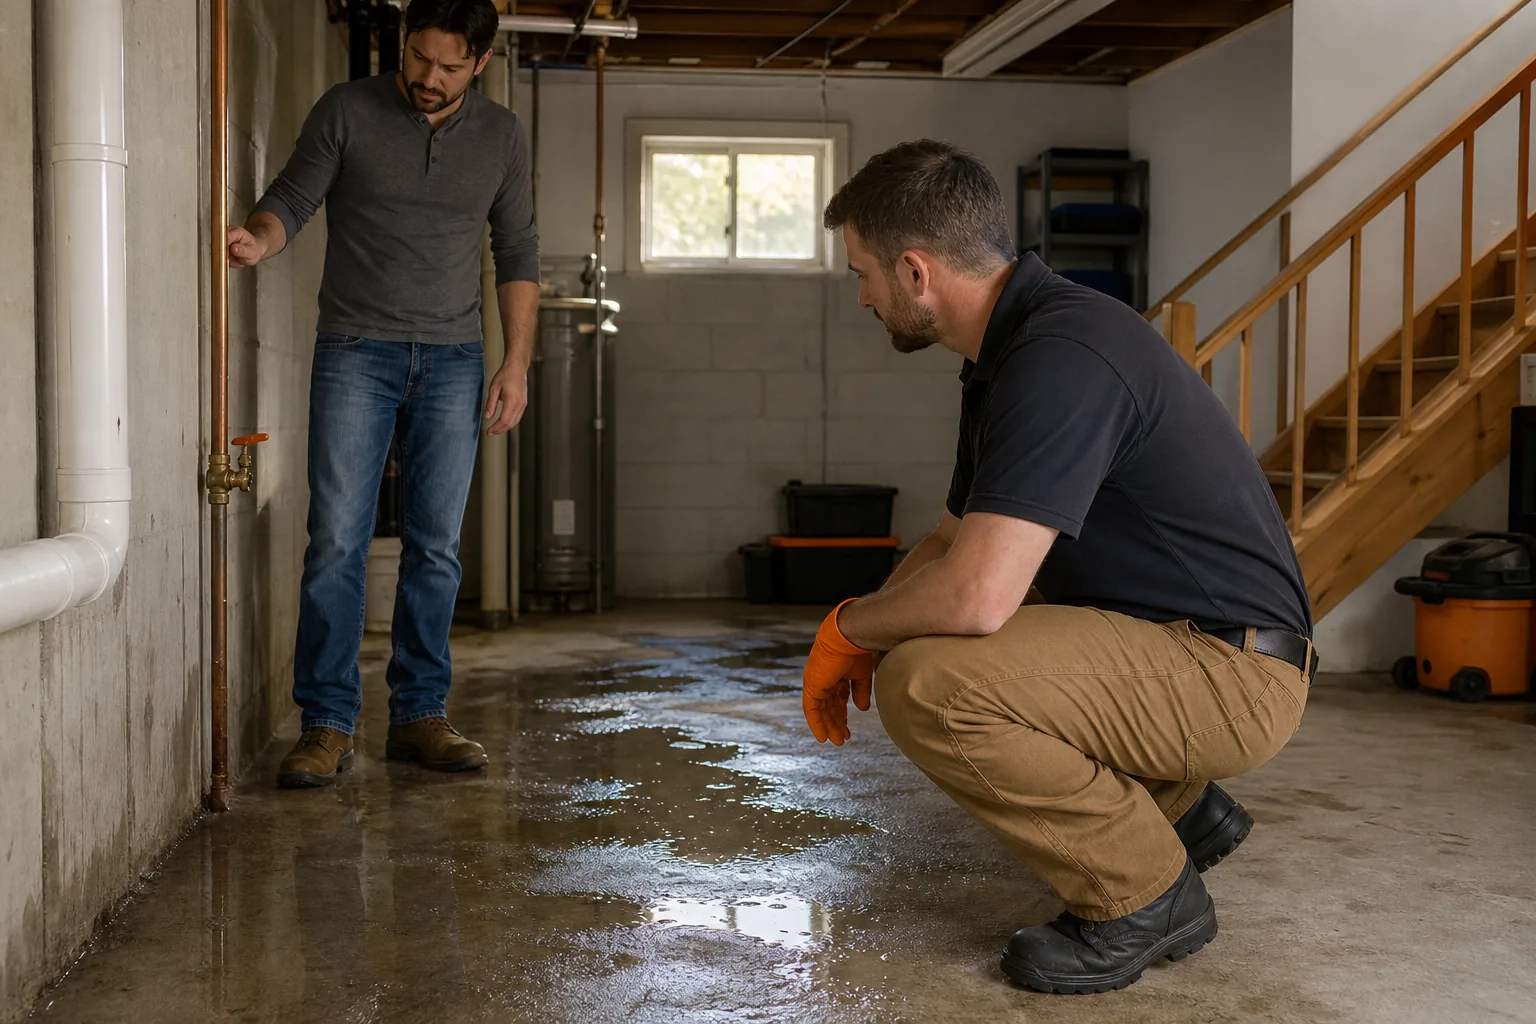
After the source is controlled, the next part of water damage restoration in Utah is extraction. The goal is to remove water before it moves deeper into flooring, drywall, insulation, or framing.
Don’t rely on towels alone when water covers a basement floor. A small spill may be manageable with household tools, but a failed water heater or flooded room needs commercial extraction equipment. Restoration crews may use pumps for deep water, followed by wet vacuums for the last layer.
Move dry furniture and loose items out of the room. Lift what must stay on blocks or foil pads so wet flooring doesn’t transfer moisture into the legs. Don’t drag heavy furniture across soaked carpet. It can spread dirty water and tear the floor below.
Porous materials need close review. Carpet pad, soaked drywall, fiberglass insulation, and some wood products may not be worth saving after contaminated water exposure. A crew should mark what will be removed and explain why. That list becomes part of the repair scope and may support the insurance file.
What you can remove safely
You can often move loose belongings from a dry edge of the room. Take photos first. Keep wet items separate from dry ones, and don’t place damp contents in sealed plastic bags for long periods. That traps moisture and can worsen odor or microbial growth.
Don’t cut into walls or pull up flooring unless you know where electrical lines, plumbing, and heating ducts run. Demolition can expose hidden hazards. It can also remove evidence your adjuster needs to see.
We use room-by-room checks at LIFT Construction so the work has a clear record. Our content cleaning and deodorizing service is relevant when furniture, stored goods, or other belongings need assessment instead of automatic disposal.
Extraction is only the first pass. A floor can look clear while water remains under the flooring or inside the wall base. That is why the next step depends on moisture readings, not sight alone.
Step 3: Dry the Structure and Prevent Mold
Structural drying is where a quick cleanup becomes complete water damage restoration in Utah. Moisture can remain behind drywall, below flooring, or inside framing after all standing water is gone.
A restoration crew should inspect more than the room’s surface. Moisture readings may cover drywall, subfloors, framing, insulation, and nearby rooms. The crew then places air movers and dehumidifiers based on the affected materials and the path water took.
Keep doors and windows closed or open only as directed. Outside air can add moisture during humid weather. In a cold Utah basement, poor airflow can also leave damp pockets near foundation walls and floors.
Ask for a drying log. It should show where readings were taken and how moisture changed during the job. Daily checks matter because equipment may need to move as different areas dry. A wall that reads better on one side may still hold moisture on the other.
Don’t cover damp materials with new paint, trim, carpet, or paneling. That seals in the problem. Wet insulation may need removal, while some framing can stay in place if it dries fully and remains sound.
Mold prevention also means fixing the cause. If water entered through a foundation crack, blocked drain, failed sump system, or grading issue, the repair plan must address that source. Drying a basement without fixing repeat seepage only resets the clock.
Damp buildings can expose people to mold and other indoor contaminants. People with asthma, allergies, or weakened immune systems may need extra care during cleanup.
At LIFT Construction, we coordinate the inspection, cleanup, and repair plan when a damaged area needs more than drying. Our aim is simple: don’t start a basement finish until the structure is dry and the moisture source is under control.
Step 4: Document Damage, Contact Insurance, and Plan Repairs
Good records make water damage restoration in Utah easier to manage. Photograph the cause, the first visible damage, and every affected room before cleanup changes the scene.
Take wide photos first. Then capture close views of split hoses, failed valves, stained drywall, damaged flooring, and wet belongings. If an appliance caused the loss, photograph its model and serial plates. Keep the failed part if it can be removed safely.
Make a simple room list. Note when you found the water, what caused it, and what you did next. Save receipts for emergency supplies, temporary lodging, equipment, or other approved costs. Don’t throw away damaged items until your insurer or restoration contractor says the documentation is enough.
Mitigation should not wait for an adjuster. Your policy may require prompt action to prevent more damage. Contact your insurer or agent after the first safety steps and give them the loss date, likely cause, affected areas, and mitigation work already started.
Ask for a claim number. Share it with the restoration company so the records can stay connected. A well-built file may include:
- Photos and video from before removal.
- Moisture readings taken during drying.
- A list of removed materials.
- Invoices and receipts tied to the loss.
- A written repair scope.
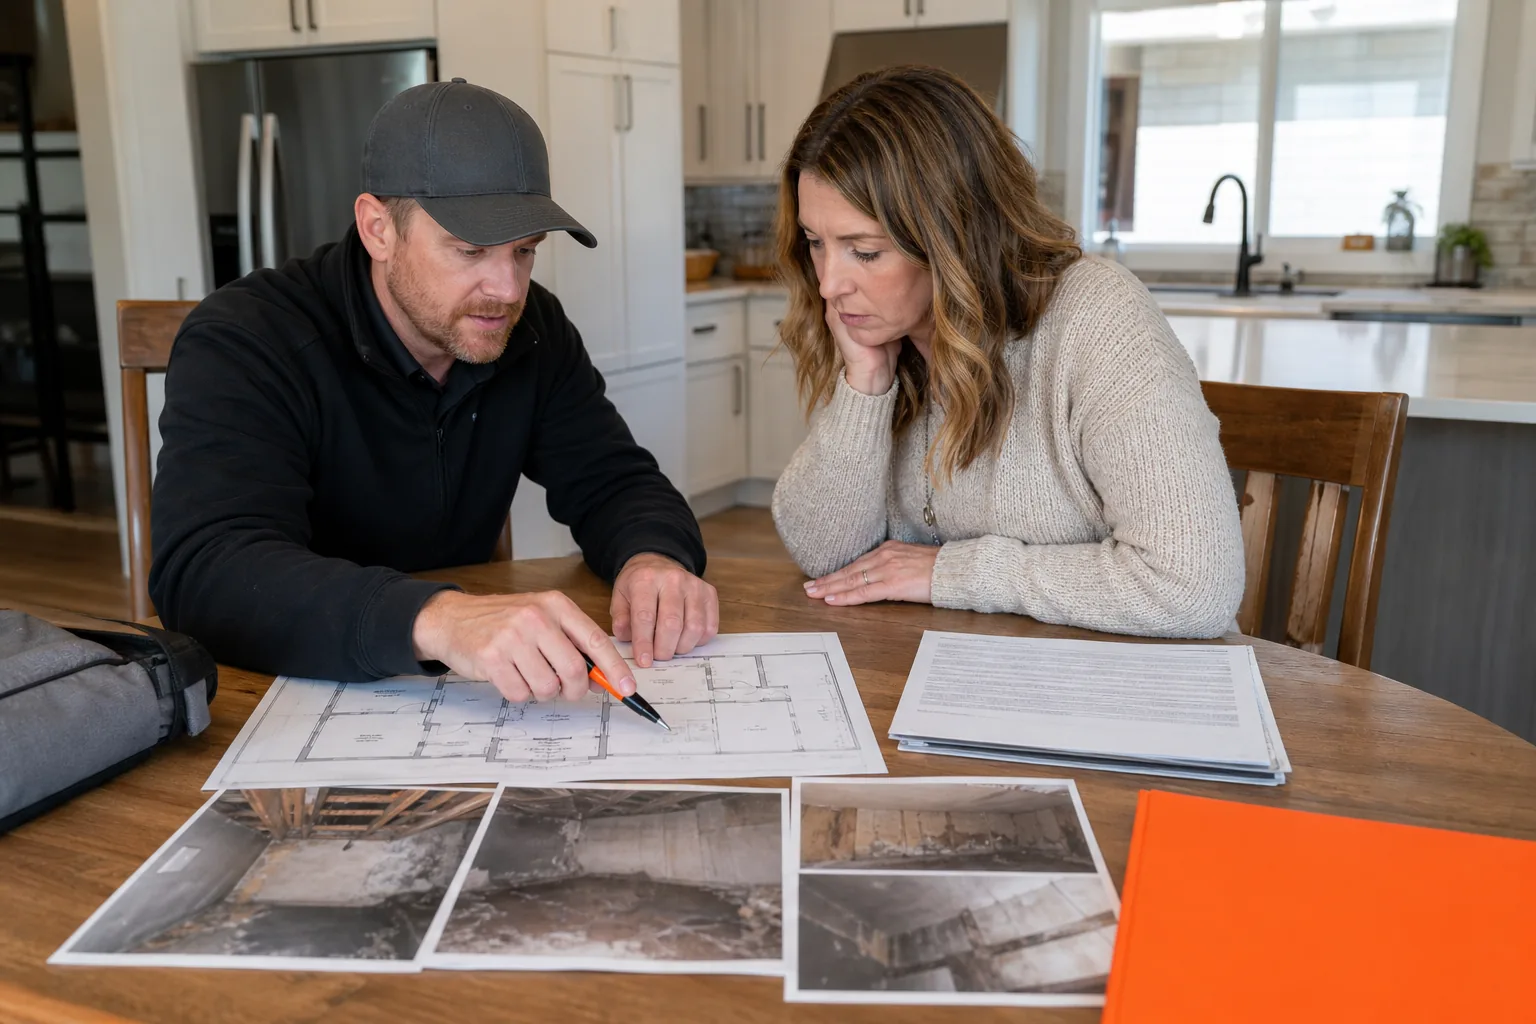
Insurance help varies by provider. Some firms focus on paperwork. Others may bill the carrier directly or prepare a detailed estimate for the adjuster. Ask what the company will handle, what you must submit, and when your deductible is due.
We recommend asking for a scope that separates mitigation from reconstruction. LIFT Construction can review the damaged area and discuss the repair path before you choose finishes. Our water and mold restoration services cover the inspection and repair needs that often follow a basement loss.
Be careful with early promises about coverage. A sudden pipe failure may be treated differently from long-term seepage, poor maintenance, or groundwater intrusion. Your policy and adjuster decide coverage, not a restoration advertisement.
Step 5: Rebuild and Finish Your Utah Basement
Once the basement is dry and the claim scope is clear, rebuilding can begin. This is the point where water damage restoration becomes a safe, finished living space again.
Start with the parts hidden behind the walls. Check framing, insulation, wiring, plumbing, and vents before closing anything up. Replace damaged materials. Make sure repairs meet local code, which means the work follows the rules for safety, structure, and building systems.
Then set the finish plan. A basement rebuild may include:
- Drywall with texture that matches nearby rooms.
- Flooring suited to below-grade moisture conditions.
- Trim, doors, and paint.
- Bathroom fixtures if plumbing was affected.
- Lighting and outlets placed for the new layout.
- Storage or built-ins that use the available square footage.
Choose flooring with the basement’s risk in mind. Vinyl plank and tile can make sense in areas that may see moisture again, while carpet needs a dry, stable base. The best choice depends on the source of the loss and the room’s planned use. We can help compare basement flooring options for Utah homes before materials are ordered.
A single contractor can make the handoff easier when the same team handles mitigation and reconstruction. There is one record of what came out, one repair scope, and one person tracking the schedule. If different companies are involved, make sure both scopes match before work starts.
Plan a final walk-through. Check doors, trim, paint blends, floor transitions, outlets, lights, and any bathroom fixtures. Ask for a punch list if something needs a touch-up. We finish each project by reviewing the details with the homeowner, from start to finish.
Don’t rush this stage. A basement should be rebuilt after the moisture issue is solved, not simply covered.
FAQ
How long does water damage restoration take in Utah?
Water damage restoration often takes several days for extraction and structural drying, while full repairs can take longer. The timeline depends on the water source, affected materials, room size, and whether demolition is needed. Ask for daily moisture checks and a written repair scope so you can see what must happen before rebuilding.
Should I call insurance or a restoration company first?
Stop the water and make the area safe first, then contact a restoration company to begin mitigation. Notify your insurer as soon as you reasonably can. Drying should not wait for an adjuster because delays can allow more damage. Keep photos, receipts, moisture records, and the claim number together.
Can wet basement drywall be saved?
Wet basement drywall may be saved if the water was clean and the material dries quickly, but removal is often needed when drywall is swollen, contaminated, or wet inside the wall. A restoration crew can check moisture levels and inspect the insulation and framing before making that choice.
How do I prevent mold after basement water damage?
Prevent mold by fixing the water source and drying hidden moisture, not just the visible floor. Use professional moisture checks when water reached walls, flooring, or insulation. Keep damp materials out of sealed bags, avoid covering wet surfaces, and ask for final readings before reconstruction starts.
Can LIFT Construction rebuild a basement after water damage?
Yes, LIFT Construction handles restoration and remodeling work for Northern Utah homes, including basement repair and finish work. We can review the damaged space, define what needs removal, and plan the rebuild after drying is complete. Ask for a written scope that separates emergency mitigation from the improvements you want to make.
Conclusion
Act fast, but don’t skip the order: stop the source, remove water, dry the structure, document the loss, then rebuild. For a Northern Utah basement that needs both restoration and finish work, contact LIFT Construction for an on-site review and a clear plan designed to carry the project from start to finish.