
A Utah basement can become a private apartment, family suite, or rental unit, but the best ADU ideas start with code and site limits. Moisture, radon, permits, egress, and utility work can shape the plan before finish choices do. We recommend starting with a feasibility review, then moving through the work in order.
Step 1: Define the ADU’s Purpose, Layout, and Access
Start your ADU ideas with one clear use. A basement ADU meant for a long-term tenant needs a different layout than one meant for an aging parent or visiting family.
Write down who will use the space and what they need each day. Then measure the basement, including ceiling height, windows, support posts, stairs, mechanical rooms, and low areas beneath ducts. A simple sketch can reveal problems before a designer draws a plan.
Most basement ADUs need four core zones: a living area, a kitchen, a bathroom, and at least one sleeping room. Keep the kitchen near existing plumbing when possible. That can reduce wall cuts and shorten drain runs. Place the bathroom near the main stack, but protect privacy by keeping its door out of direct view from the living room.
Separate access deserves early attention. A walkout door gives the tenant a private entrance and may help with emergency escape. Excavation can add cost and structural work, so we price that choice before finalizing the layout. If a walkout is not possible, check each bedroom location for a code-compliant egress window.
Utah basement plans often include generous ceiling height, but ducts and beams can still create low spots. Keep the main ceiling open where you can. Use soffits only around the lines that need to be covered.
When you’re ready to discuss a project in Box Elder County, our basement finishing and ADU services in Corinne can help connect the layout to permitting and construction needs.
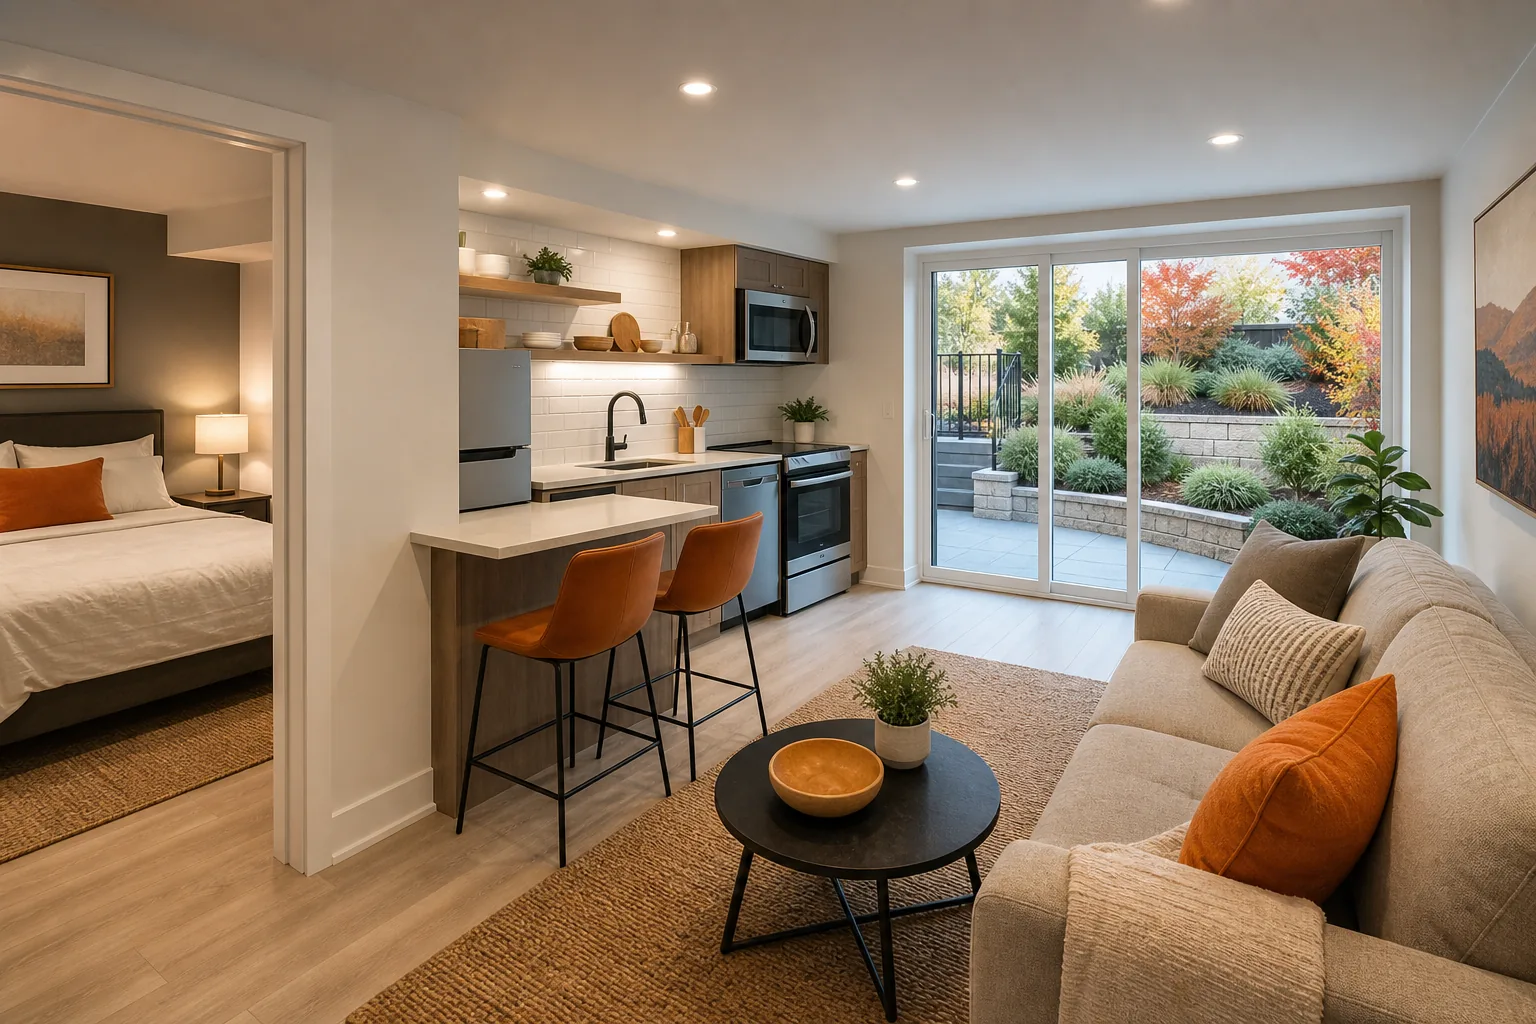
By now, you should have a rough floor plan and a short list of access options. Don’t frame walls until those choices are checked against local zoning and permit rules.
Step 2: Protect the Basement From Moisture and Radon
Good ADU ideas fail fast when water enters the basement. Before framing, inspect the foundation walls, floor edges, window wells, sump area, and exterior grading.
Look for stains, peeling paint, musty smells, damp insulation, or cracks that change after rain. A dry day can hide a drainage issue. We ask how water moves around the home, not just whether the basement looks dry during the visit.
Exterior drainage comes first when the site allows it. Downspouts should move water away from the foundation. Soil should slope away from the house rather than toward it. If water pressure affects the wall, the repair may need excavation or a foundation drainage plan.
Do not cover a known leak with drywall. Finish materials can hide the source while moisture spreads behind the wall. That often leads to damaged insulation and mold. Complete repairs, let the area dry, then verify the result before insulation begins.
Test for radon early. Radon is an invisible radioactive gas that can enter through cracks, joints, and other openings in a foundation. Because the gas cannot be judged by smell or sight, review radon information when planning a test.
If testing shows a concern, plan the mitigation system before the floor and walls are closed. The system may need a sealed slab point, vent pipe, and fan. Its route should be planned with the mechanical layout so it doesn’t block storage or reduce the usable room size.
We also check whether a new bathroom or laundry area changes the water plan. A floor drain or plumbing cut can become a path for moisture if it isn’t sealed well. The right detail depends on the foundation and the existing system.
The milestone is simple: the basement should be dry by design, not merely dry on inspection day. Only then should you close the walls.
Step 3: Plan Plumbing, Electrical, and Bathroom Function
Basement ADU ideas become much easier to price when utility work is mapped early. Mark the main water line, sewer connection, electrical panel, gas lines, HVAC ducts, and water heater before choosing fixtures.
Start with the bathroom. A compact three-quarter bath may save space, while a full bath can make the unit more useful for long-term living. Put the toilet near the drain path when possible. If the floor must be cut, include that work in the first estimate rather than treating it as a late change.
Every added bathroom needs an exhaust fan that vents outdoors. It should not discharge into the attic, a wall cavity, or another enclosed space. The duct route needs room above the ceiling, so decide its path before you set ceiling heights.
Kitchen placement affects more than cabinet style. A sink, dishwasher, and refrigerator need clear work space. Major appliances may need dedicated electrical circuits. Leave access panels where valves, cleanouts, or pumps may need service later.
Electrical planning should follow the applicable NEC rules. Research for Utah basement work flags AFCI protection, outlet spacing of no more than six feet, and dedicated circuits for major appliances. An outlet plan drawn on the floor plan gives the electrician a clear route and helps avoid missed locations.
Think about daily use. A tenant may need outlets near the bed, a kitchen counter, and the living room media wall. Add lighting where someone will carry laundry or enter from the walkout. Keep switches easy to reach from doors.
Mechanical equipment needs its own access. Don’t squeeze a water heater into a closet with no service clearance. If the ADU needs a separate water heater, include fire-stop protection where pipes or ducts pass between levels. Inspectors often flag missing fire-stop work around vertical penetrations.
Our team at LIFT Construction can coordinate these systems as part of a larger remodel. Homeowners planning work in Weber County can also review our basement finishing and ADU services in Harrisville when the project includes design, permits, and construction.
By this point, you should have a utility map, fixture plan, and rough electrical layout. Those documents make the estimate more honest and reduce changes after framing.
Step 4: Build Safety Features Into the ADU Design
Safety should shape the floor plan from the start. A finished basement ADU needs a clear way out, safe travel paths, alarms, and protected building systems.
Each sleeping room needs an emergency escape and rescue opening. That opening may be an egress window or, in some layouts, a walkout door. Check the opening size, sill height, window well, and ladder needs with the local building department before ordering windows.
Don’t label a room a bedroom until it meets the required escape rules. A room with a closet but no compliant egress may not work as a legal sleeping room. That mistake can affect the permit plan and the home’s future appraisal.
Carbon monoxide detectors also need a planned location. Mount them on the ceiling or within 12 inches of the ceiling on a wall. Place them where occupants can hear them, especially near sleeping areas and fuel-burning equipment.
Use building provisions as the starting point for construction requirements, but local review still matters. Cities and counties may apply zoning rules to ADU size, parking, ownership, setbacks, or separate access.
Stair storage needs attention too. Storage beneath basement stairs may need to be enclosed with half-inch drywall on the underside of the stair. This protects the stair path and limits fire spread.
Keep the route from the bedroom to the exit open. Avoid placing tall cabinets in a narrow hall. Use door swings that don’t trap someone in a small bathroom or block the main path.
Permits belong in this step as well as the first one. Skipping permits can lead to failed inspections, forced changes, or work that must be opened later. We prefer to confirm the approval path before demolition begins.
Step 5: Choose Durable Finishes and Complete the Build Responsibly
The best ADU ideas balance comfort with easy care. A basement unit needs finishes that can handle daily wear, occasional spills, and the higher repair risk that comes with below-grade construction.
Use flooring that tolerates moisture in the main living area. A wood-look, easy-clean flooring option can handle routine cleaning well. A water-resistant flooring finish may fit the bathroom, entry, or laundry zone. Avoid any finish until the moisture plan is complete.
Walls should support the room’s use. In a rental unit, washable paint can make turnover simpler. In a family suite, sound control may matter more. Add insulation and sealed wall details where the plan calls for them, but keep access to valves, panels, and equipment.
Small kitchens benefit from full-height storage only when it doesn’t shrink the walkway. Choose cabinet doors that won’t hit the refrigerator or bathroom door. A narrow pantry can hold more than open shelving while keeping the living room clean.
Bathrooms need finishes that shed water. Use a proper shower surround or sealed water-resistant finish. Give the fan a direct path outdoors. A stylish bathroom still needs a serviceable valve and a way to replace the fan later.
Sound control deserves a decision before drywall. If the unit will house a tenant, place bedrooms away from the loudest mechanical equipment when possible. Add insulation in shared walls where the design and code allow it. Small changes here can improve sleep more than expensive décor.
At LIFT Construction, we plan the handoff as part of the build. That means checking fixtures, doors, outlets, fans, drains, alarms, and finish details before the final inspection. Our Utah home addition and ADU construction services can support a larger project when the basement work connects to an addition or whole-home remodel.
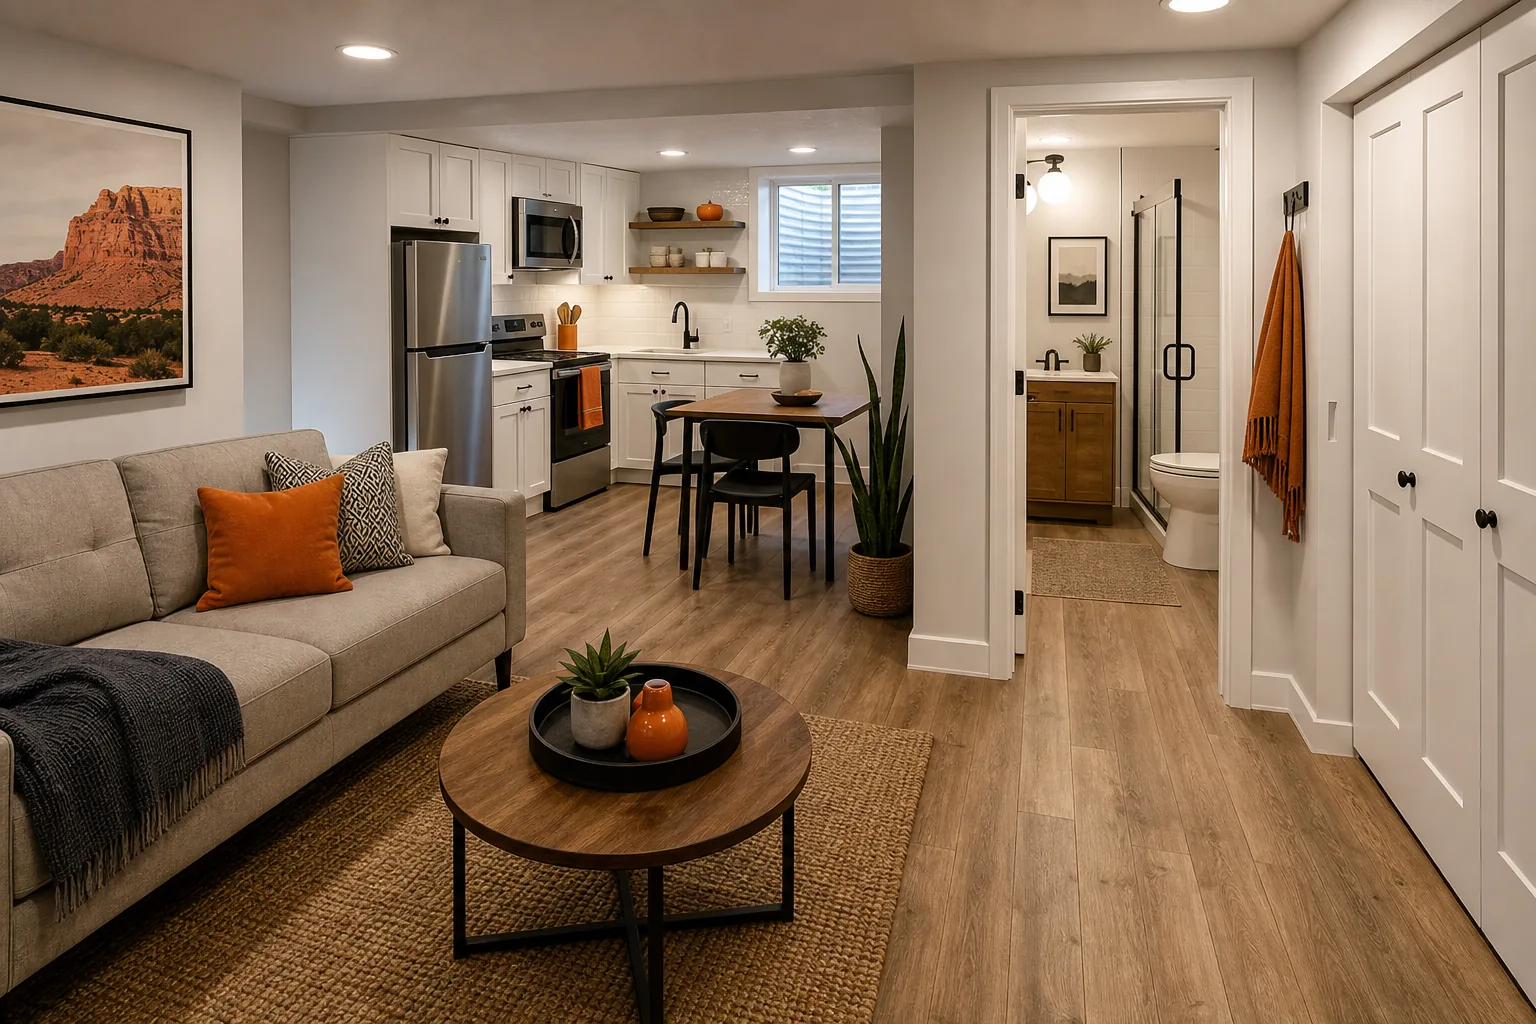
Keep a record of manuals, permit documents, paint colors, shutoff locations, and maintenance notes. If a future owner or tenant needs to find a water shutoff, the handoff file saves time.
The final decision rule is simple: choose a finish only after the systems behind it are approved and accessible. Good work stays useful long after the last coat of paint.
FAQ: Common Questions About Basement ADU Ideas in Utah
Can I turn any Utah basement into an ADU?
No, not every basement qualifies for an ADU. The property must meet local zoning, access, parking, utility, safety, and building rules. Ceiling height, egress, setbacks, and owner-occupancy rules may also affect the plan. Start with a site review before choosing finishes or setting a construction budget.
Is a walkout entrance required for a basement ADU?
A walkout entrance may not be required in every case, but it can improve privacy and emergency access. A basement ADU still needs a legal exit path, and each sleeping room needs an emergency escape opening. Ask the local building department whether a proposed door or window meets the adopted requirements.
How much does a Utah basement ADU cost?
A Utah basement ADU may fall within a broad cost range because plumbing, excavation, structural work, and utility upgrades vary by home. The research brief lists a planning range of $100,000 to $250,000 for LIFT Construction ADU services. Use a site-based estimate rather than a price per square foot alone.
Yes, early radon testing is a critical best practice before finishing the basement. Radon has no smell or visible sign, so testing can help determine whether mitigation is needed. If testing shows a concern, plan the mitigation route before framing and flooring. That keeps the system accessible and avoids opening finished walls later.
What permits do I need for a basement ADU in Utah?
You’ll likely need an ADU or building permit plus electrical, plumbing, and mechanical permits, but the exact list depends on the city or county. Zoning review may also cover parking, setbacks, occupancy, and separate access. LIFT Construction can help organize the permit path before construction starts.
Conclusion
Start with a feasibility review that checks zoning, access, moisture, radon, utilities, and egress before you commit to a basement layout. LIFT Construction can help Northern Utah homeowners move from early ADU ideas to a permitted build. Your next step is to gather the basement measurements and schedule a project review before demolition or framing begins.